Enapter Gateway remote access with Cloudflare Zero Trust
What is remote access?
Remote access is combination of tools which can be hardware or software used for enabling access to the protected and/or private devices and services in private network over public network. Simply speaking, access to your energy devices and sensors, management system, IT systems and PLC in private network over internet.
The most common solution is VPN which is broadly used. But setting up VPN can be really complicated and expensive task both technical and organizational.
In this article we will explain how to use free Cloudflare Zero Trust service to connect to your Enapter Gateway and devices located in private LAN without headache in secure and manageable way. You will learn how to setup reliable and fast connection as well as how to manage access policies suitable for your particular case.
At the moment of writing this article, Cloudflare services are certified with many industry common standards. For more details, visit the Cloudflare Compliance Resources.
Requirements
- Enapter Gateway version 2.x.x
- You need to know your private LAN network address. In this guide we will use network
192.168.123.0/24. - Cloudflare Dashboard Account
- Registered Internet Domain in known TLD
Due to a nature of the Cloudflare service it is required that Domain Name DNS is managed by Cloudflare. We recommend to register "technical" Domain name with Cloudflare - this guide will show how to do this.
Setting Up Cloudflare Zero Trust
Creating Cloudflare Account
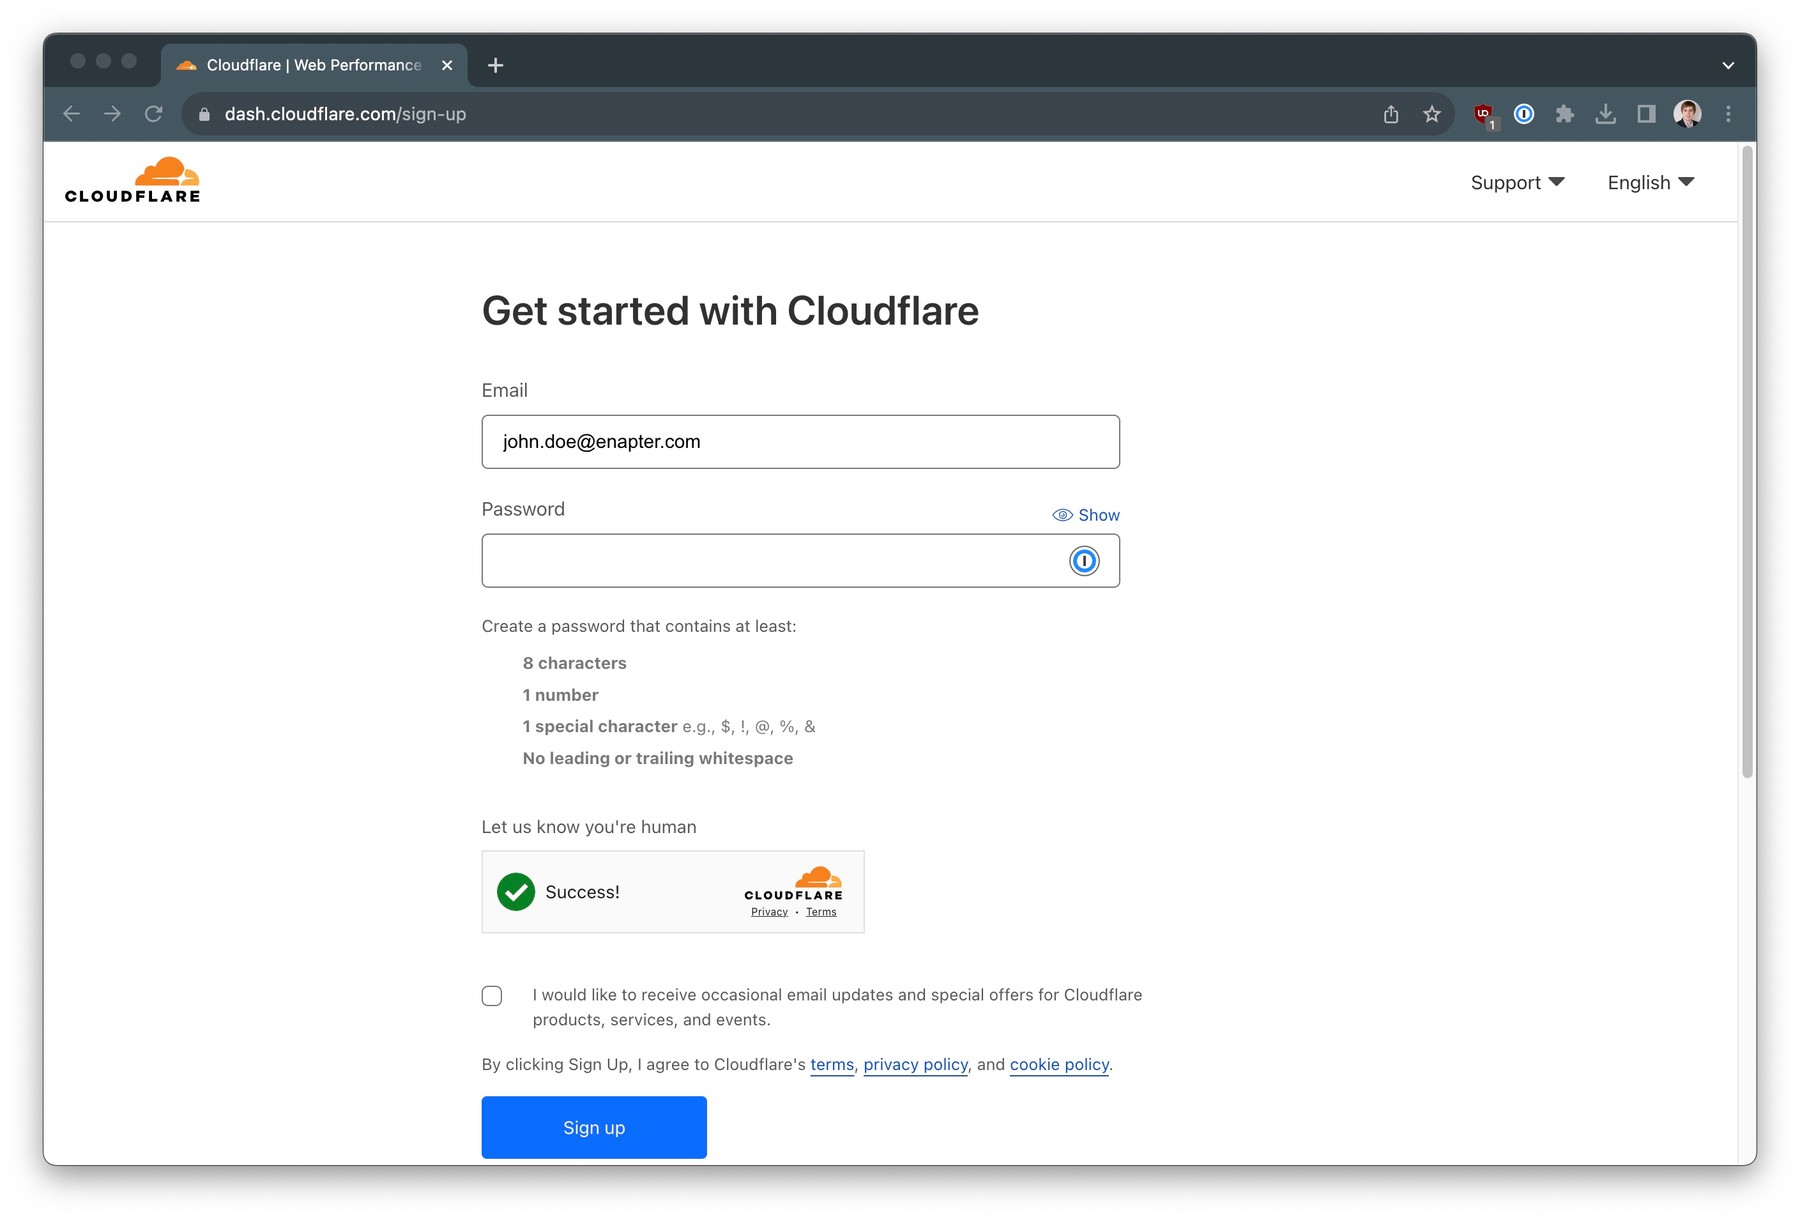
Navigate to https://dash.cloudflare.com/sign-up, enter your email and reliable password.
Adding Website and Registering Domain Name
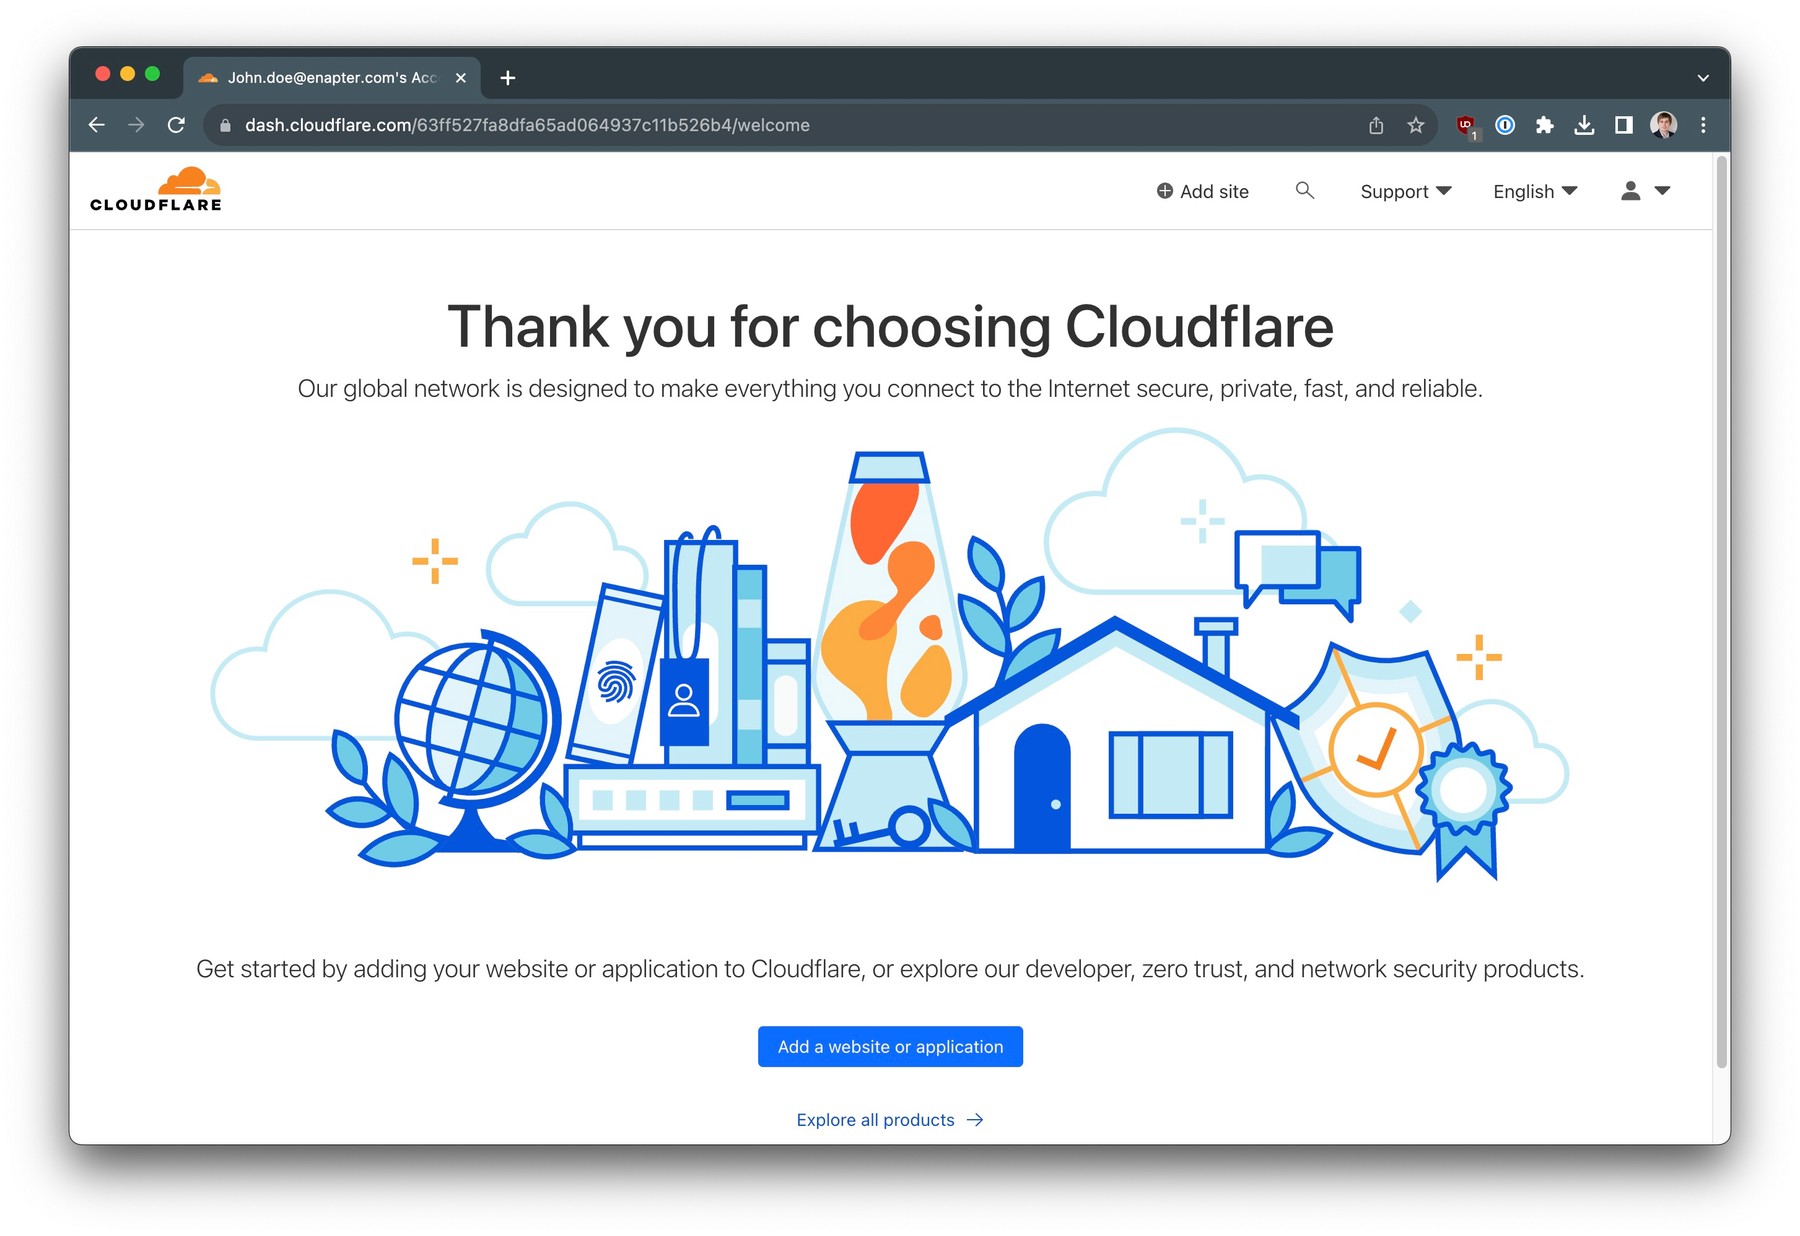
After successful login you will see the welcome screen. Press Add website or application button to create your site.
In this guide we will use "technical" domain name enaptergw.stream which will be registered using Cloudflare Registrar.
You can use your existing domain registered with another registrar. However you will require to delegate this domain to Cloudflare DNS for proper operation of Zero Trust services. Please check Cloudflare documentation how to setup your zone.
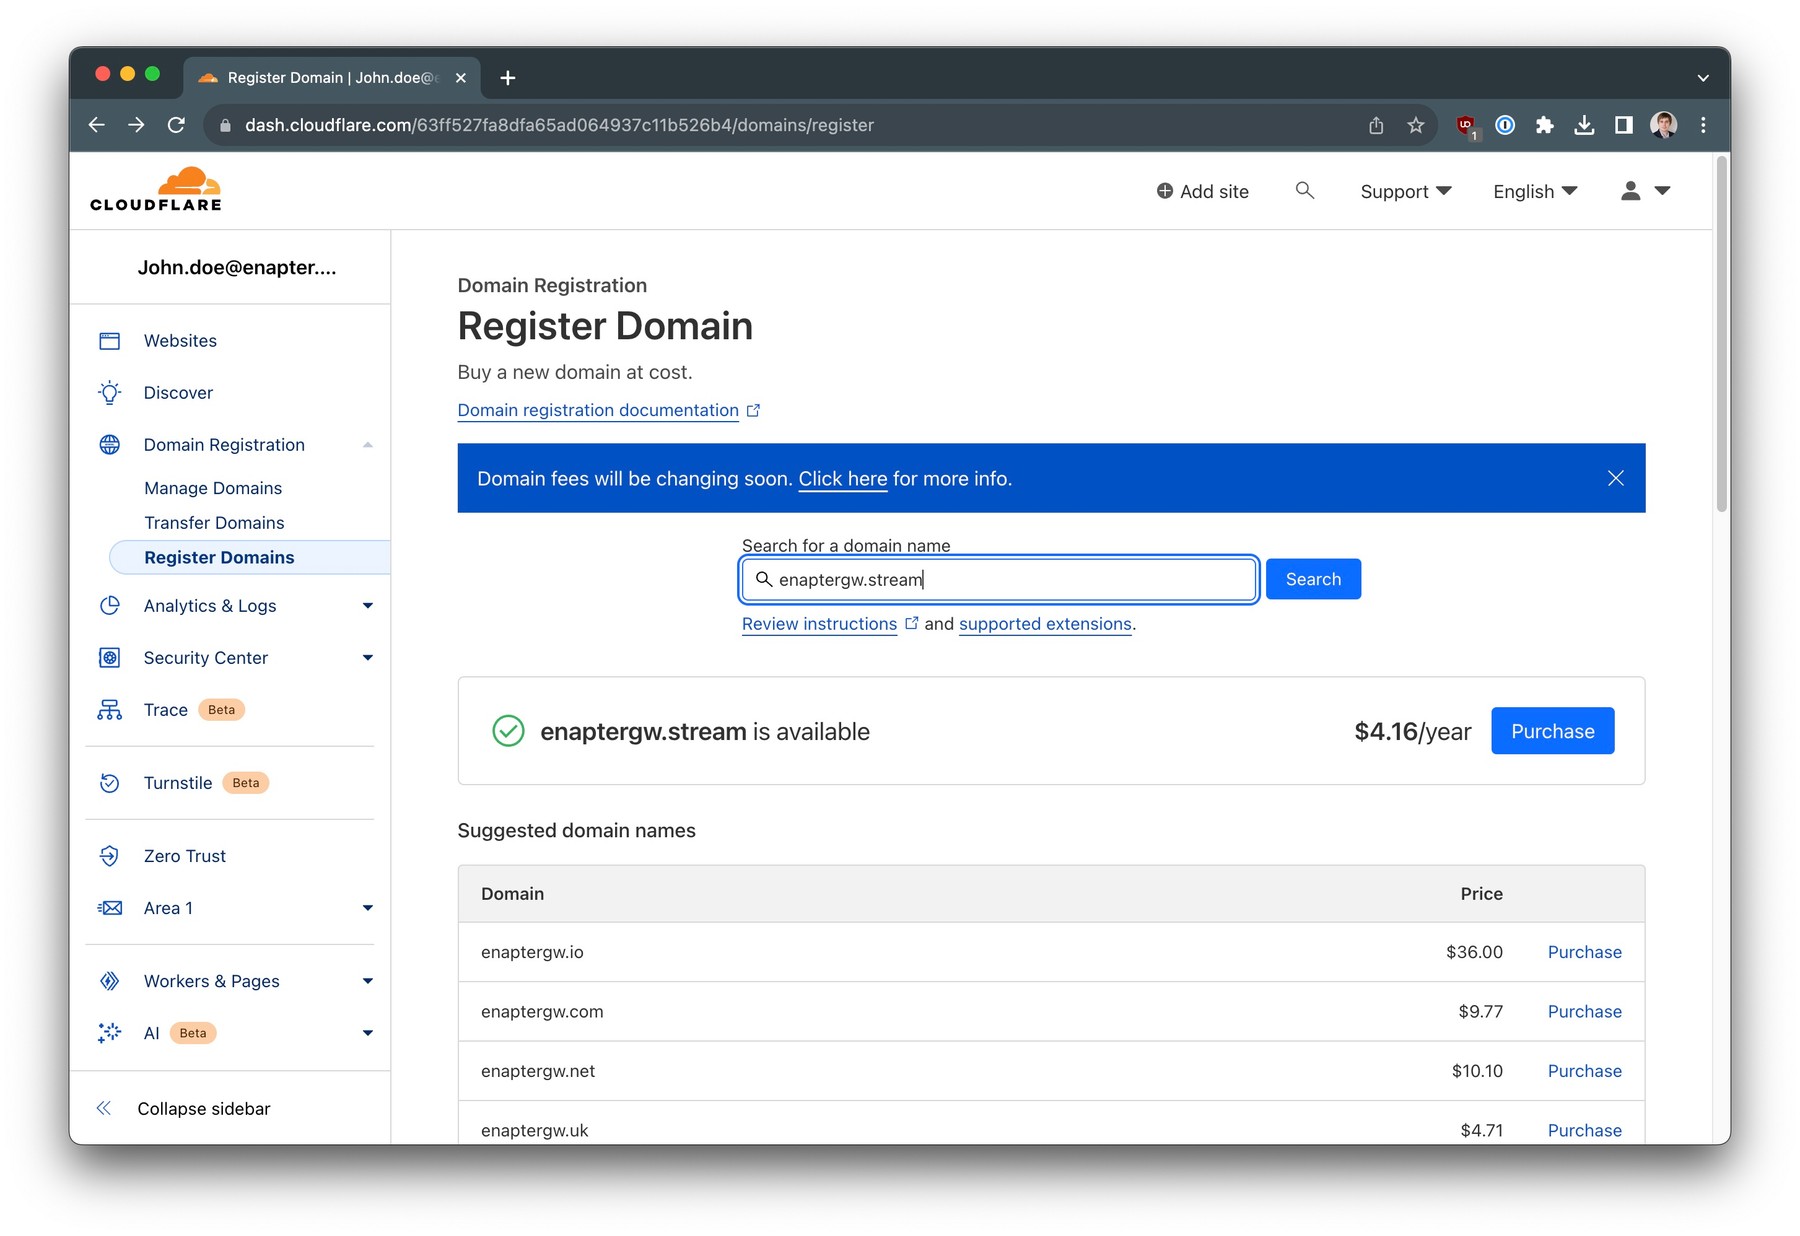
Select the name for your domain and search for available options. Press
Purchase
button.
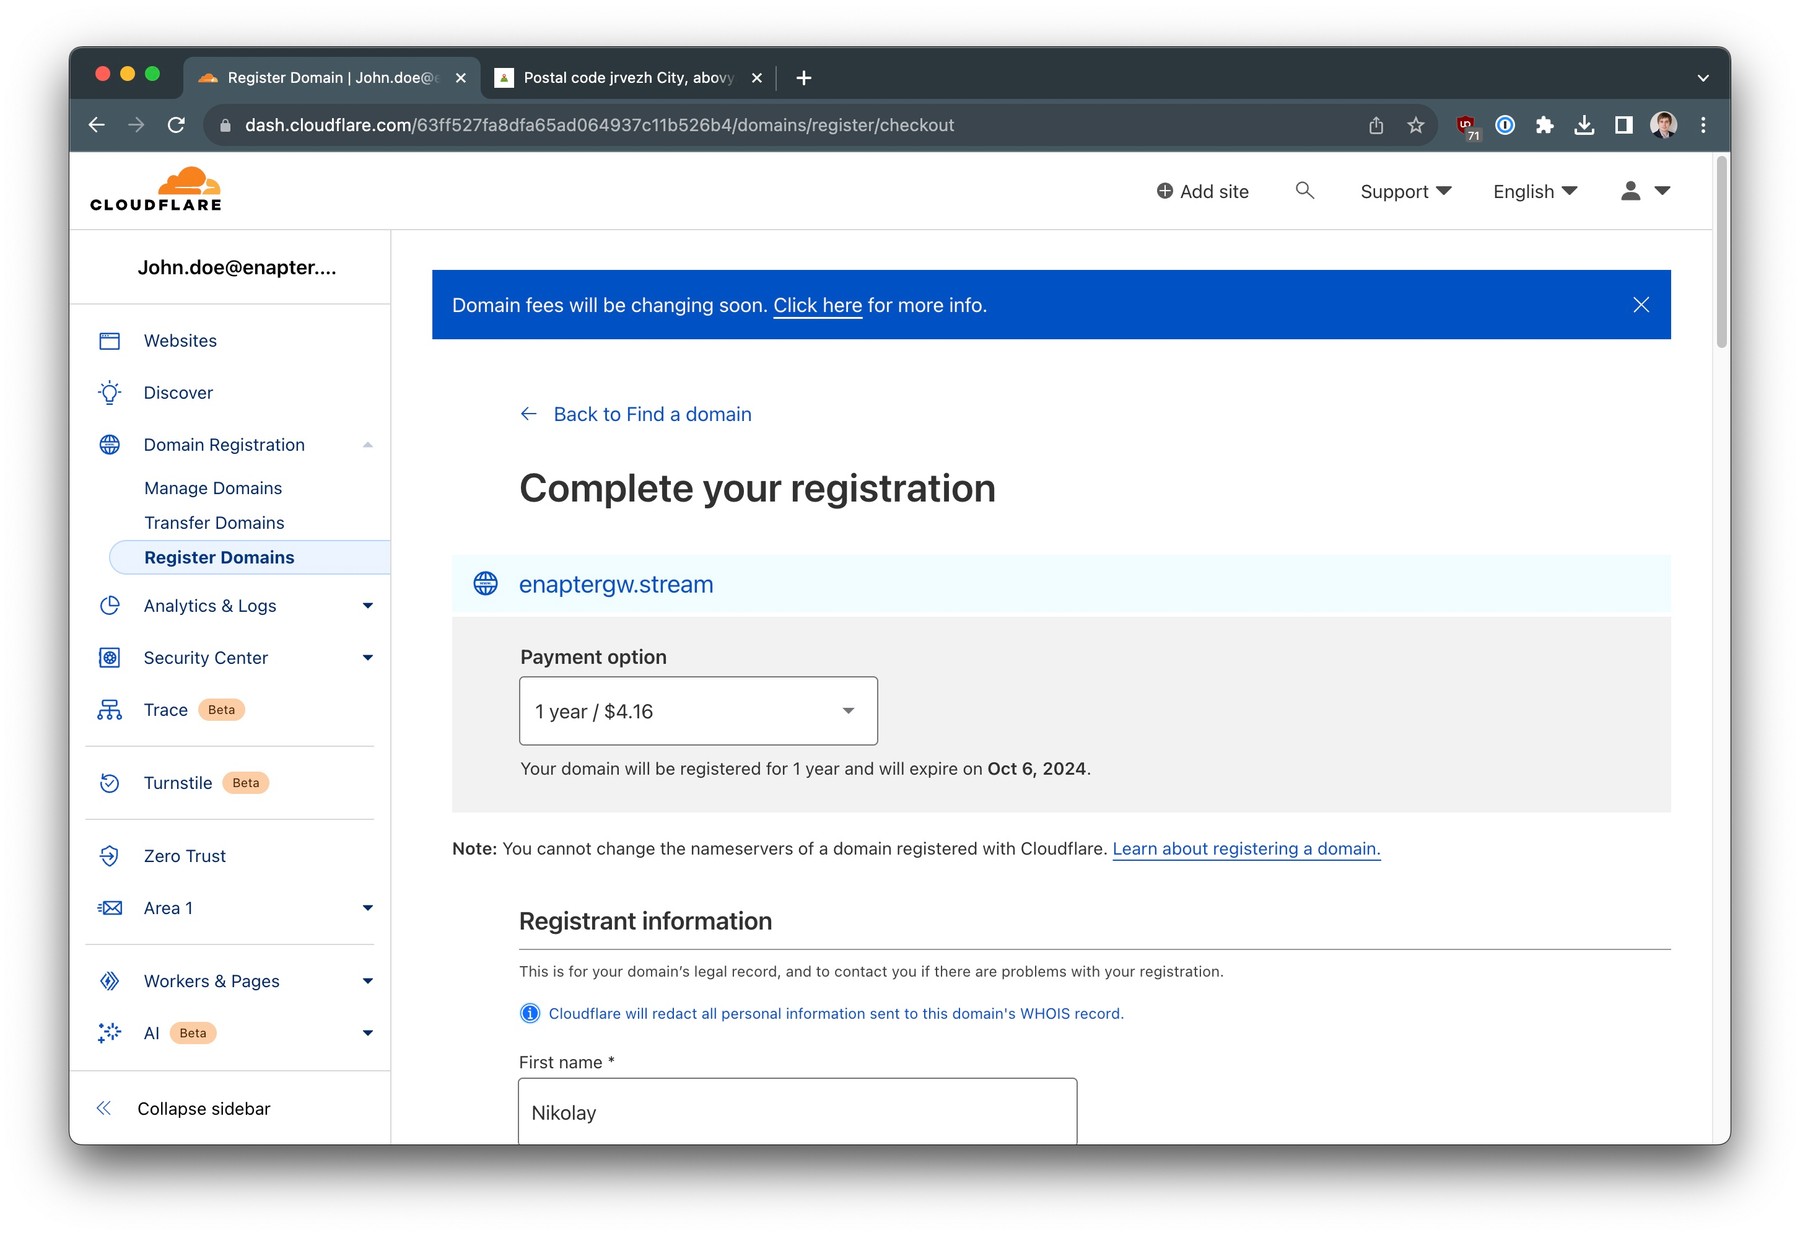
Select your payment options for the domain as well as enter valid registrant details and complete your purchase
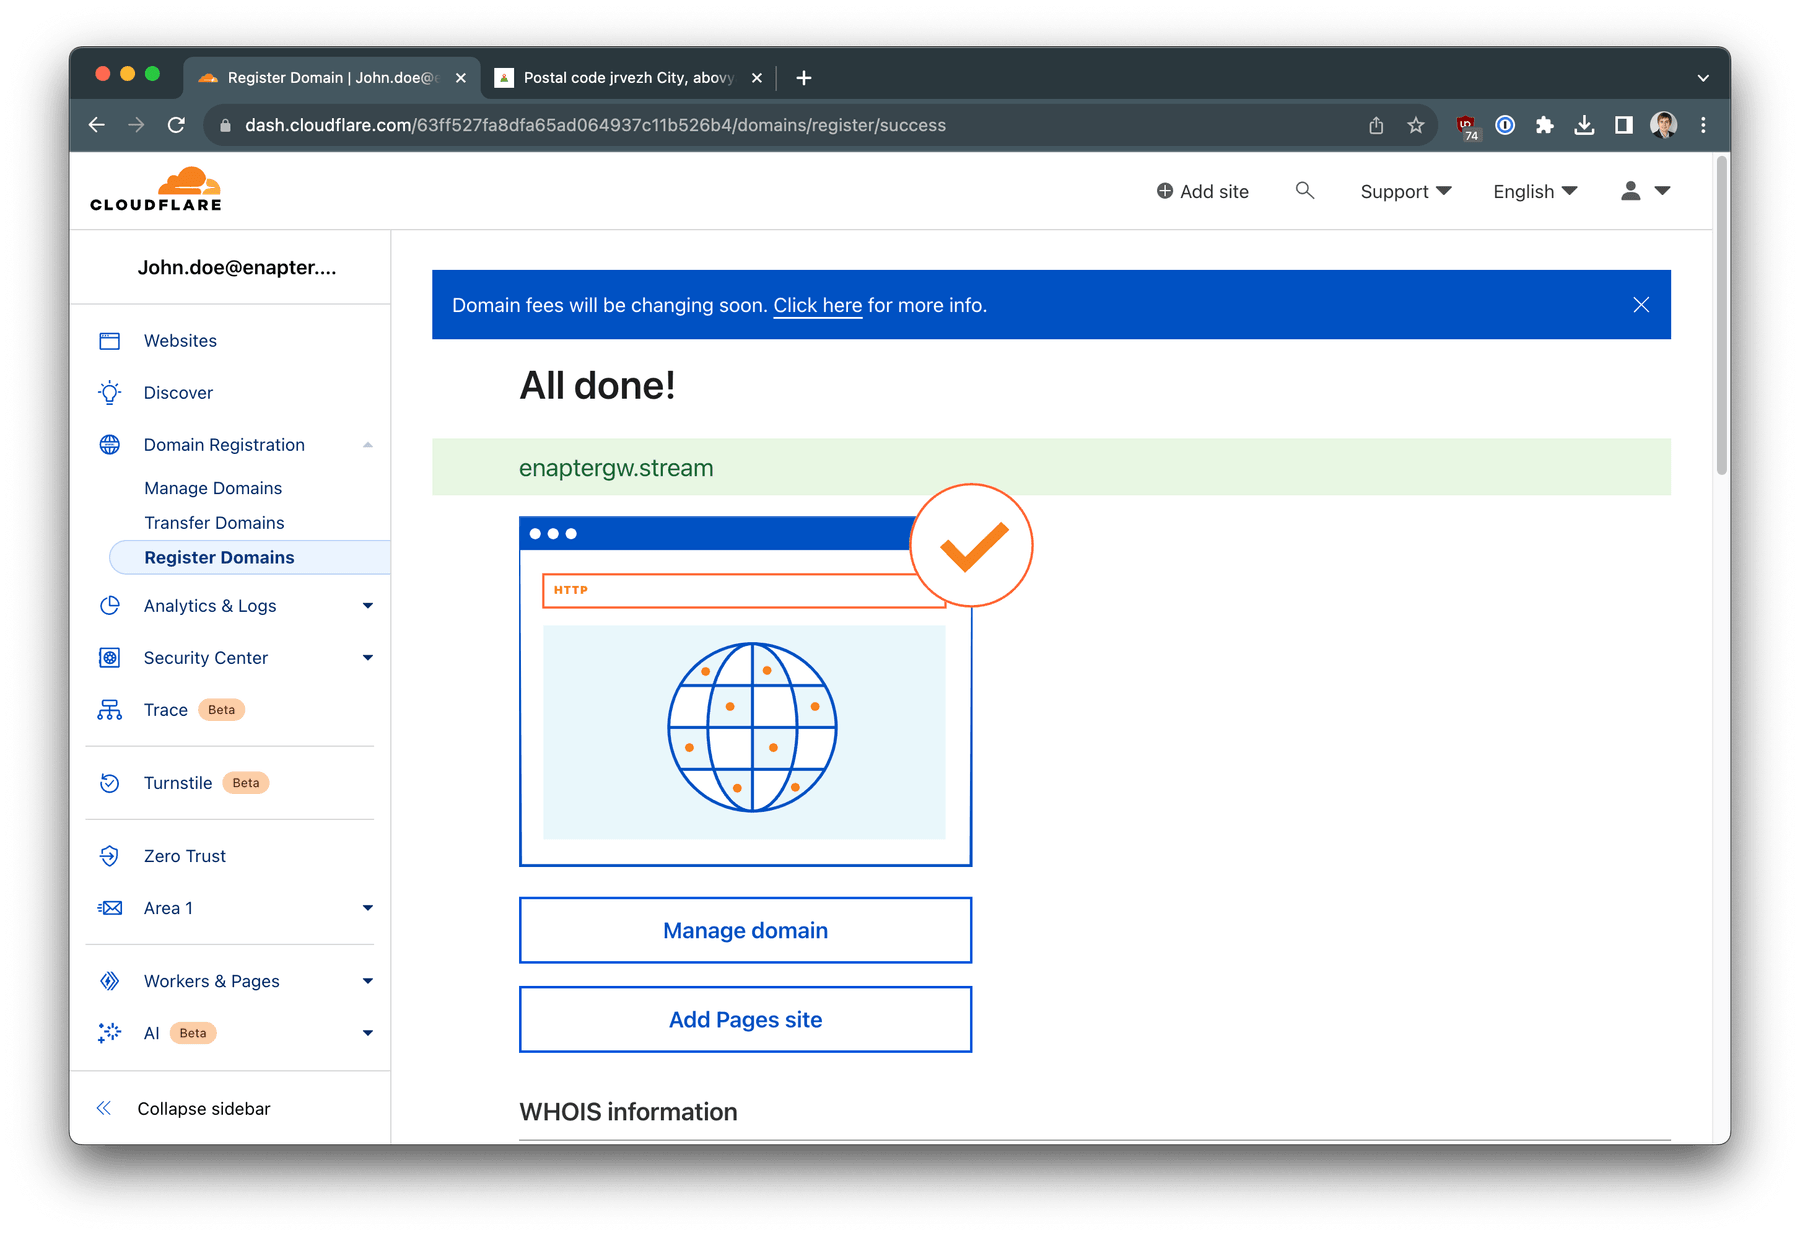
The domain registration is finished!
Configure Cloudflare Zero Trust
The next step would be to configure Zero Trust. Click on Zero Trust on the left panel.
You also need to choose and save team name for your Zero Trust. This team name will be required later on for remote access clients enrollment. In our guide we will be using team name enaptergw.
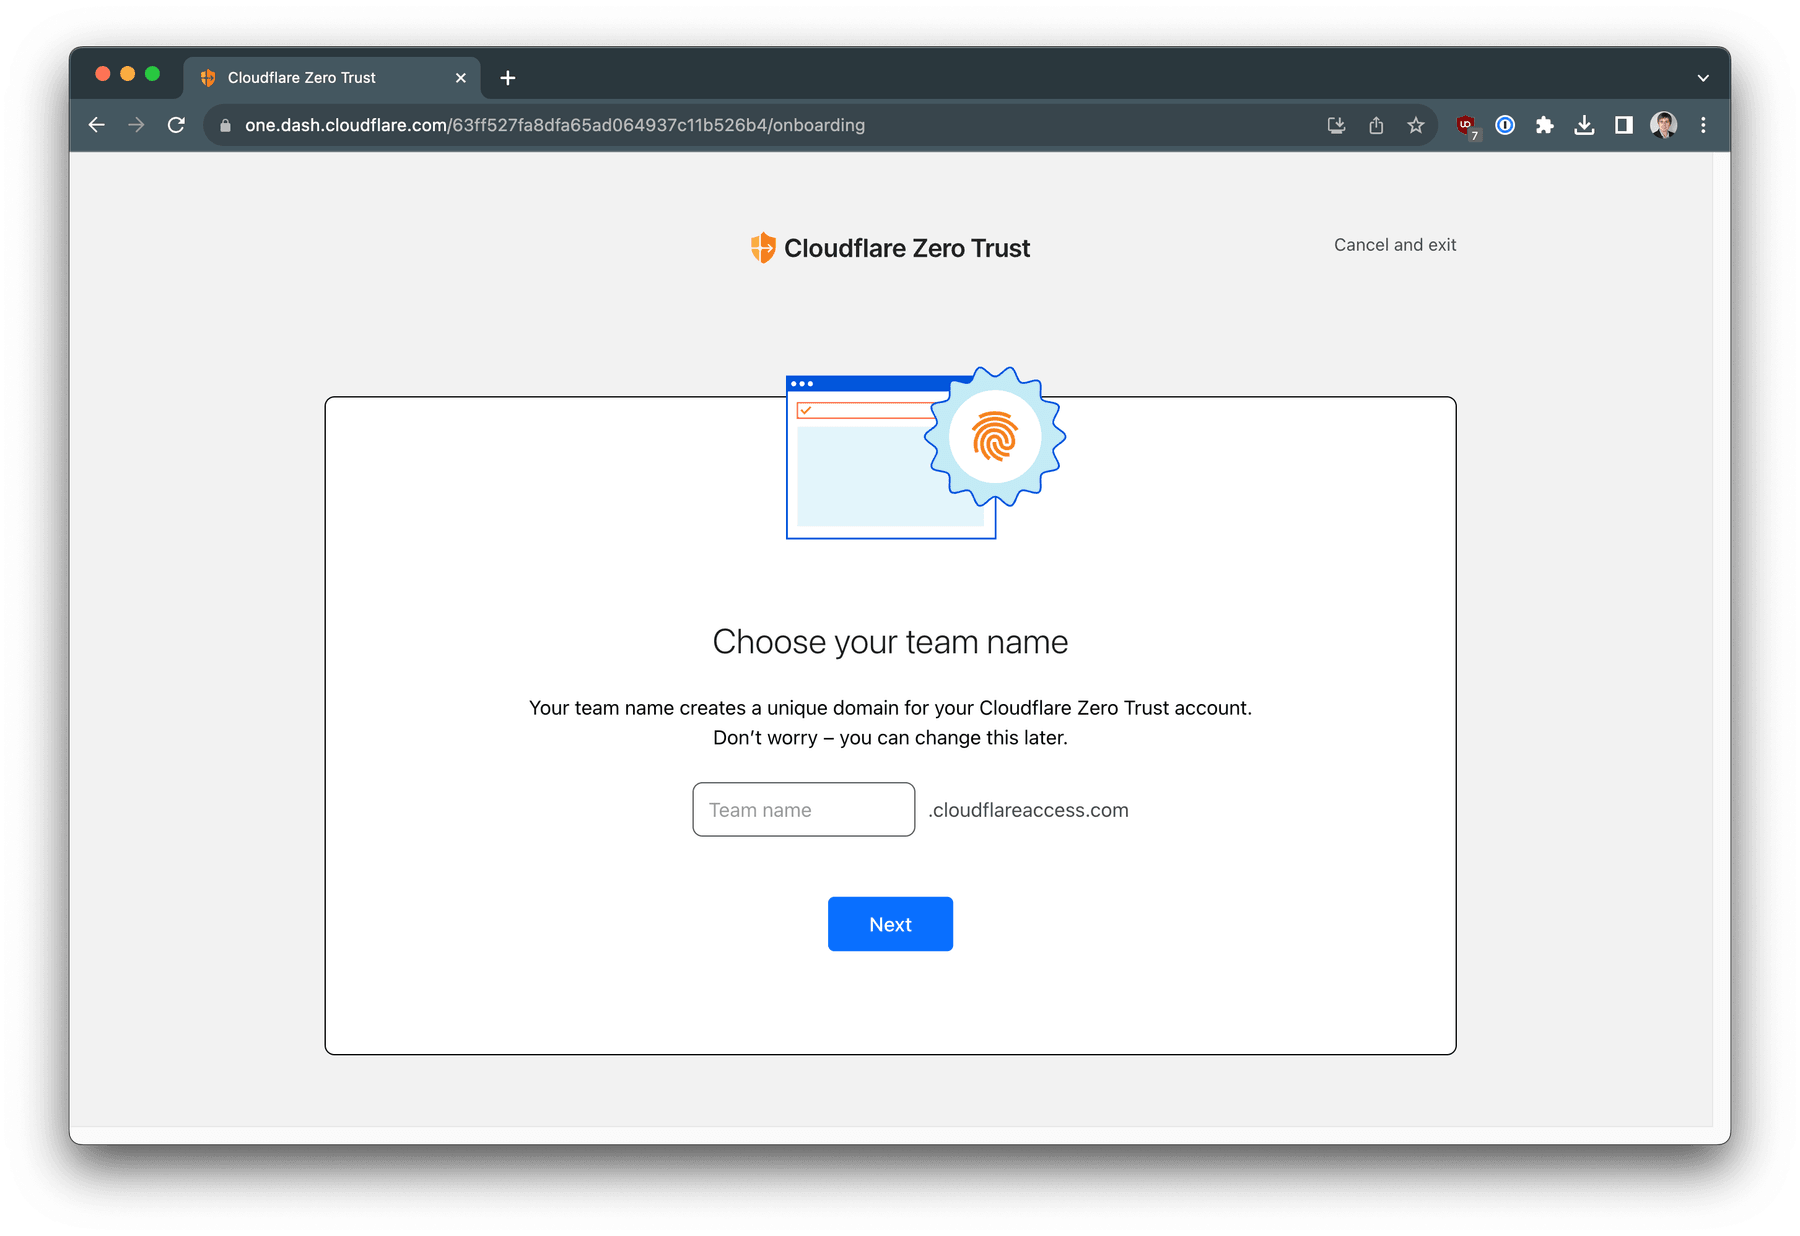
Choose and save unique team name for your Zero Trust service. Press
Next
button.
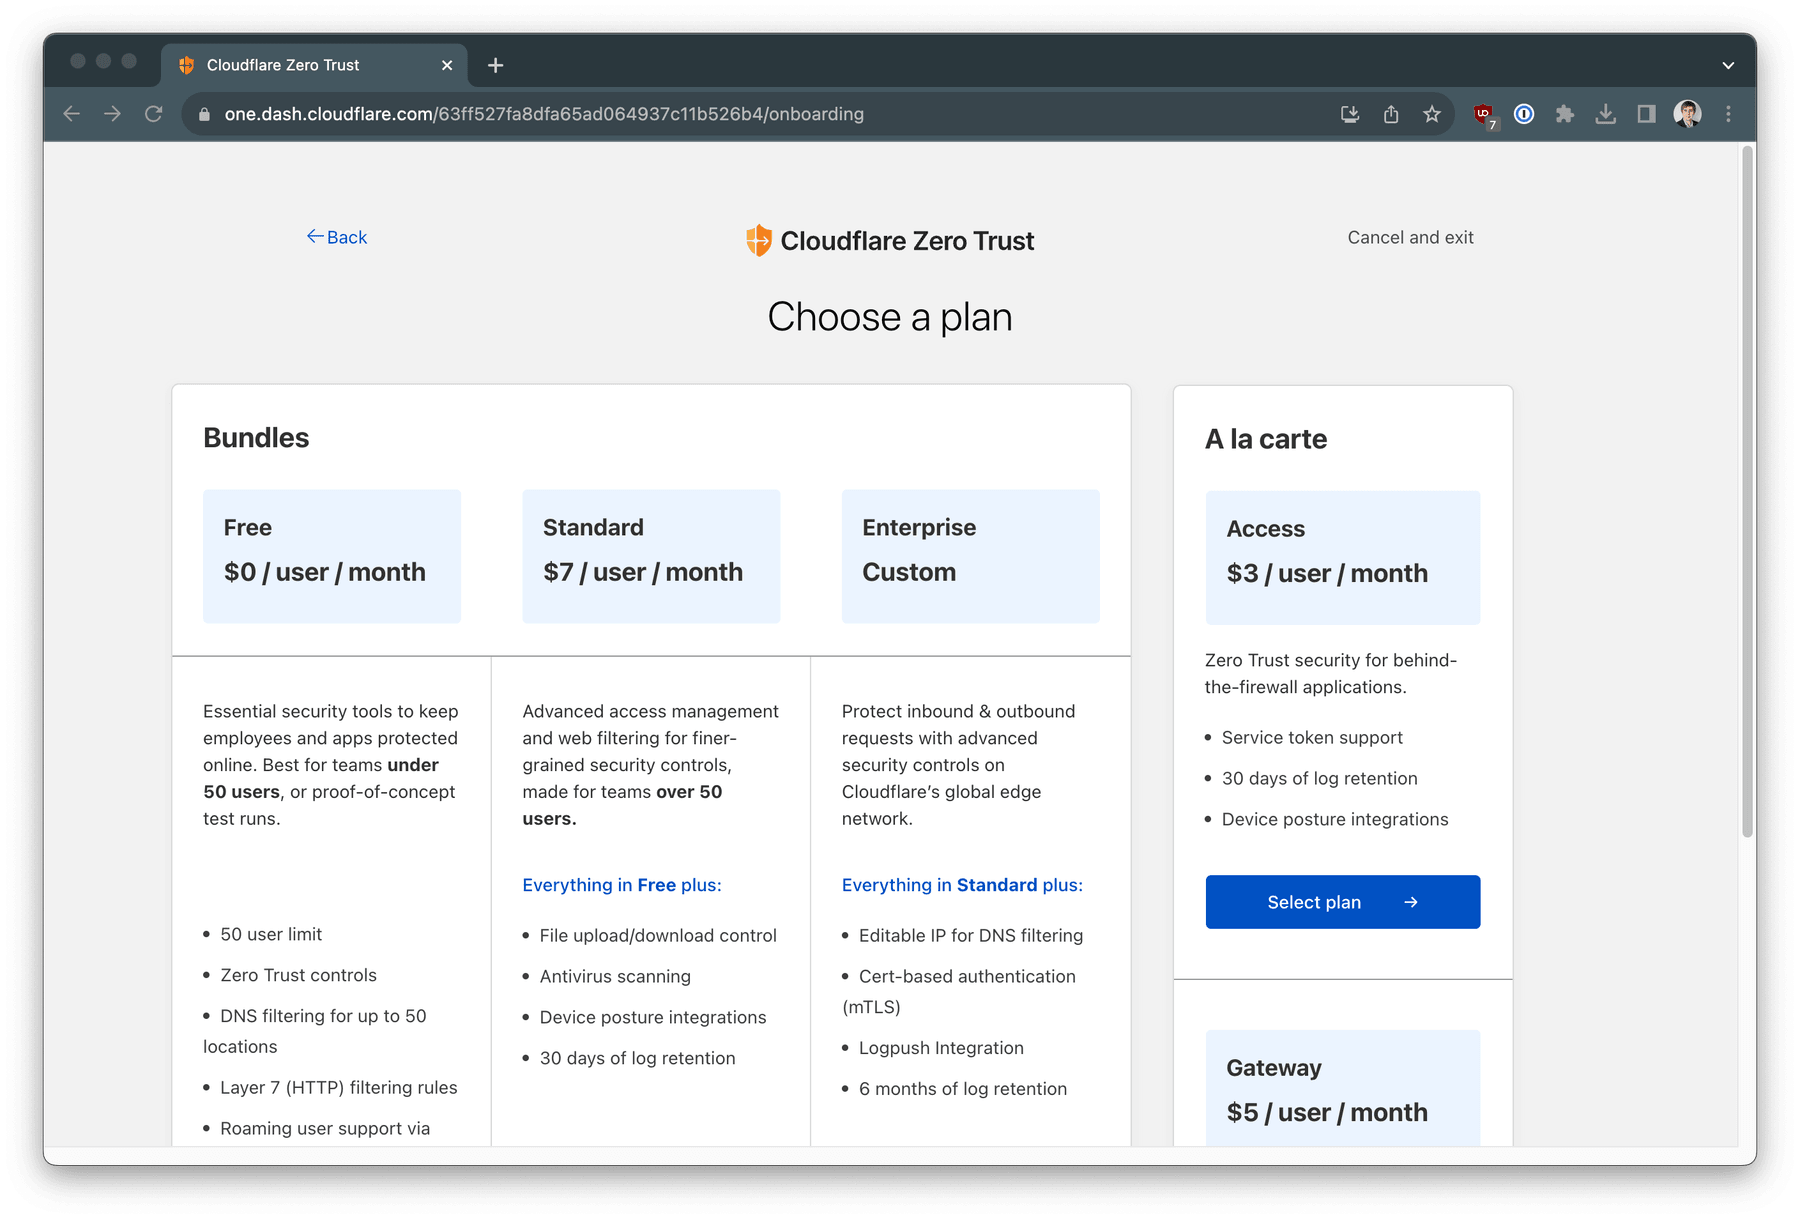
Select Free bundle which includes up to 50 free users.
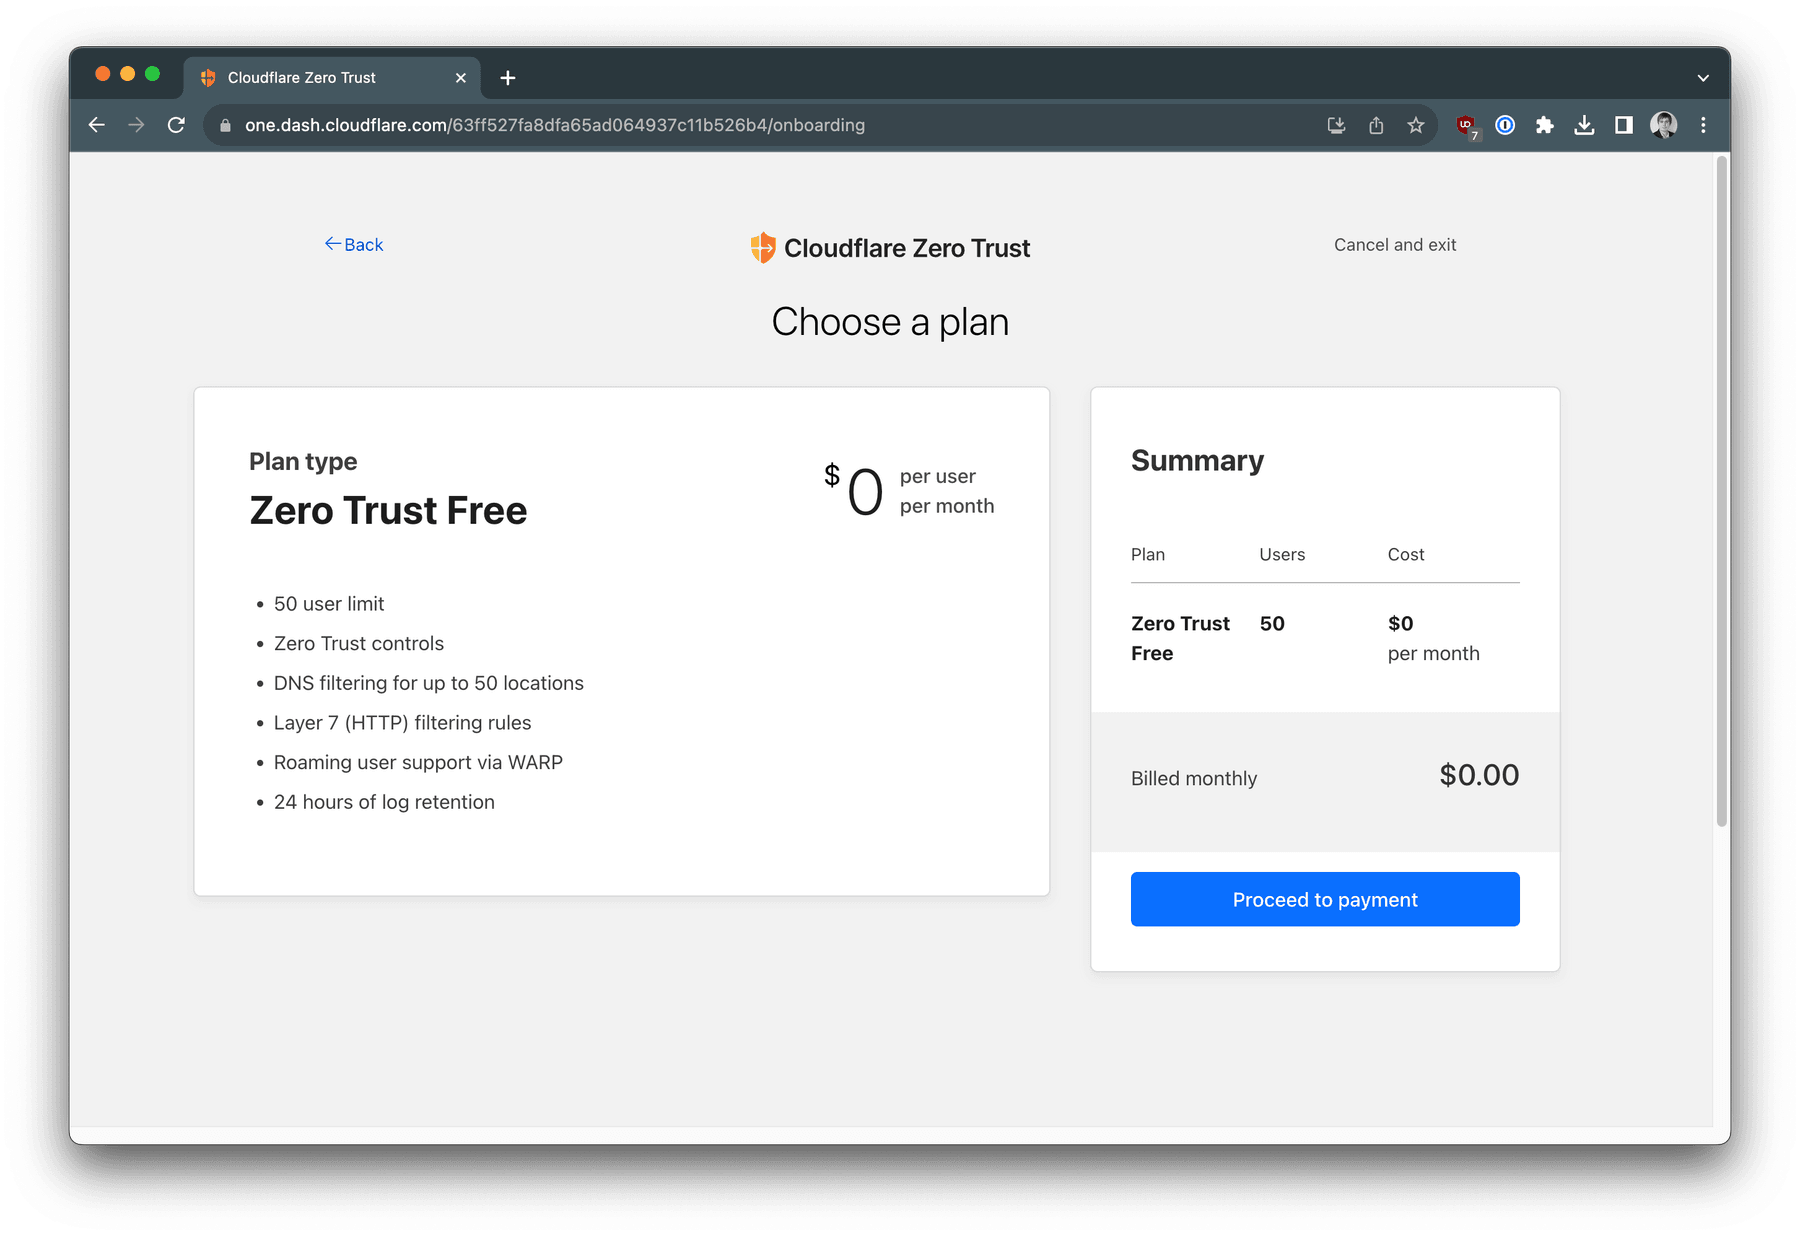
Check your bill. Press Proceed to payment button.
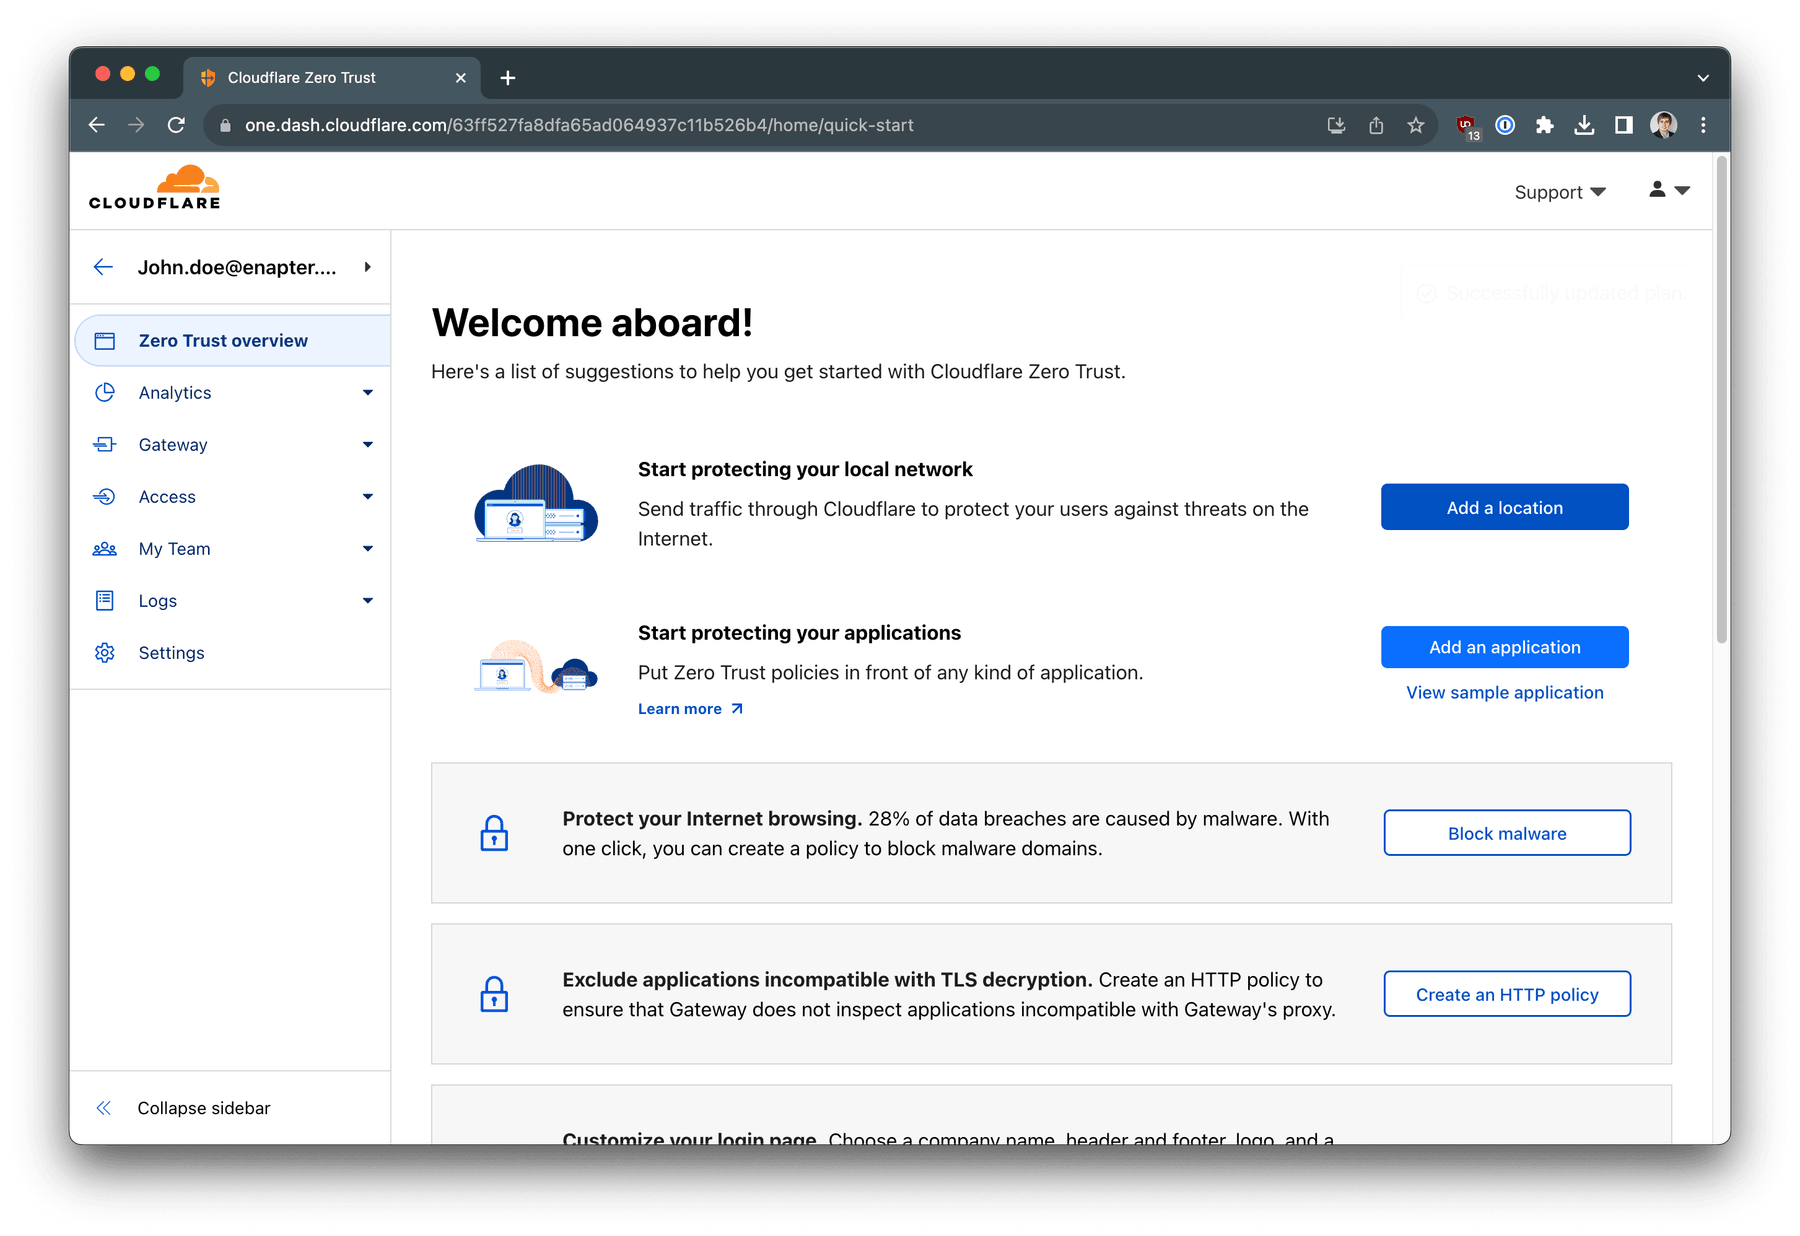
Basic setup of Cloudflare Zero Trust is finished
Connecting Enapter Gateway to Cloudflare Zero Trust using Tunnel
Now we are ready to connect our LAN to the Zero Trust service using Enapter Gateway and Tunnel. For this we need to know few things:
- Enapter Gateway IP address in the LAN
- Network and Netmask. In this guide we will use the network 192.168.123.0 and netmask 255.255.255.0 (/24), CIDR
192.168.123.0/24.
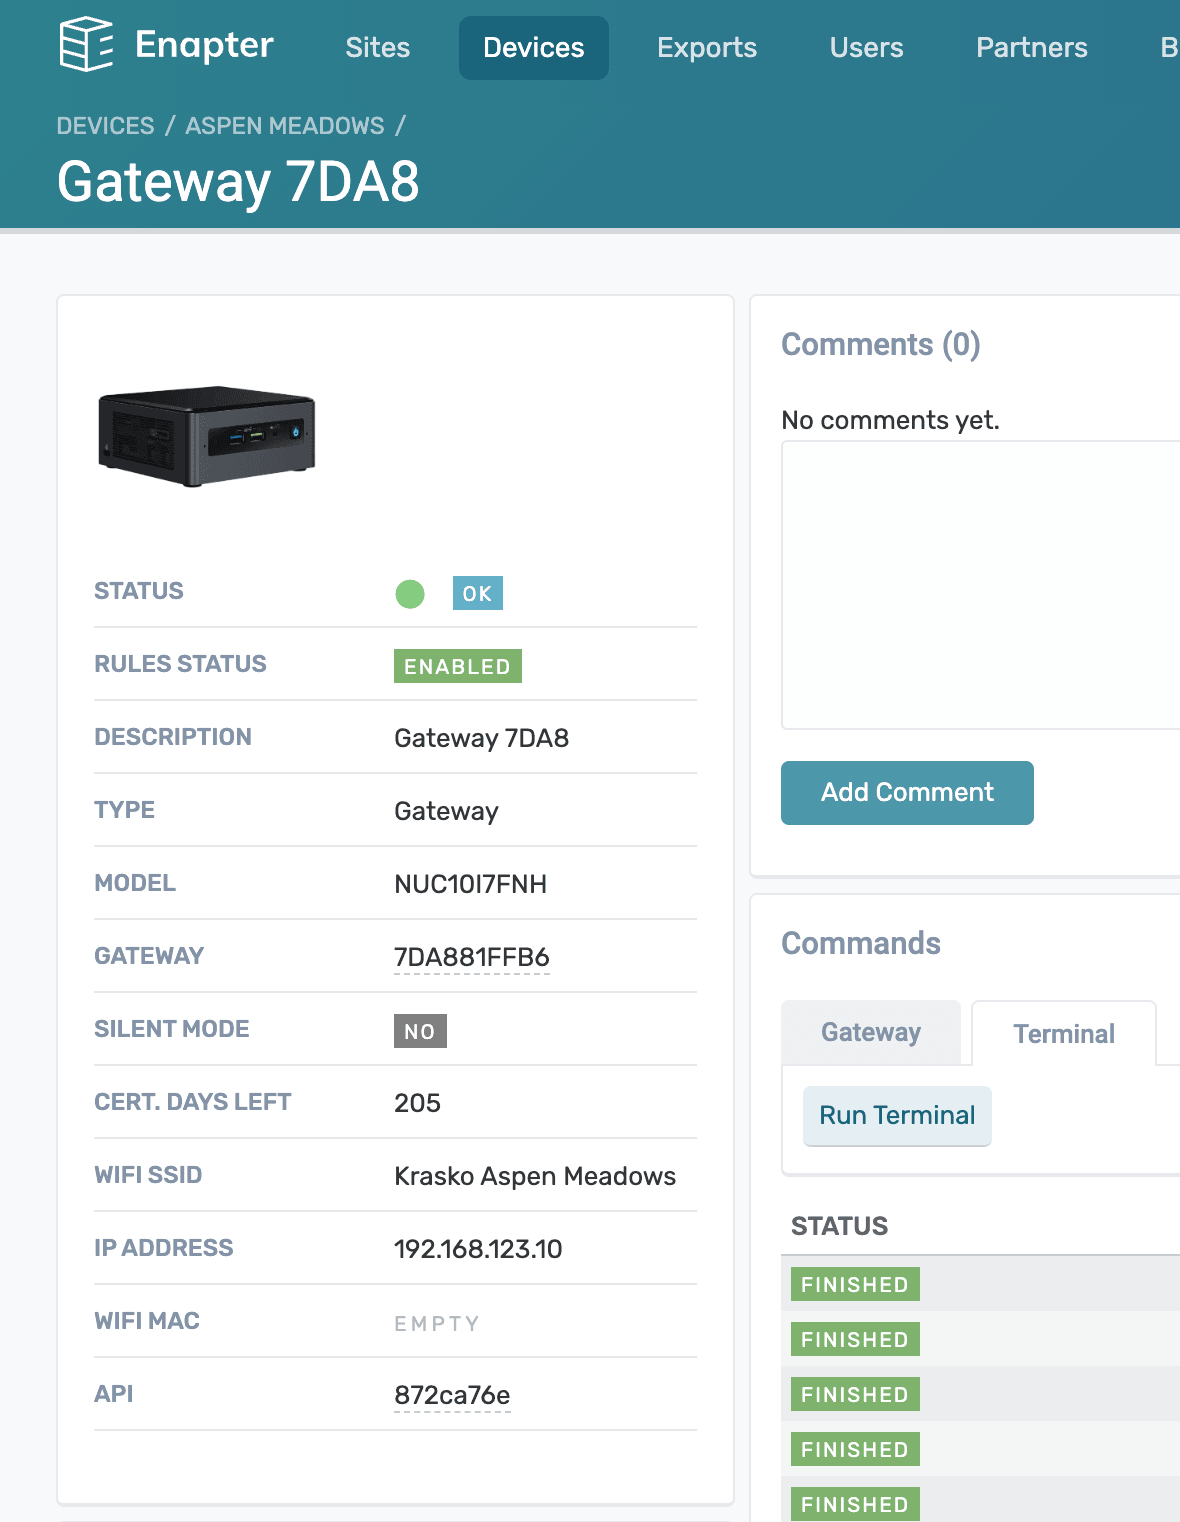
You can find IP address of your Enapter Gateway in CLI or at the Gateway information panel in the Enapter Cloud.
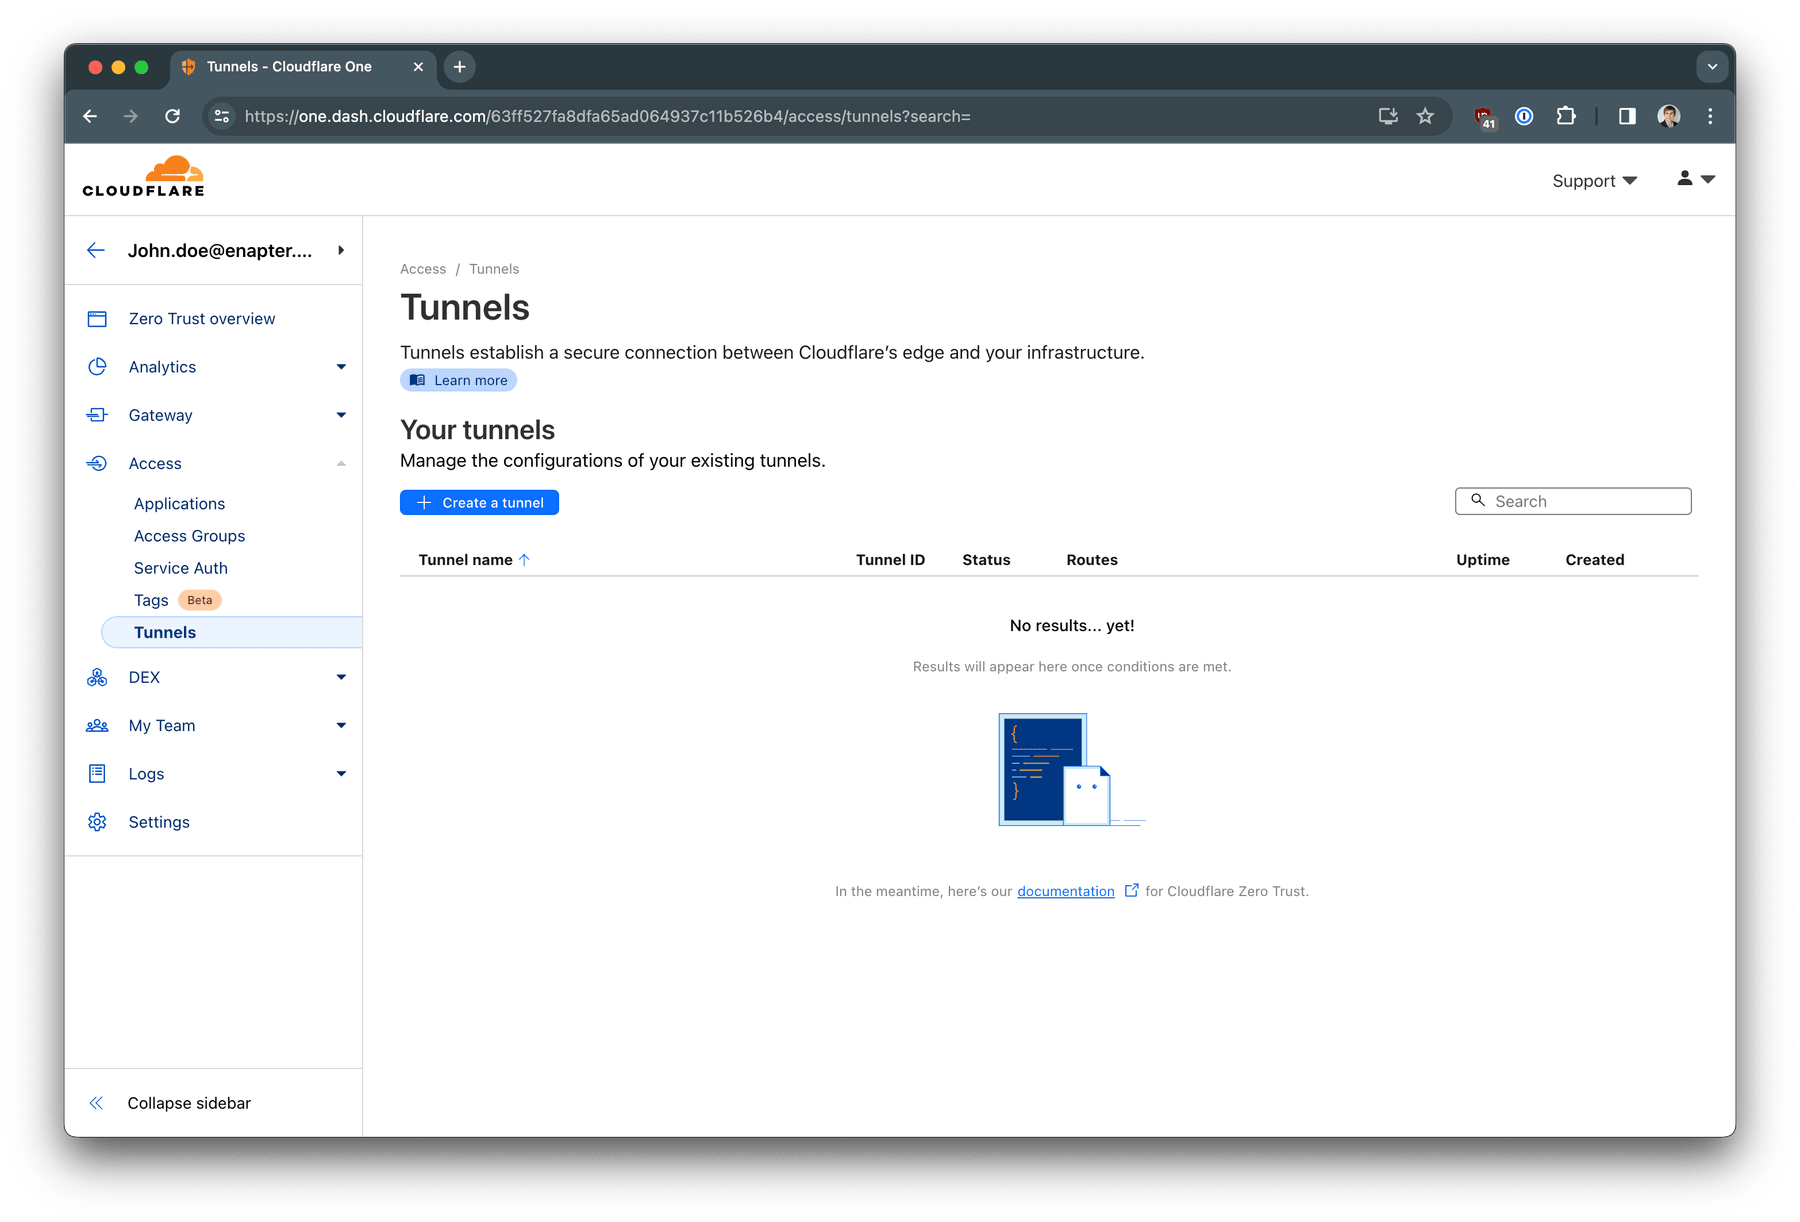
Navigate to Access -> Tunnels
Press + Create a tunnel button to create your tunnel with Enapter
Gateway
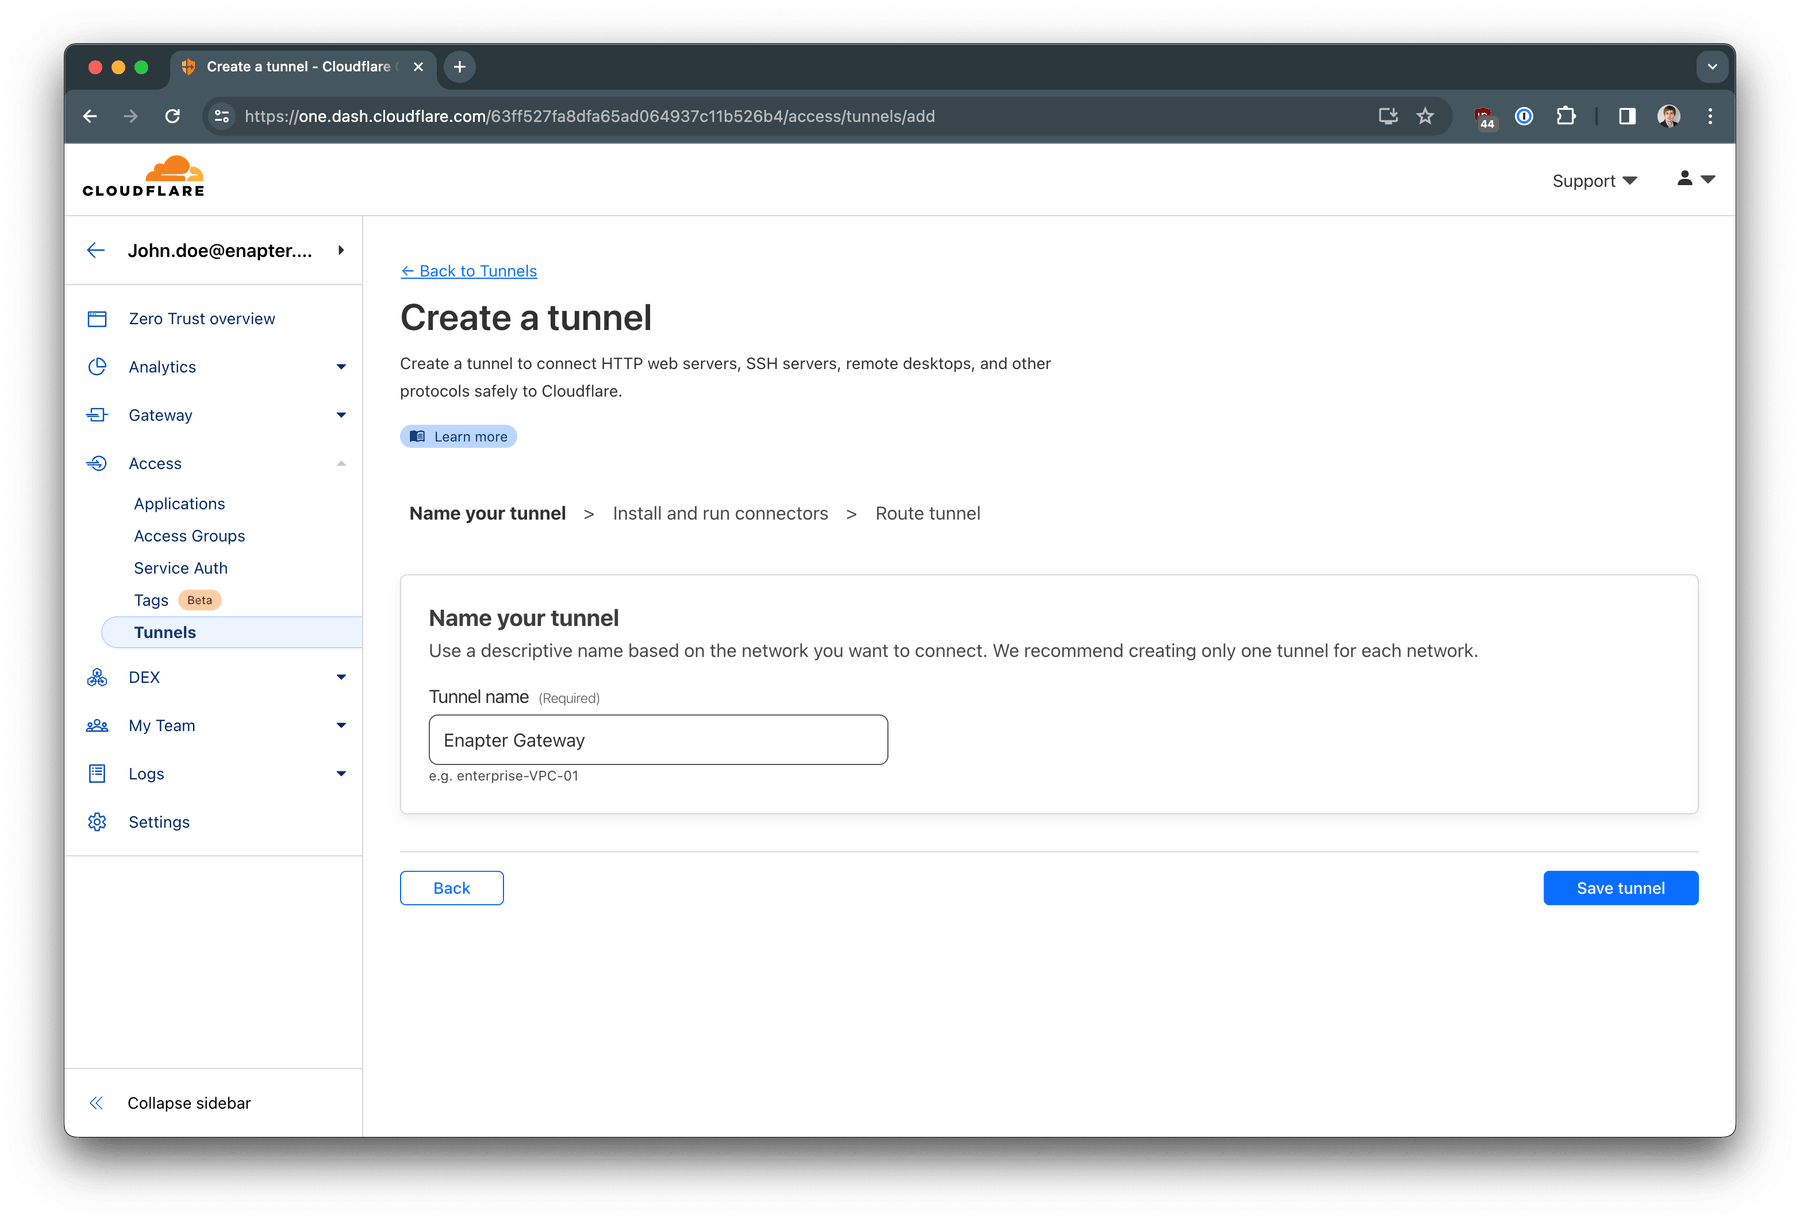
Choose your tunnel name. Click Save tunnel button
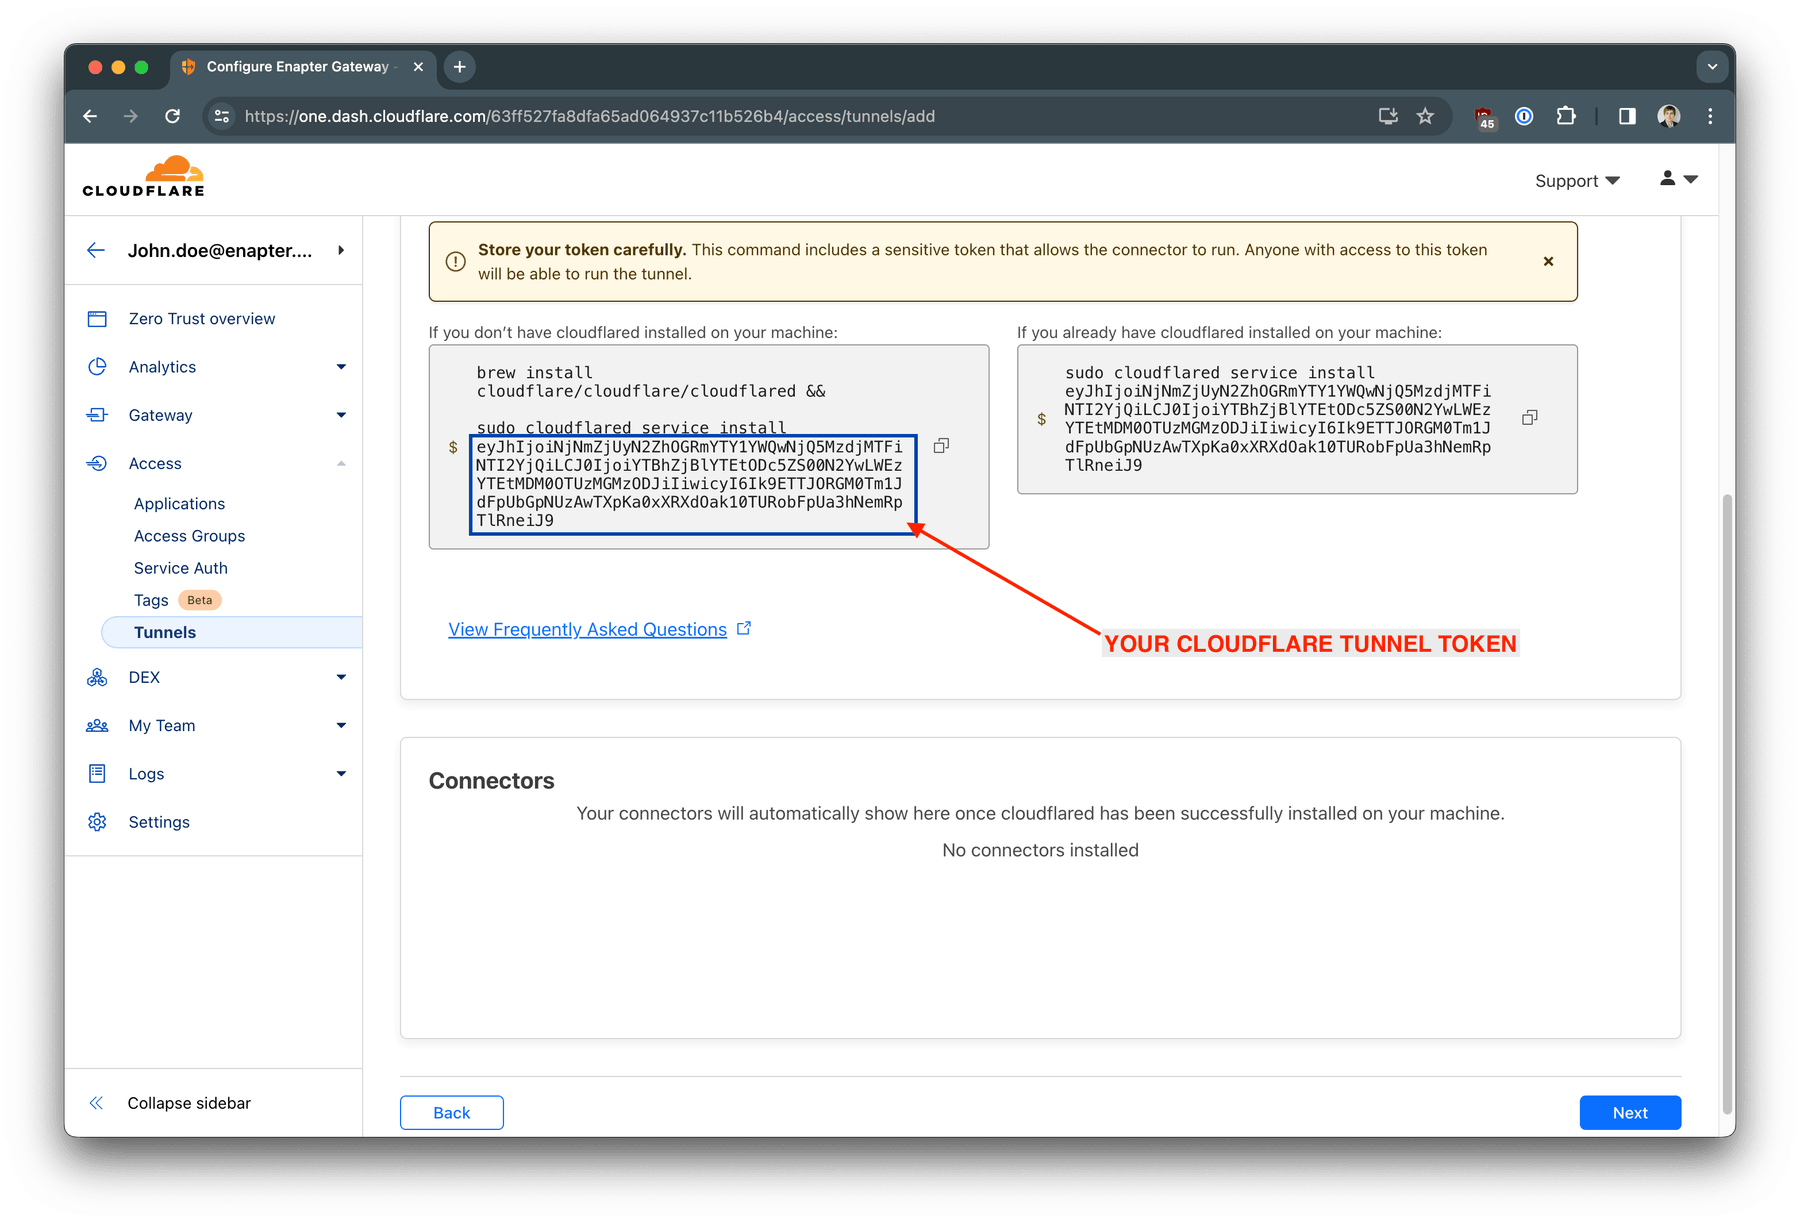
Copy and save your tunnel token for the next step
Let's setup Cloudflare Tunnel on the Enapter Gateway side.
Open terminal of your Enapter Gateway. You can use direct SSH connection or you can use Web Terminal in the Enapter Cloud. In this example we will use direct SSH connection.
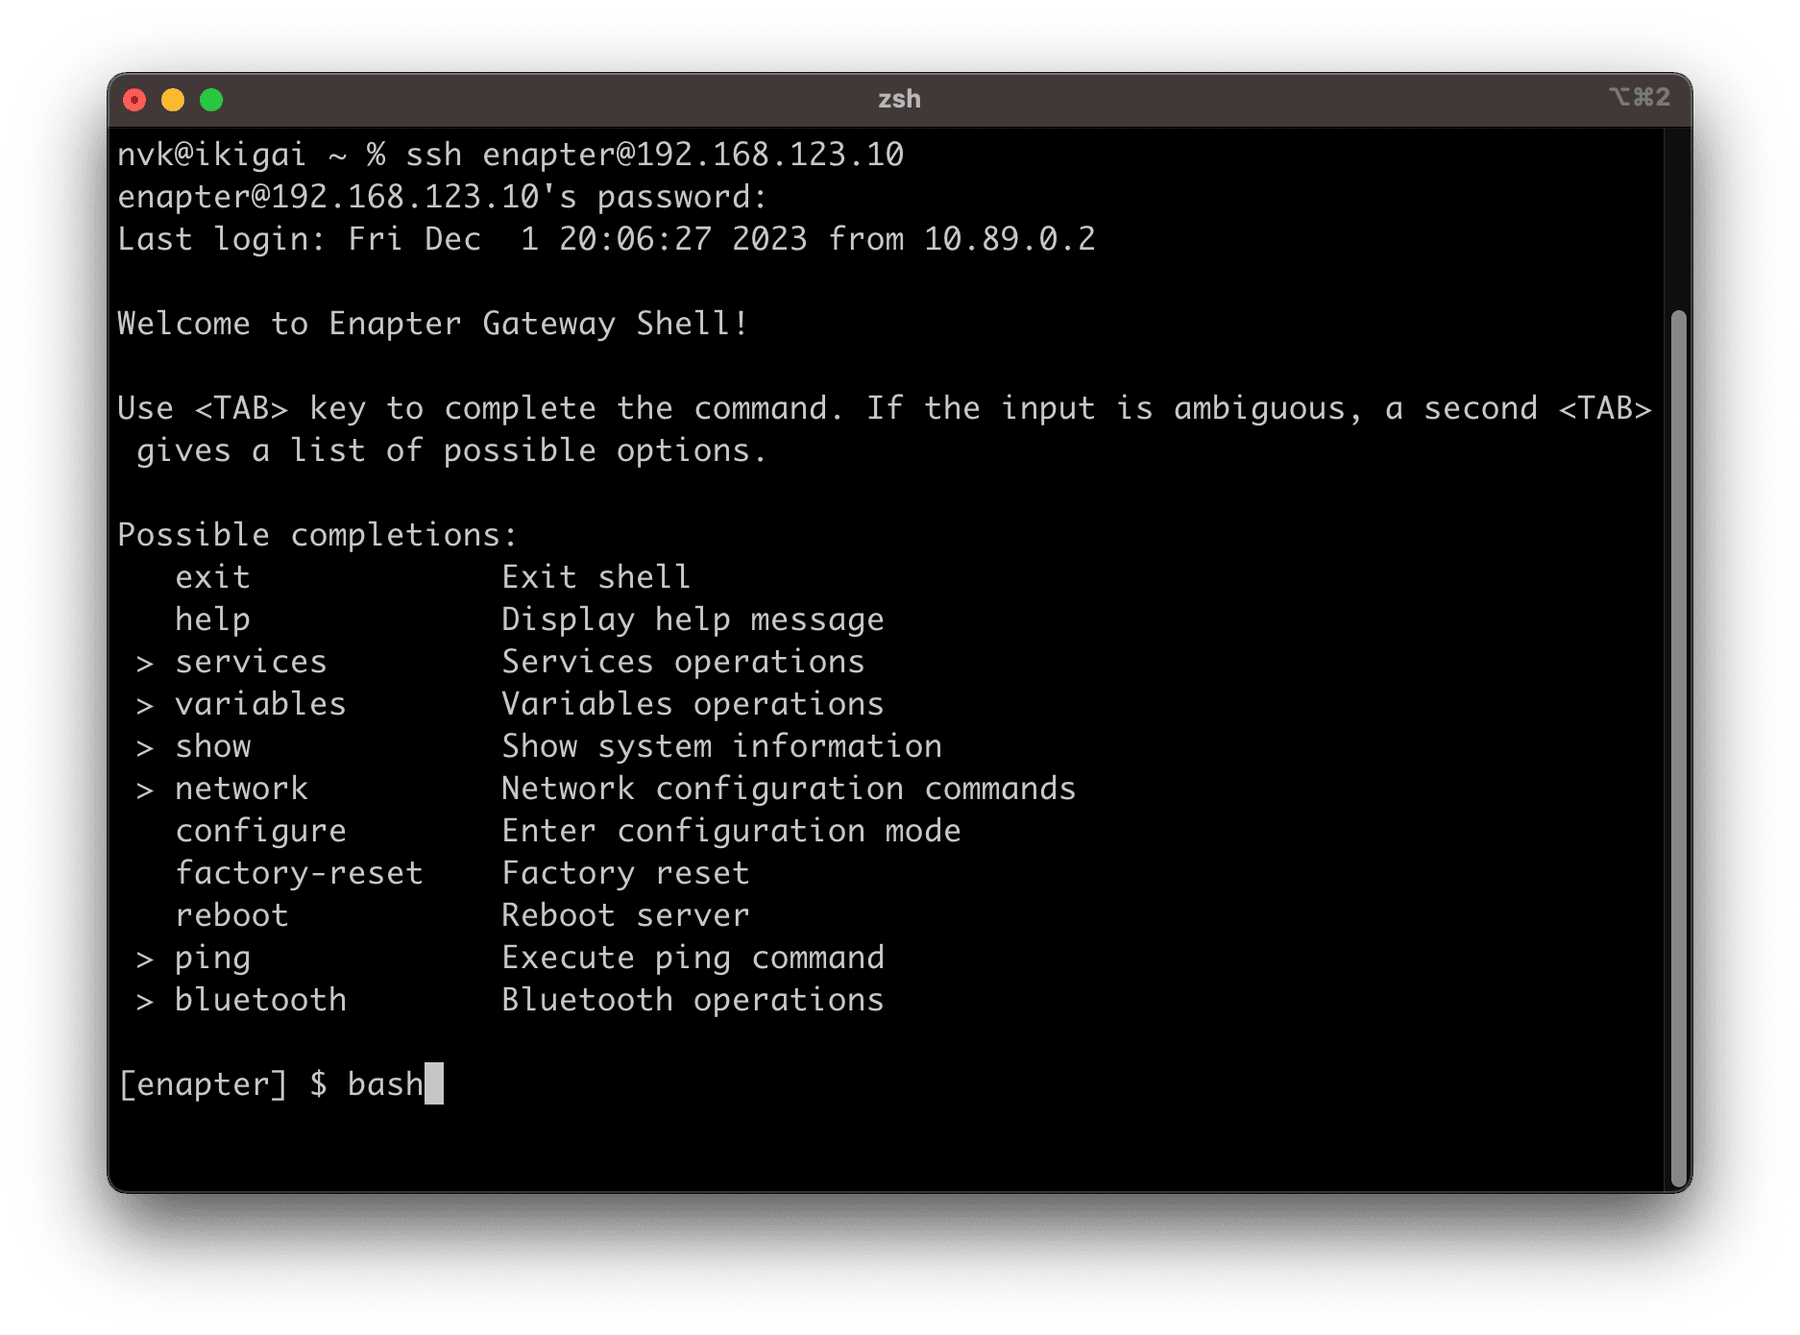
Connect to SSH and enter bash command
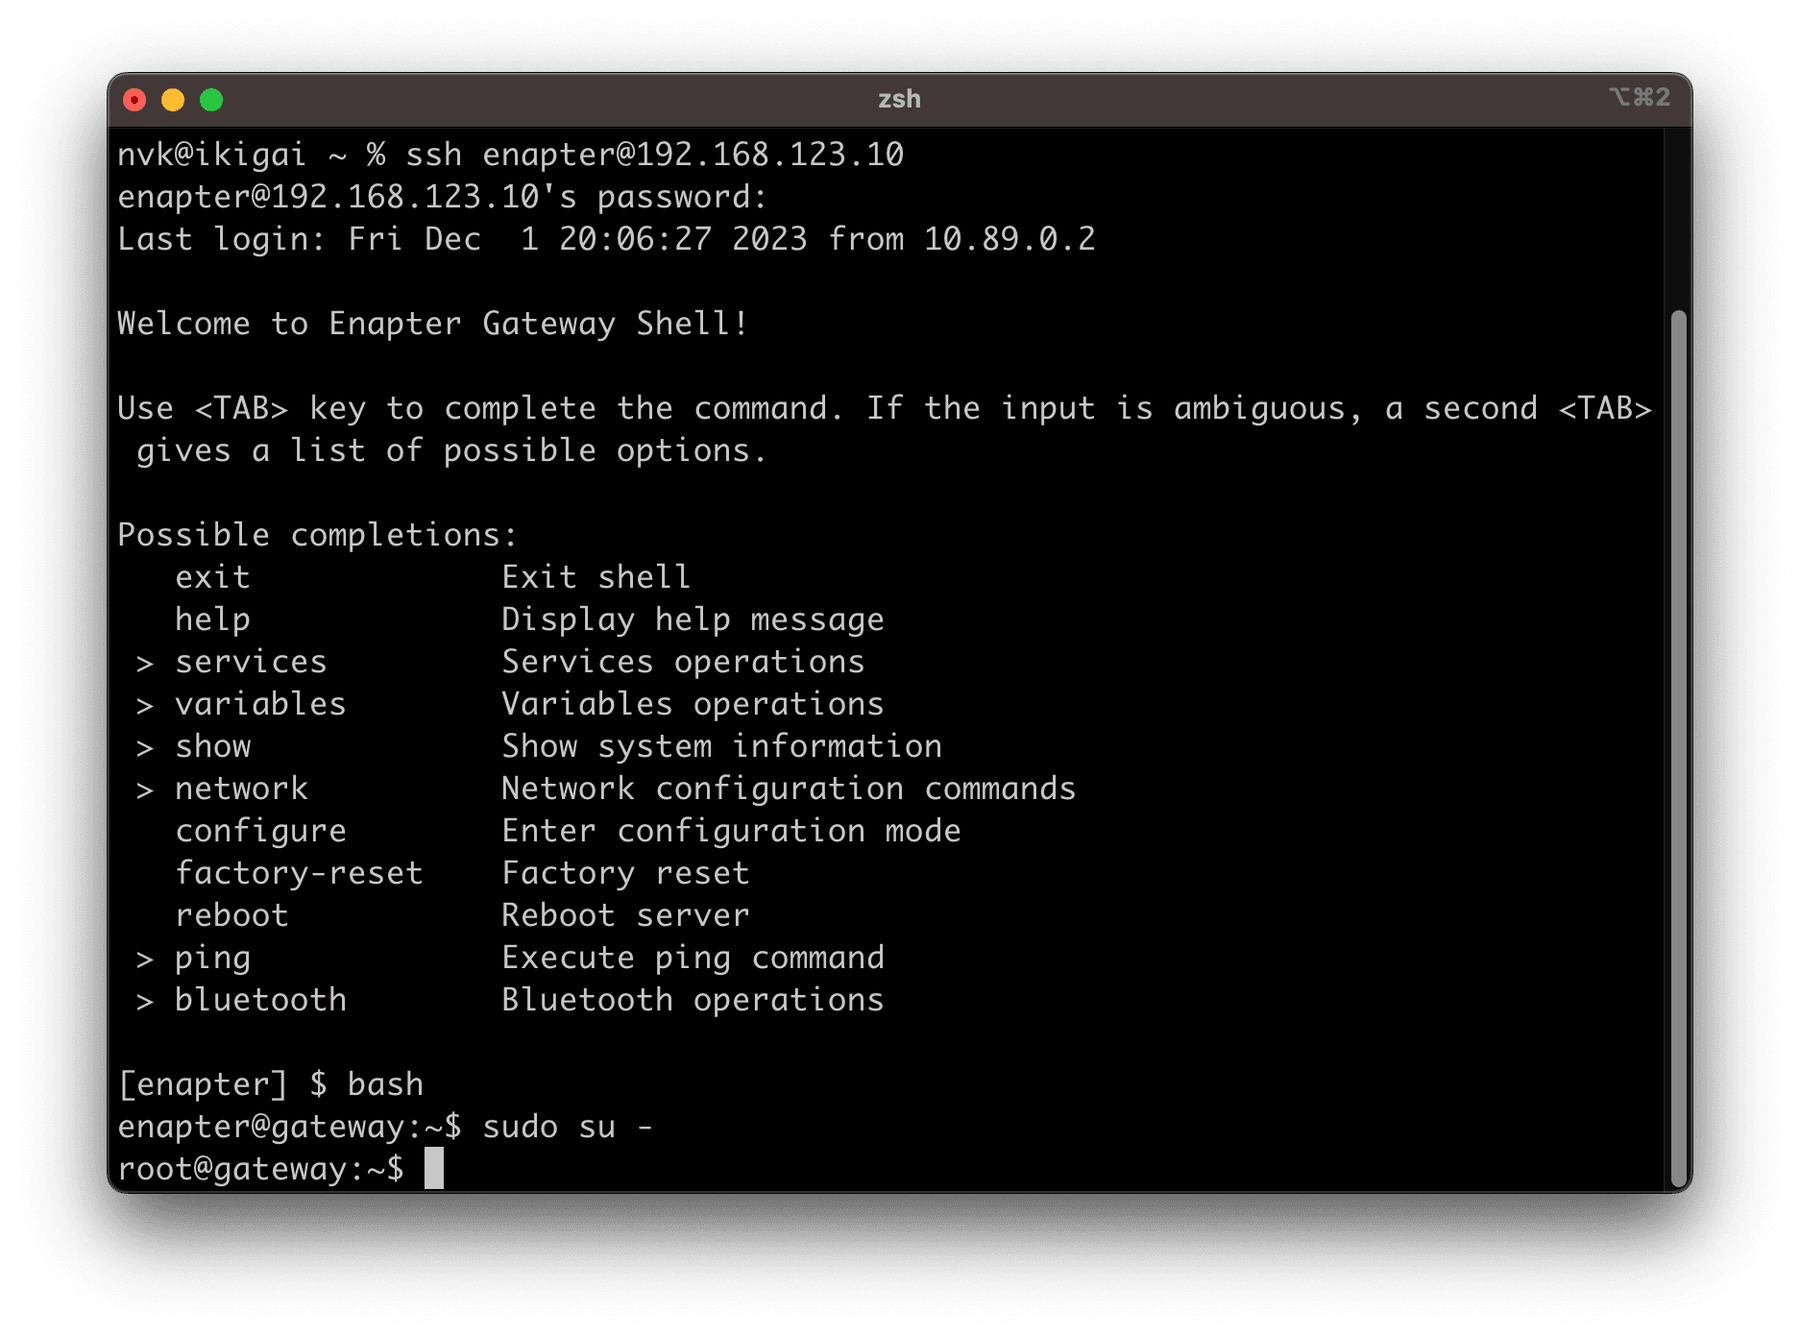
Switch to root account using sudo su - command
Create configuration file with nano /user/etc/enapter/user-cloudflared.env command.
Put following line with saved token.
TUNNEL_TOKEN=YOUR_CLOUDFLARE_TUNNEL_TOKEN
Since some time there is open issue in docker-compose which doesn't allow to use quotes in the environment files. Therefore it is recommended to use TUNNEL_TOKEN variable without quotes.
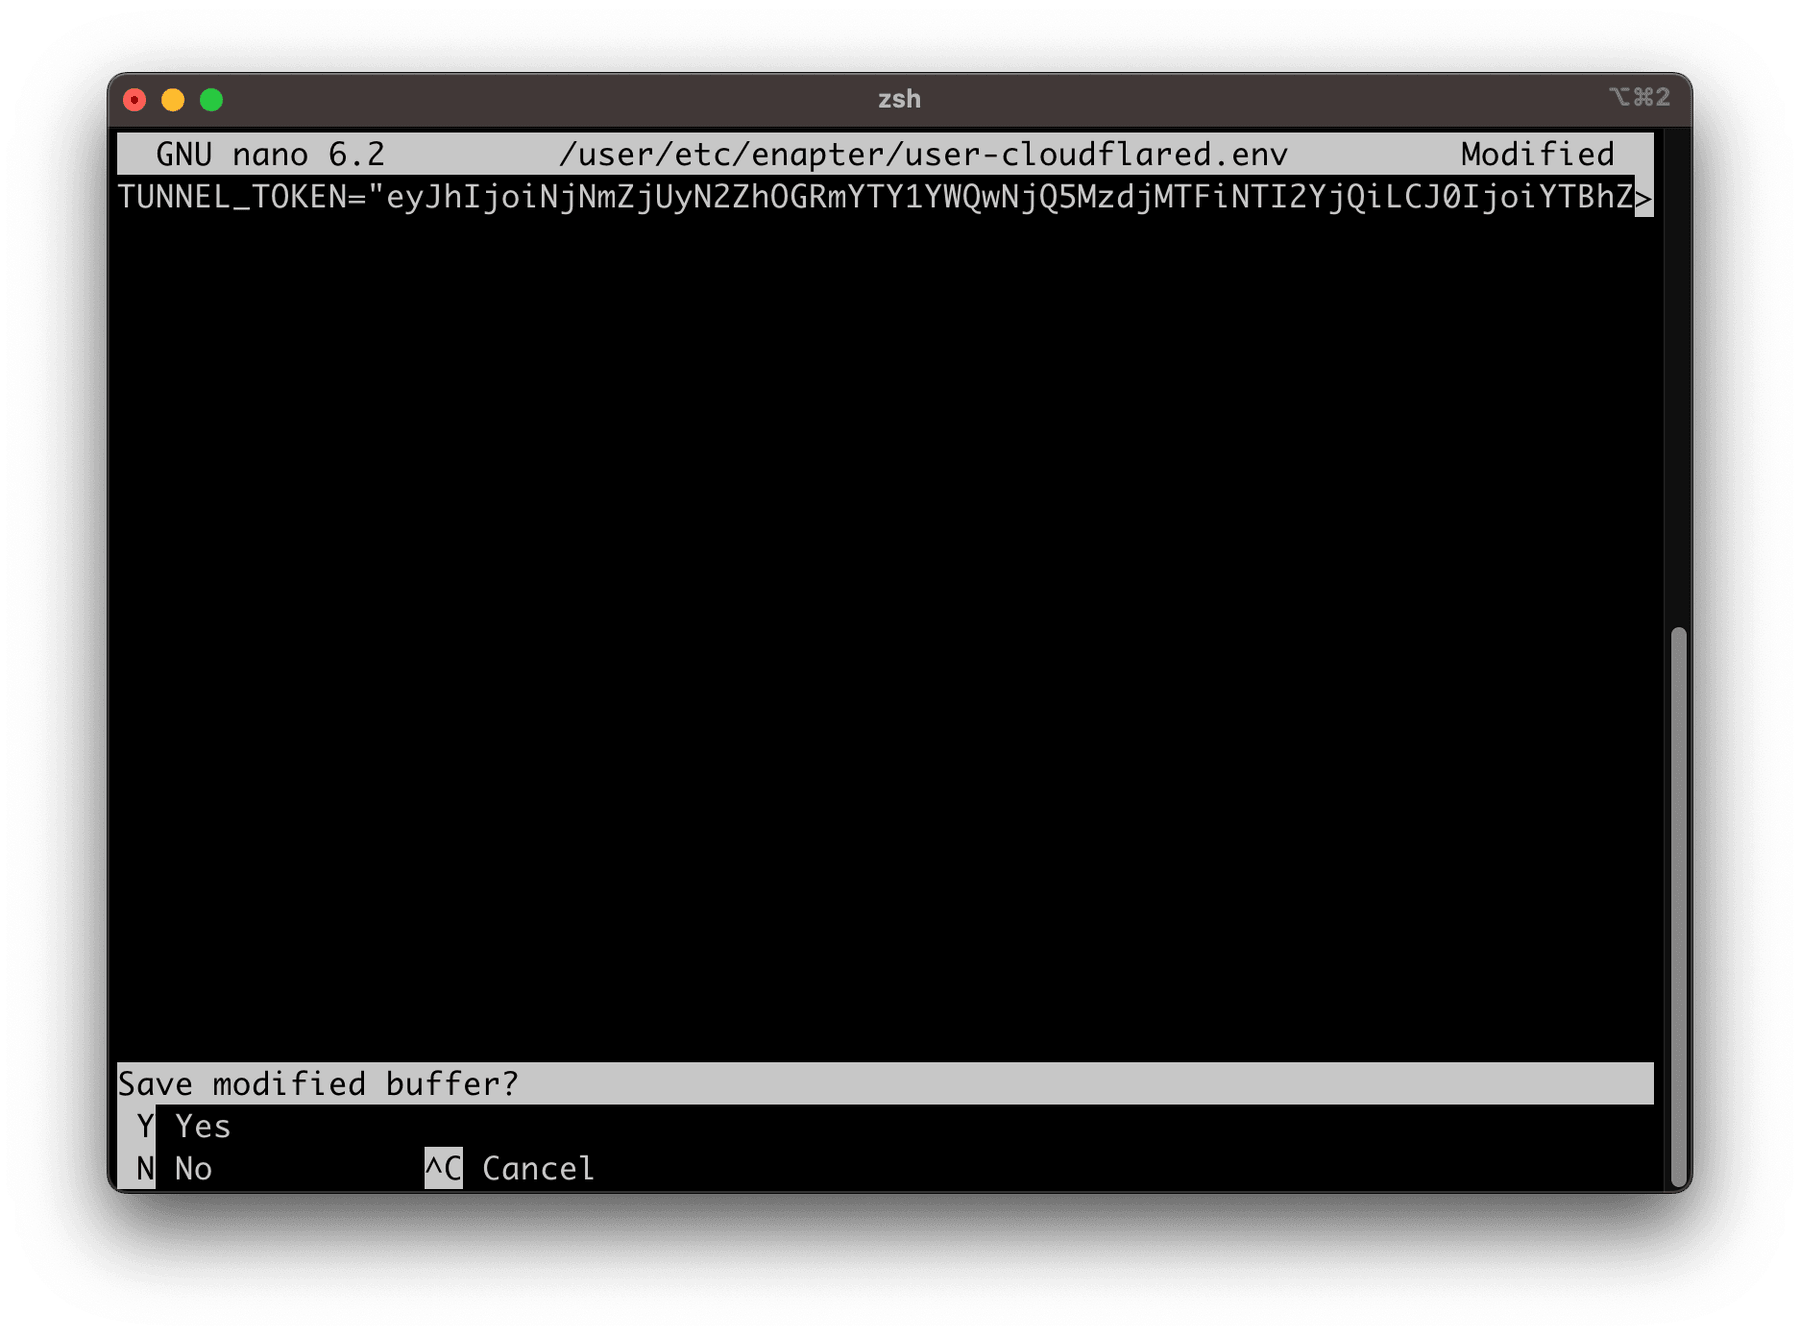
Press CTRL+X to exit and save config file.
Edit configuration file with nano /user/etc/docker-compose/docker-compose.yml command.
Put the following configuration to start the tunnel under services section
services:
  cloudflared:
    env_file: /user/etc/enapter/user-cloudflared.env
    image: cloudflare/cloudflared
    command: tunnel run
    user: root:root
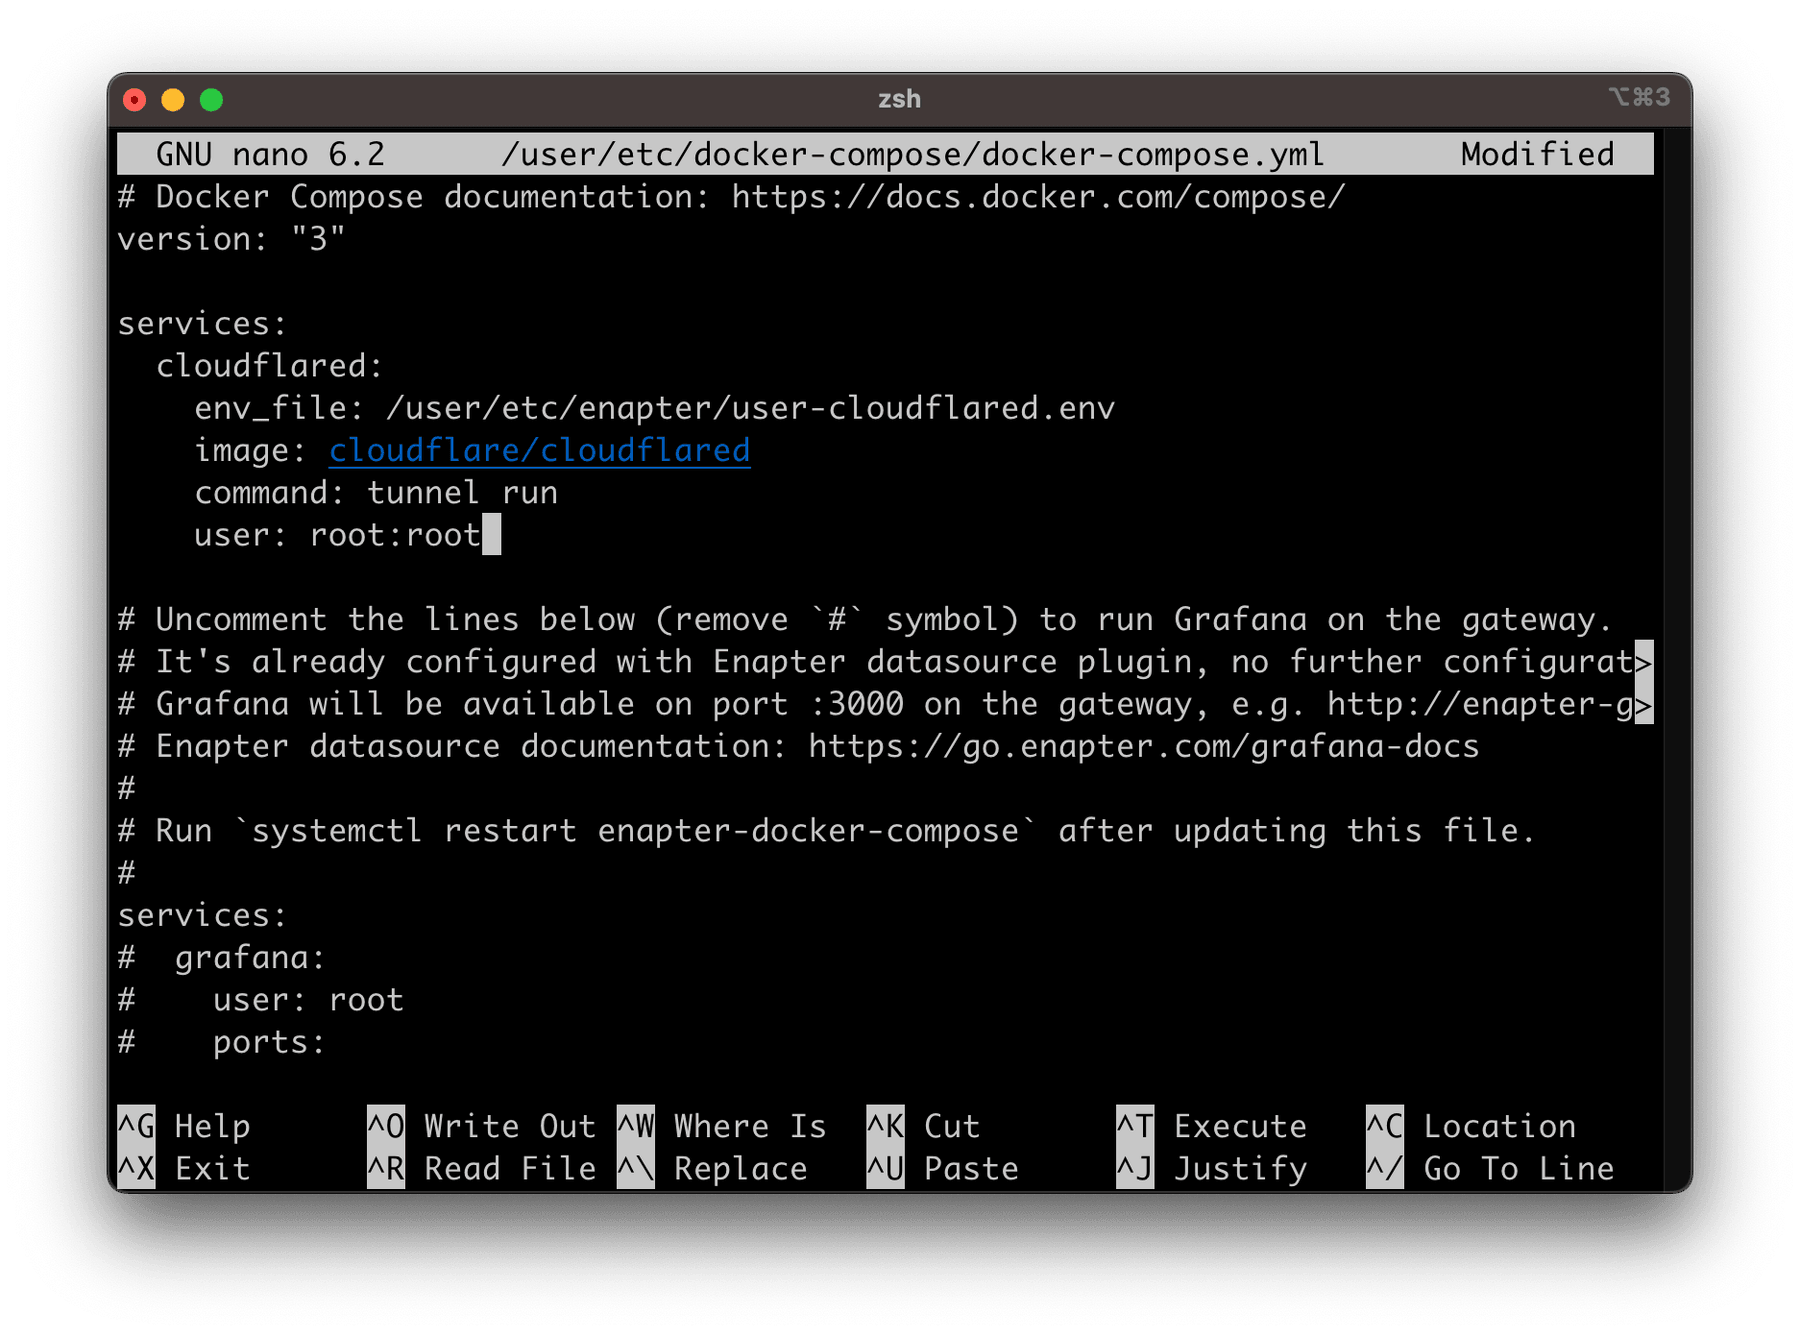
Press CTRL+X to exit and save config file.
and run systemctl restart enapter-docker-compose command in the shell
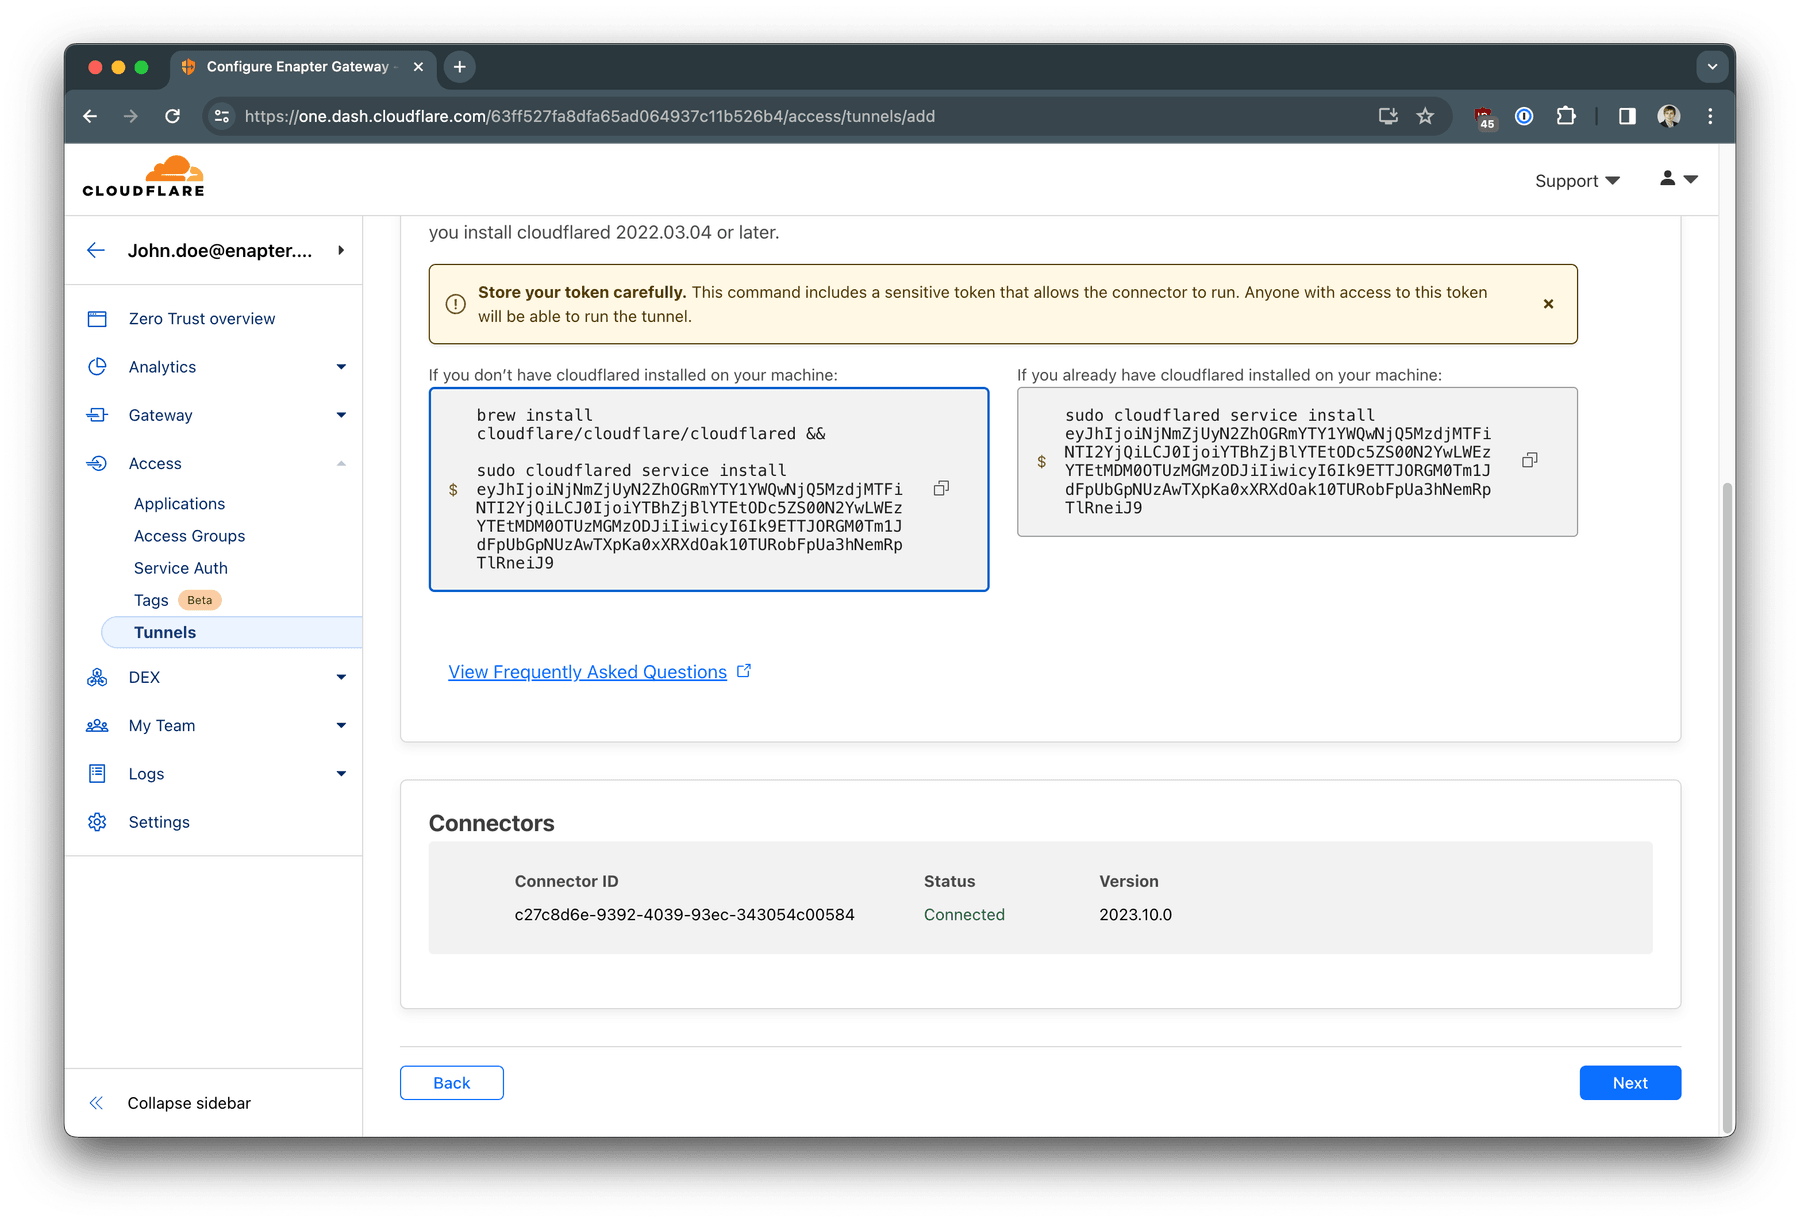
Now check the Cloudflare dashboard - your tunnel must be up and running. Press
Next button.
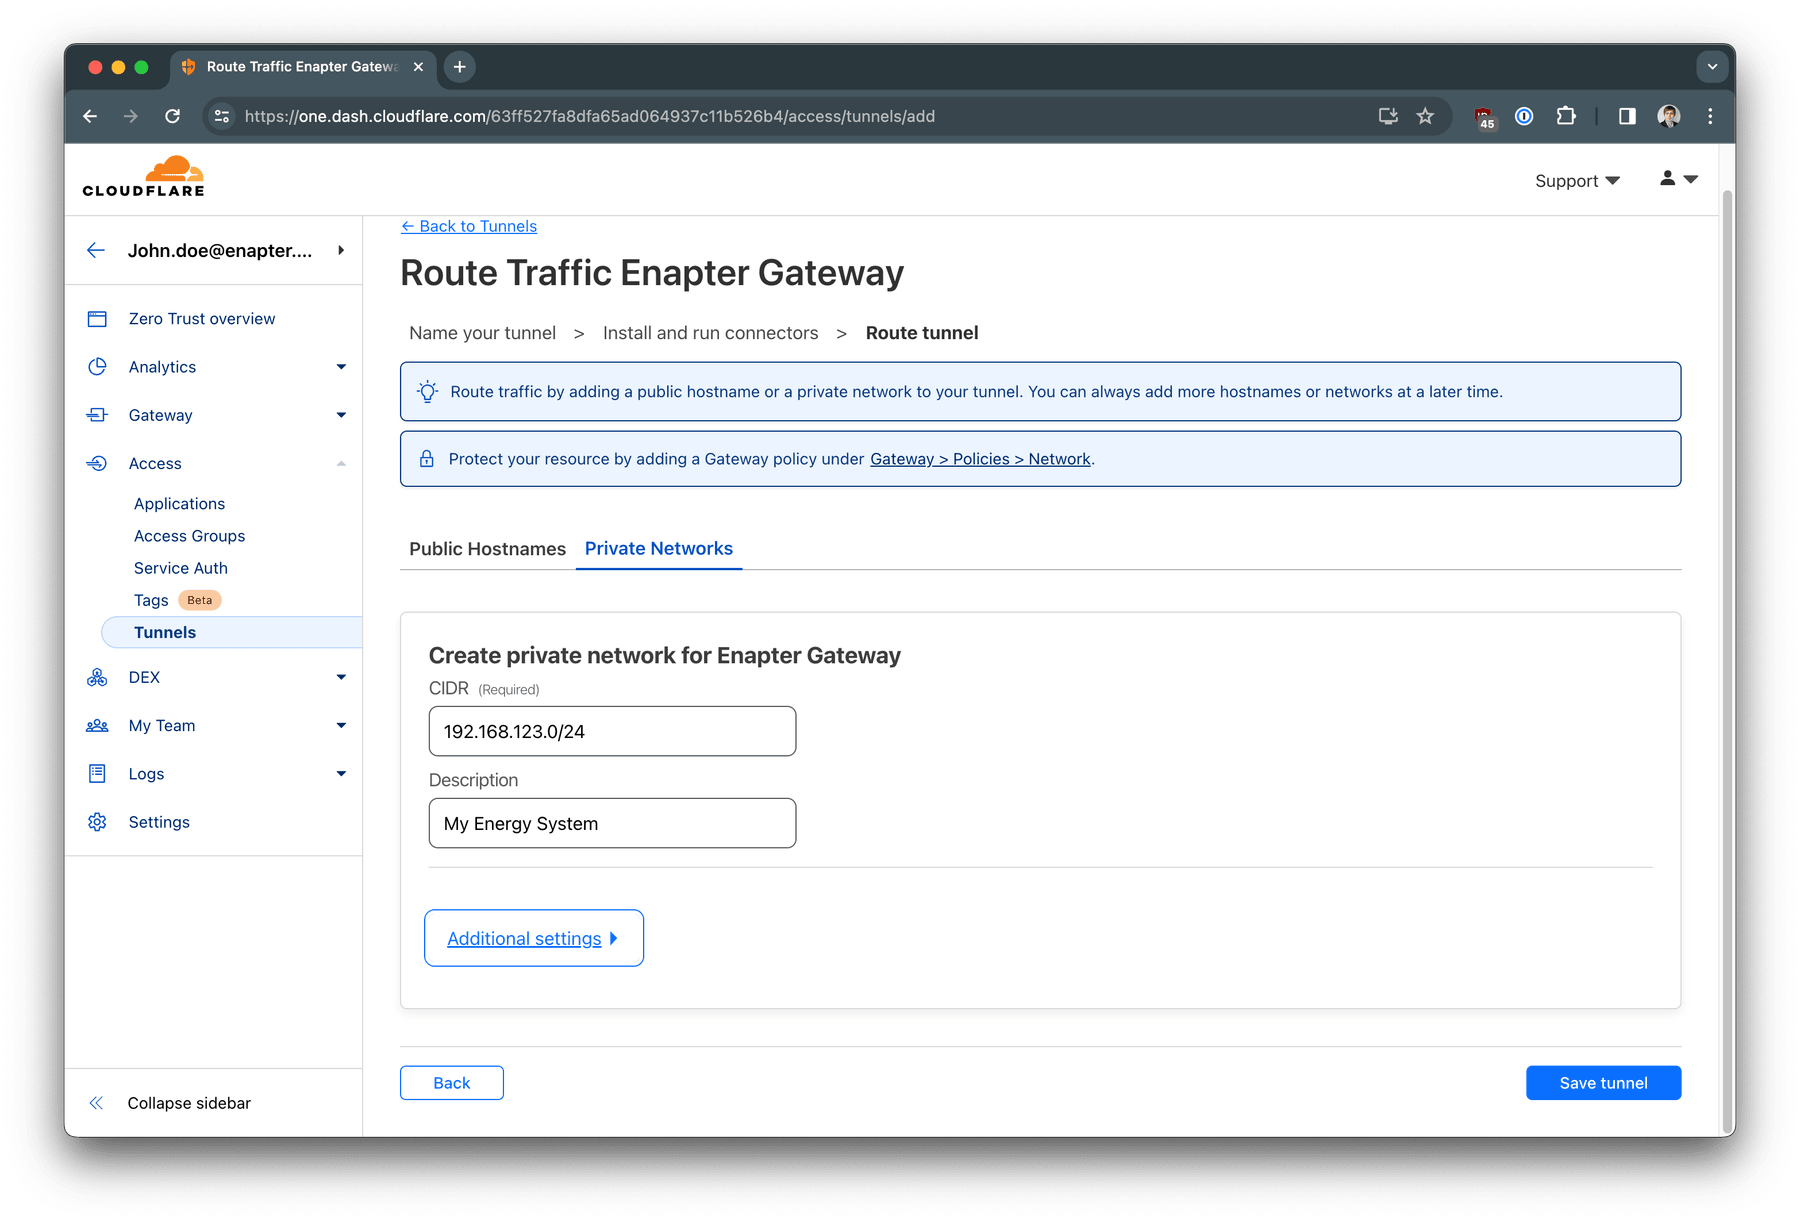
Switch to Private Networks tab and add your network (192.168.123.0/24
in our example case) and network name for it. Press
Save tunnel
button.
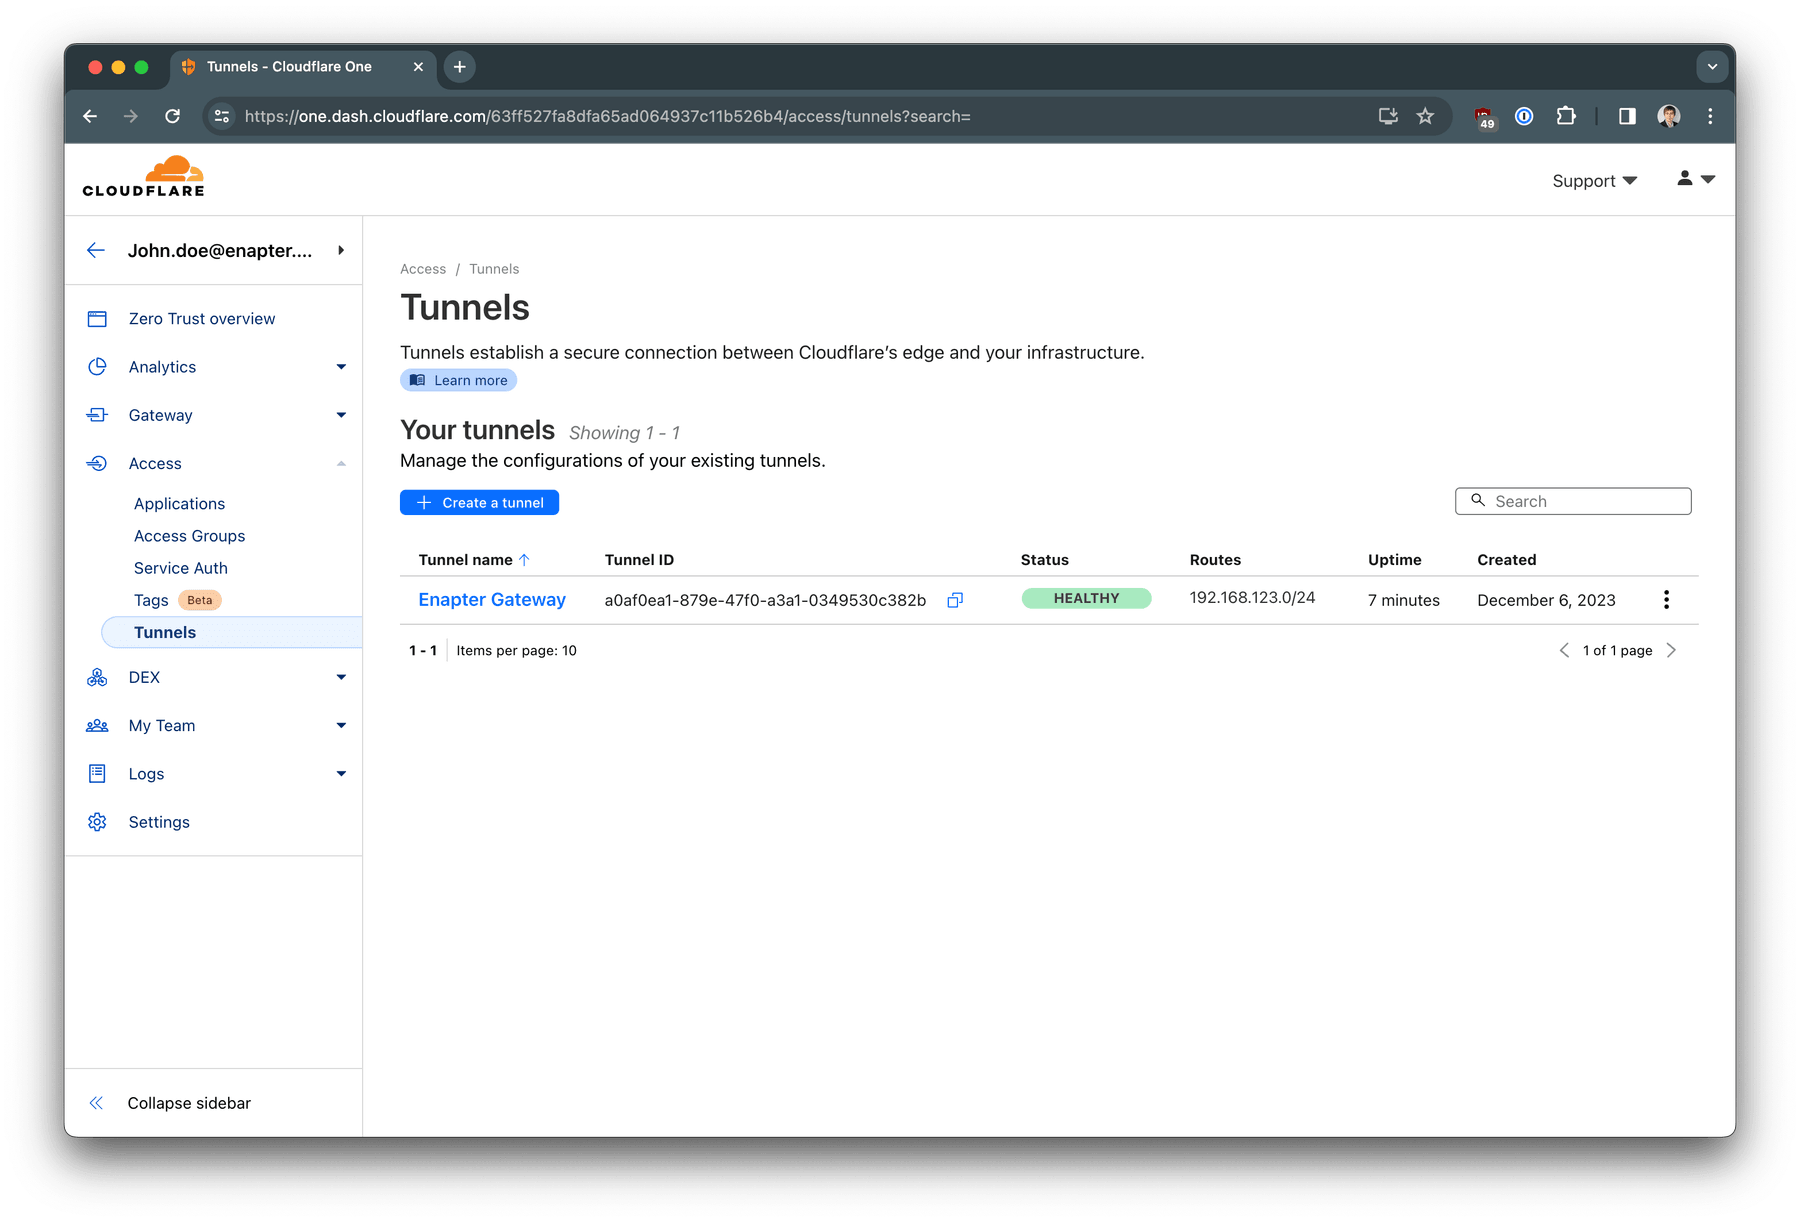
You should see that your tunnel is Healthy on the Access / Tunnels
page
Configuring remote access client (WARP) policy
Your tunnel between Cloudflare global network and Enapter gateway is established. To access devices in your network as well as Enapter Gateway, you must use Cloudflare WARP Client which will be connected from your PC, Mac or Mobile Device to the Cloudflare Global Network.
To control access for these clients, you need to set up Enrollment Policy and enrollment settings for your clients.
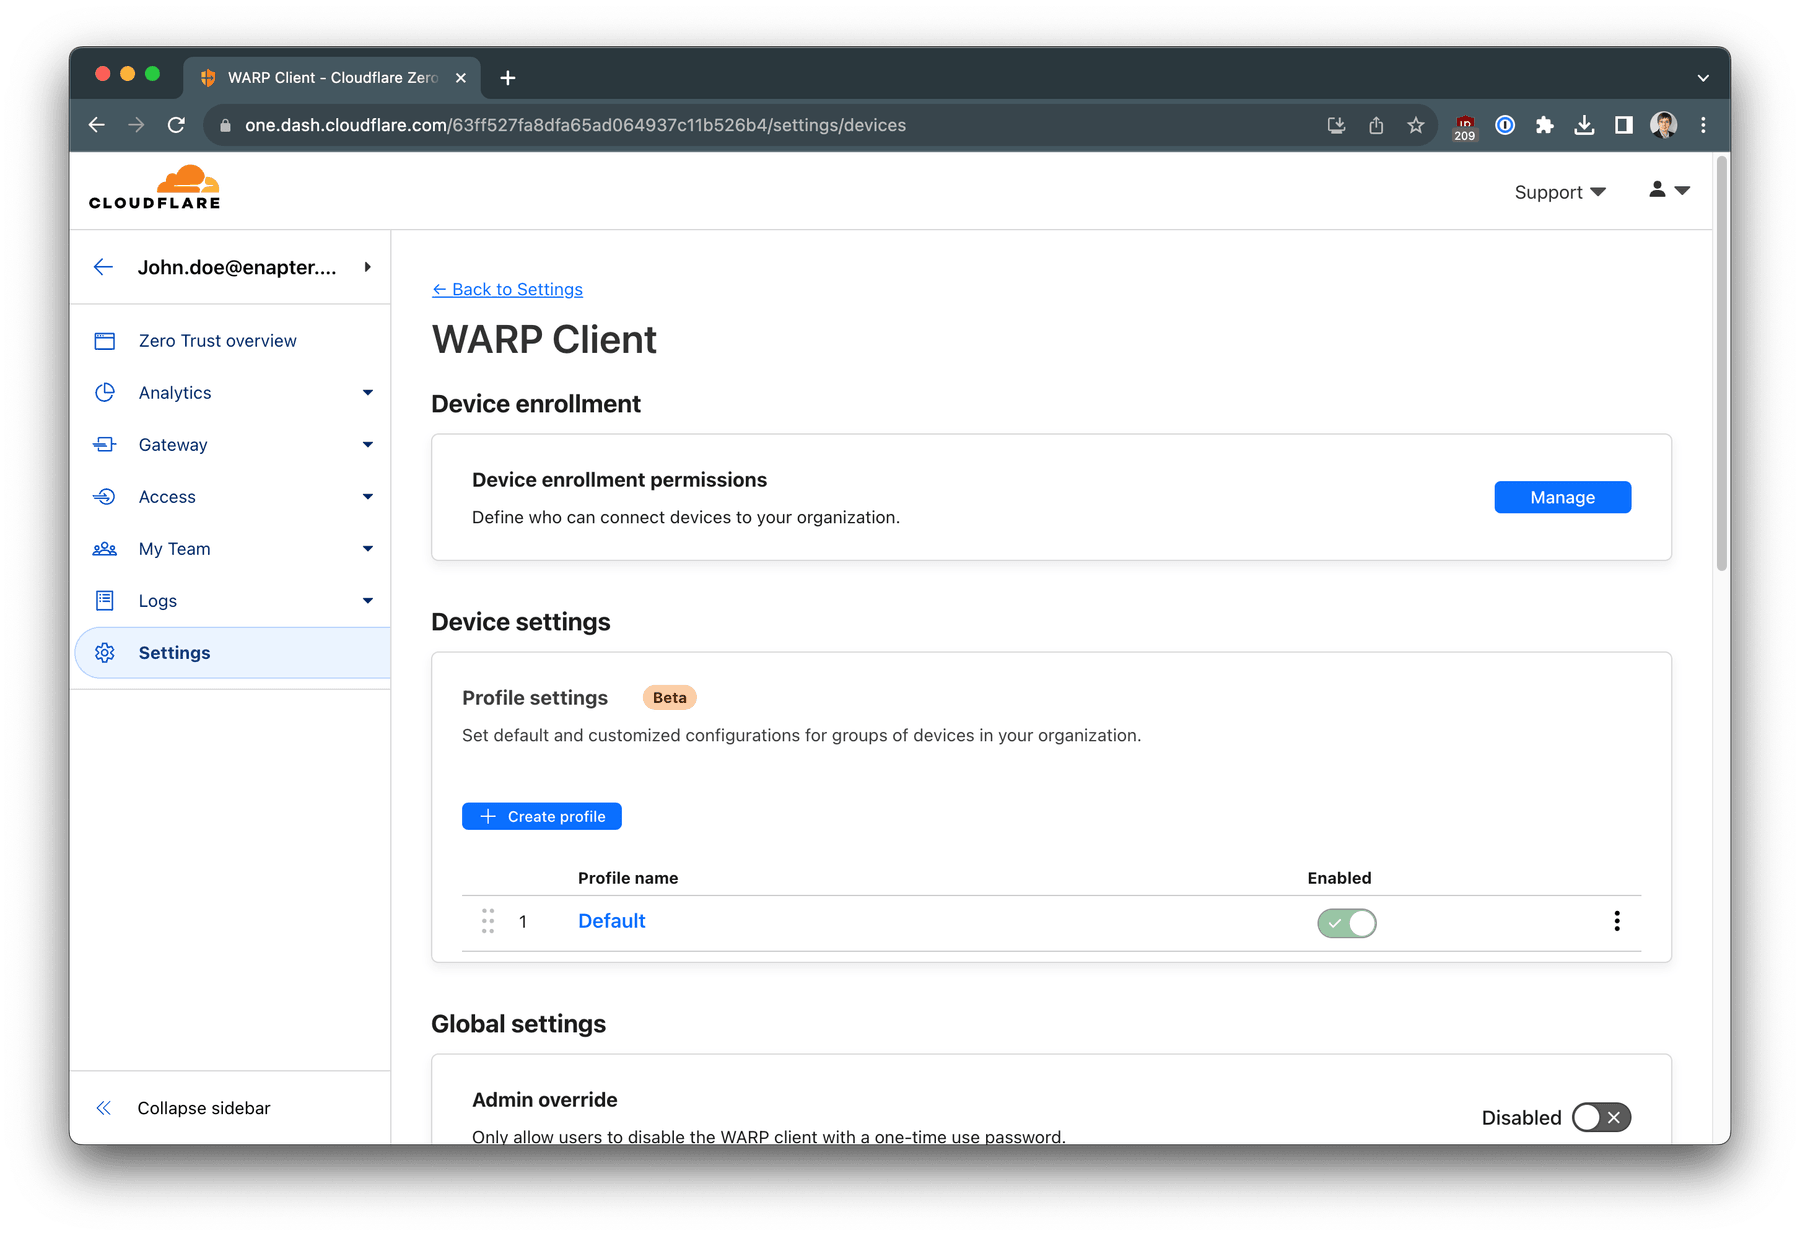
Navigate to Zero Trust -> Settings -> WARP Client. Click on
Manage
button for Device enrollment permissions. Under
Rules
tab click on + Add a rule button.
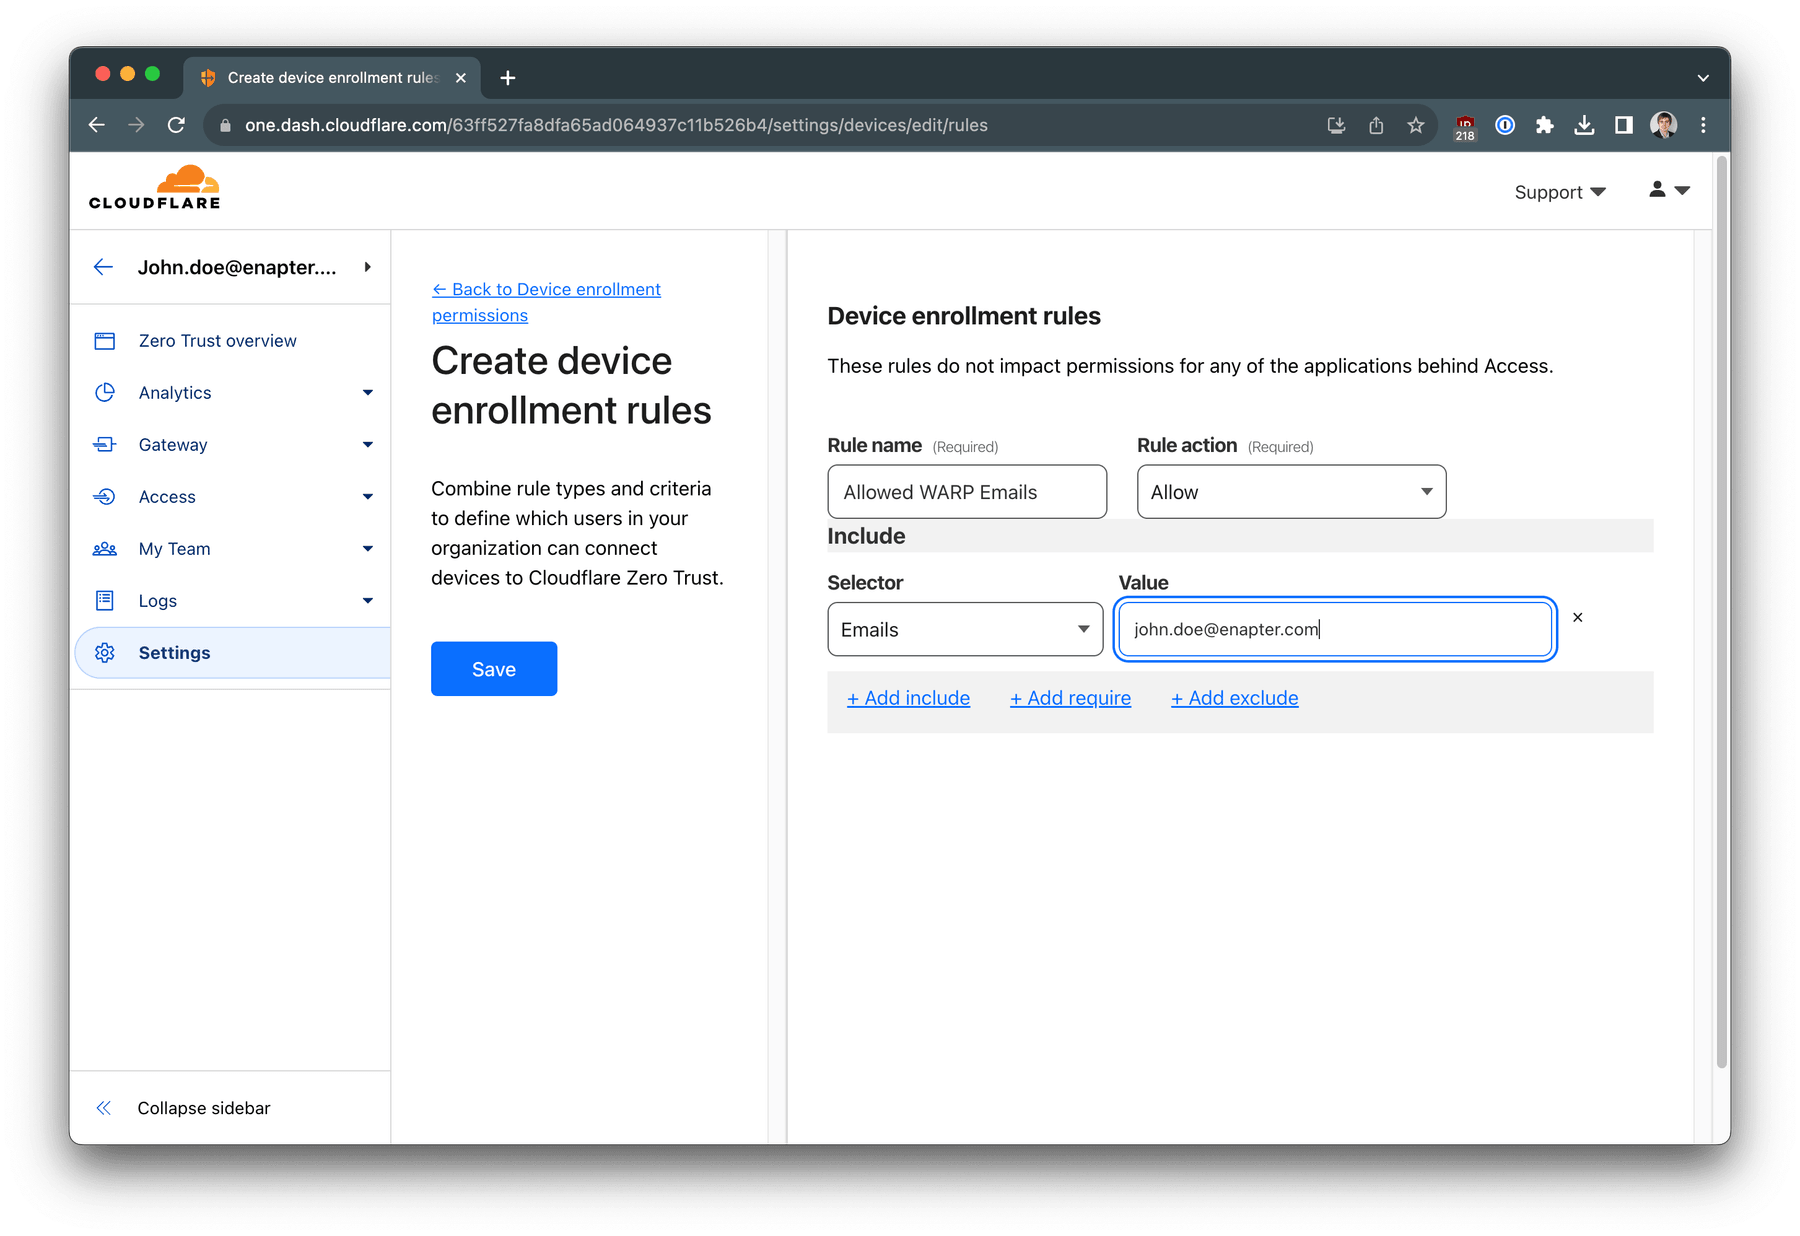
Add email addresses of the users which should be able to join your Zero Trust
team with WARP Client. Click Save button.
As the next step we need to configure Cloudflare Zero Trust WARP profile to know IP addresses traffic will be handled by the Zero Trust.
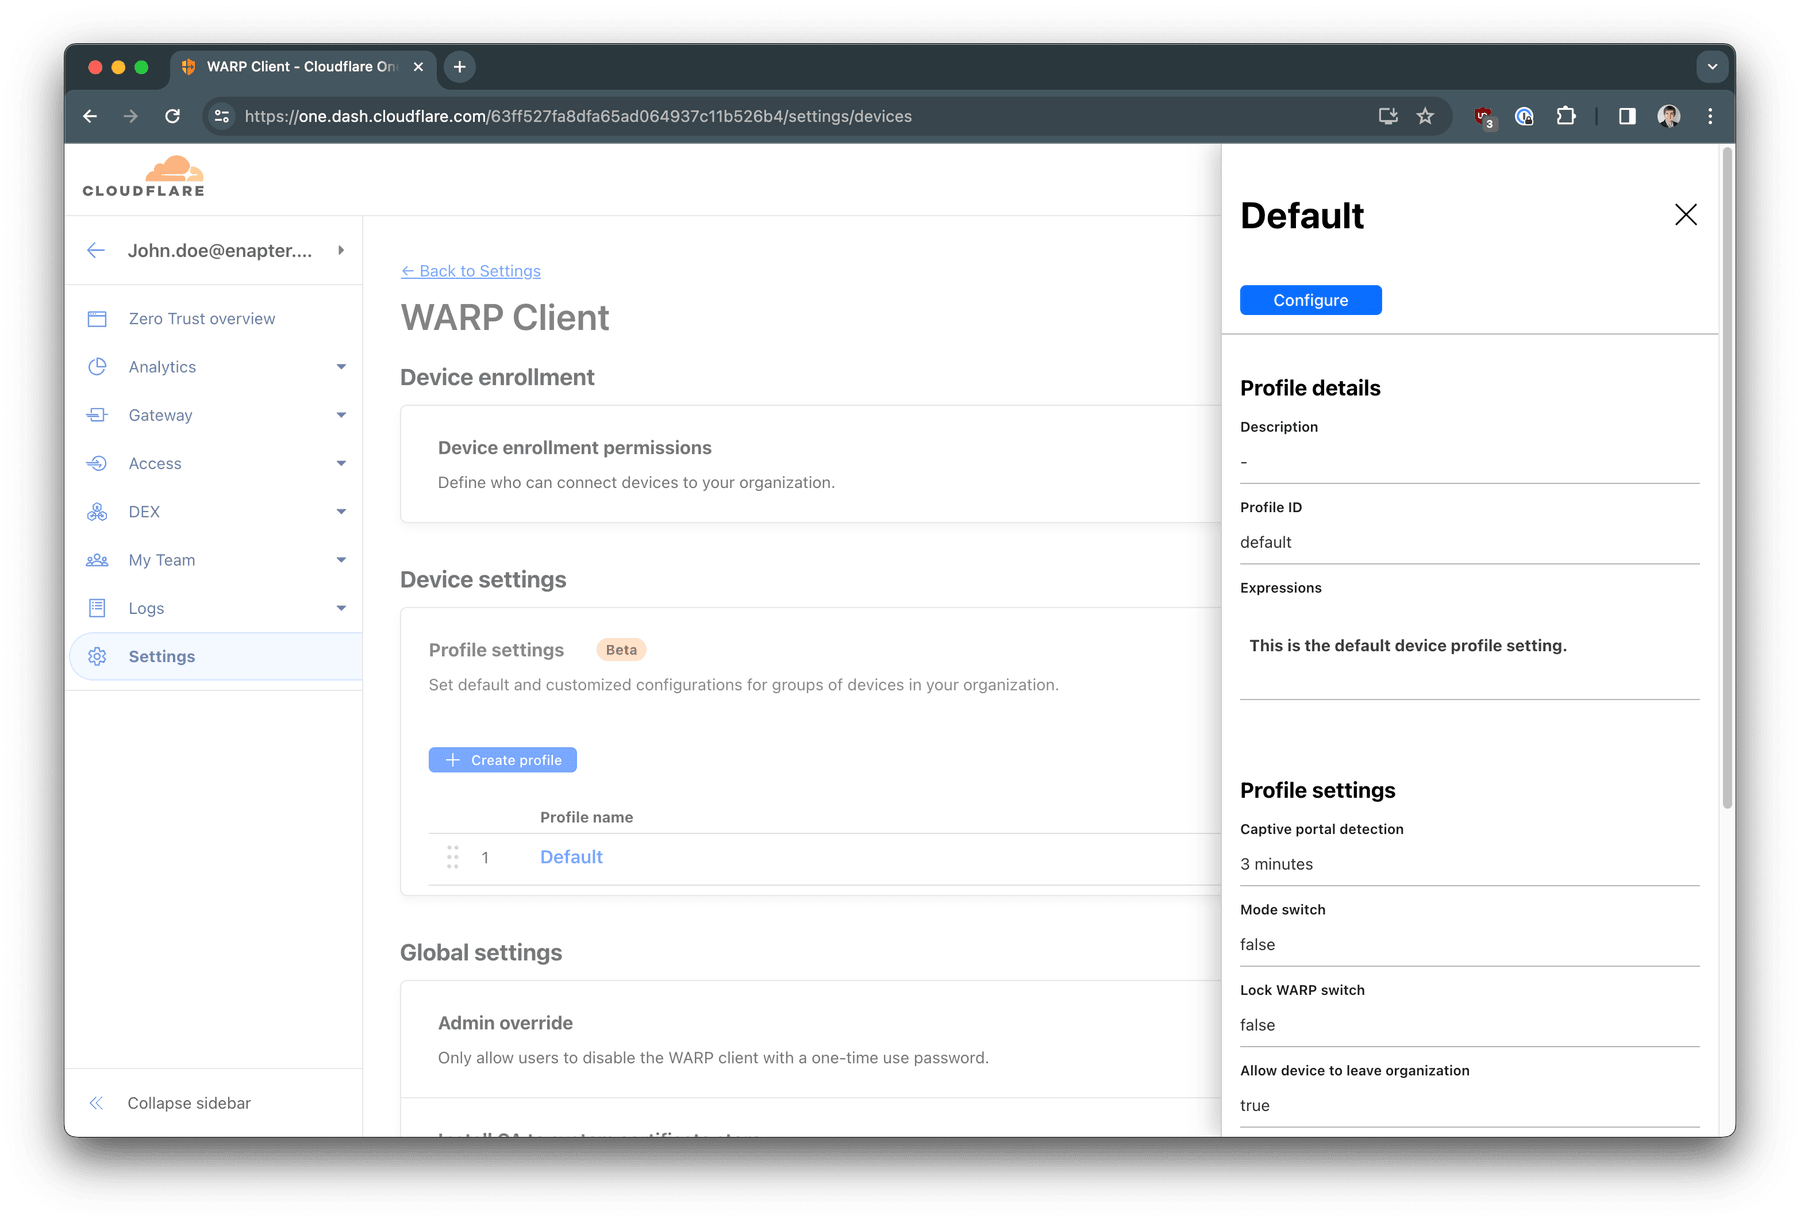
Navigate to Zero Trust -> Settings -> WARP Client. Click on
Default
profile name under Profile settings section. Click
Configure
button on the opened panel.
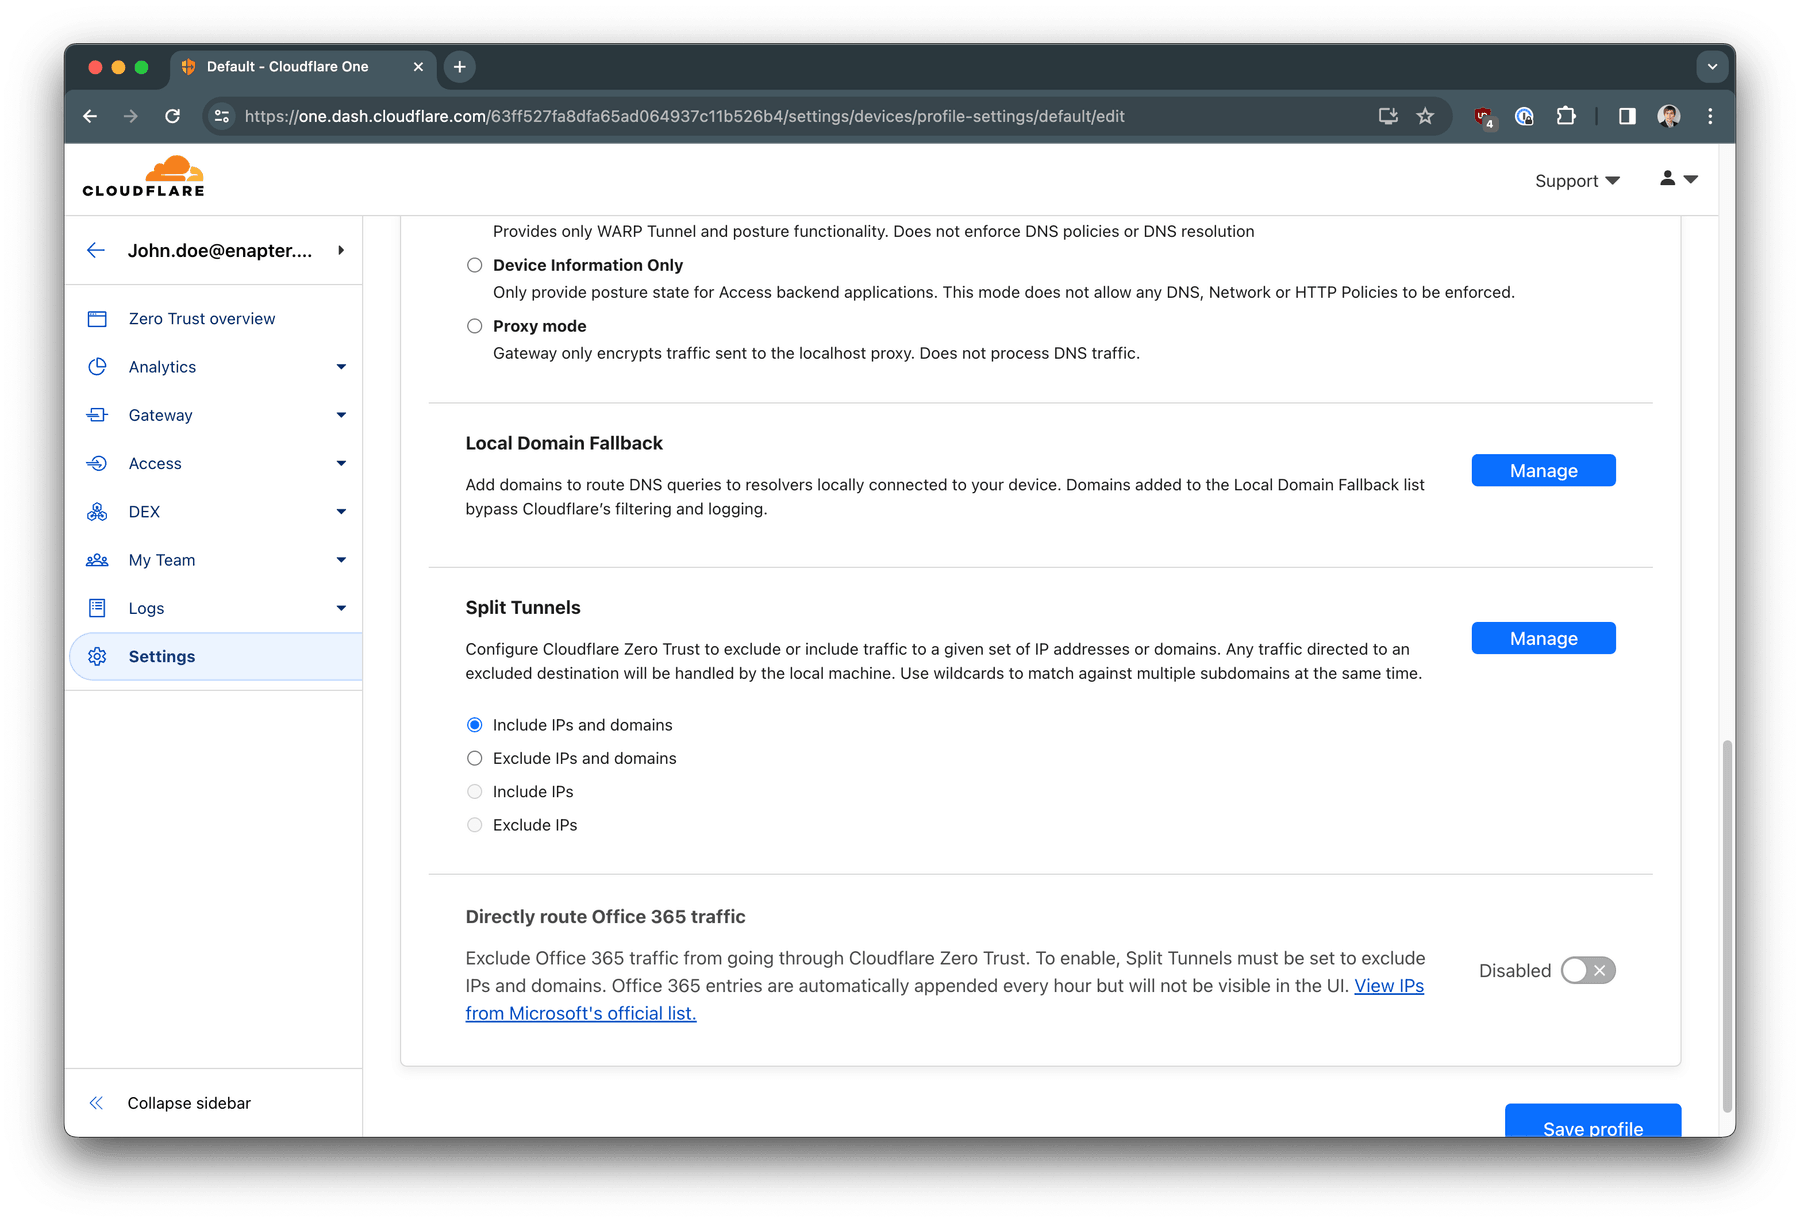
Scroll down to Split Tunnels section. Select
Include IPs and domains
and click Manage button.
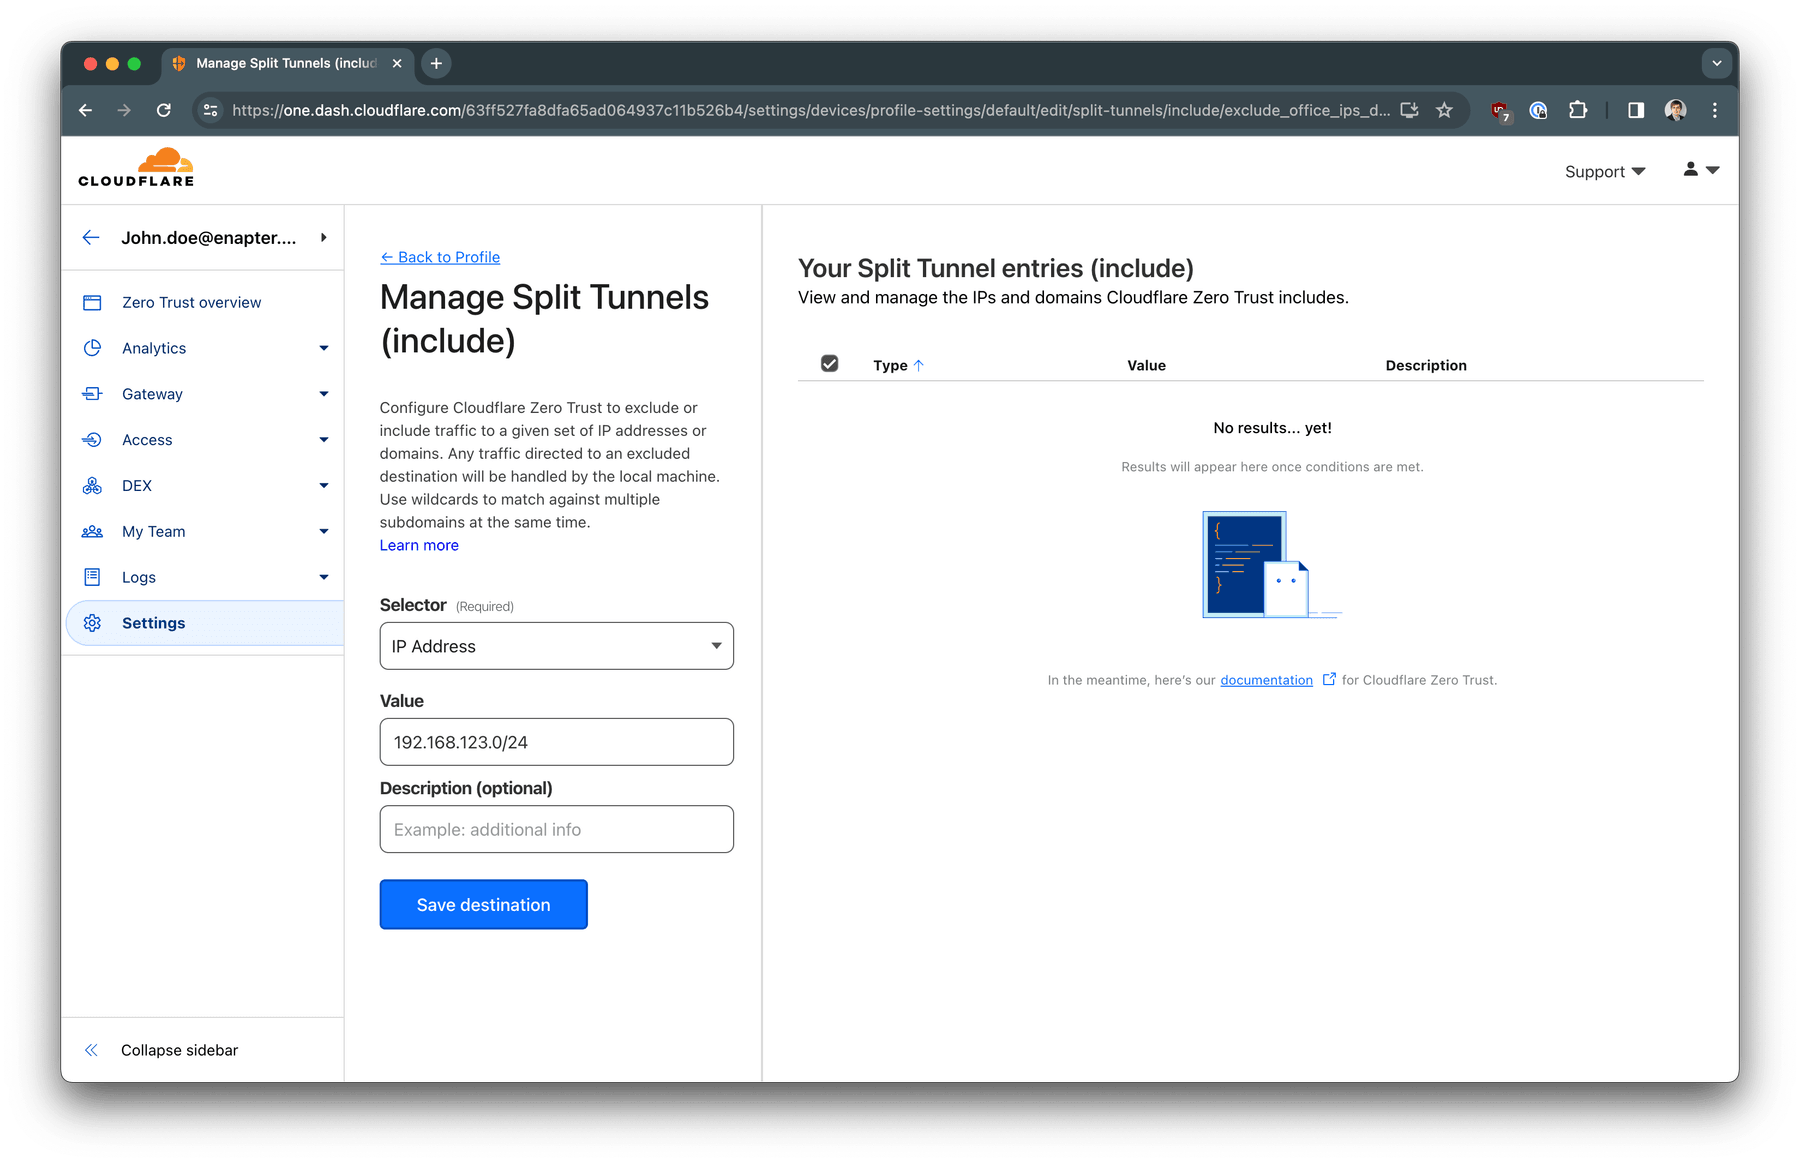
In the Selector dropdown choose IP Address and in
the Value put your private LAN CIDR (network address/mask) - in
our case 192.168.123.0/24. Click Save destination.
Your access policy and routing was successfully setup. The last step is to connect your WARP Client.
WARP Client Installation
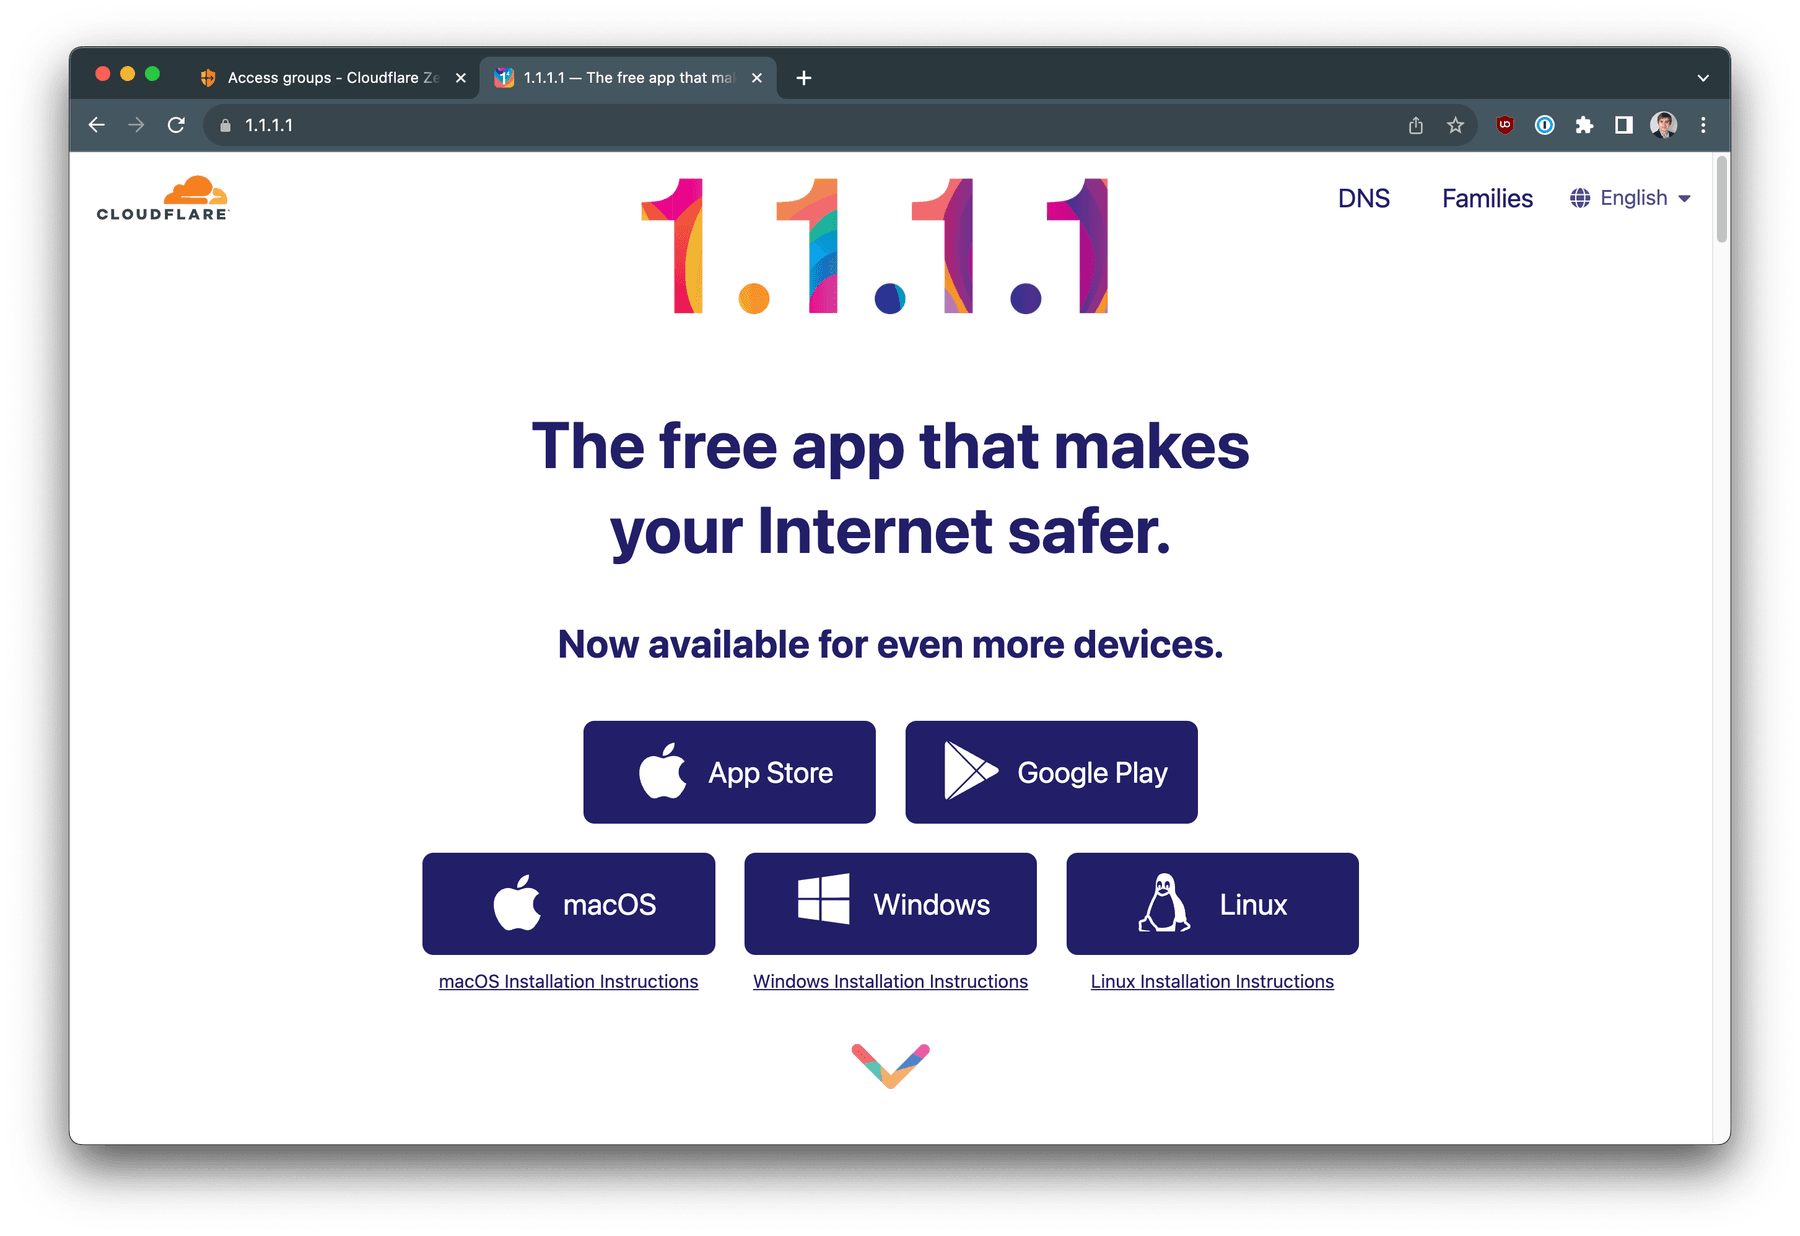
Navigate your favourite browser to https://1.1.1.1 and install WARP Client for your operation system.
Setup WARP Client
After the installation your WARP Client is connected to free Cloudflare VPN service. You can notice that by red word WARP when click on the Cloudflare icon in your menu bar.
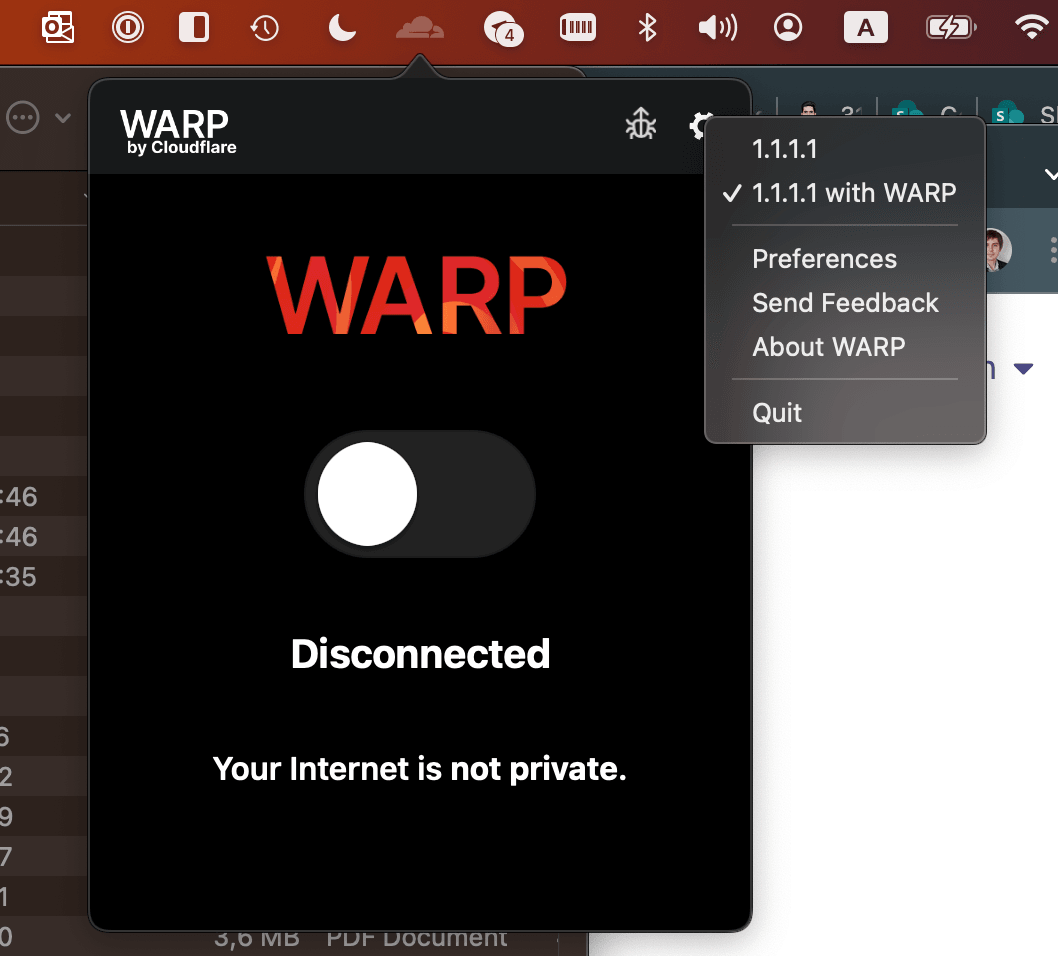
We are going to connect WARP Client to our Zero Trust network. Click on gear icon and click Preferences
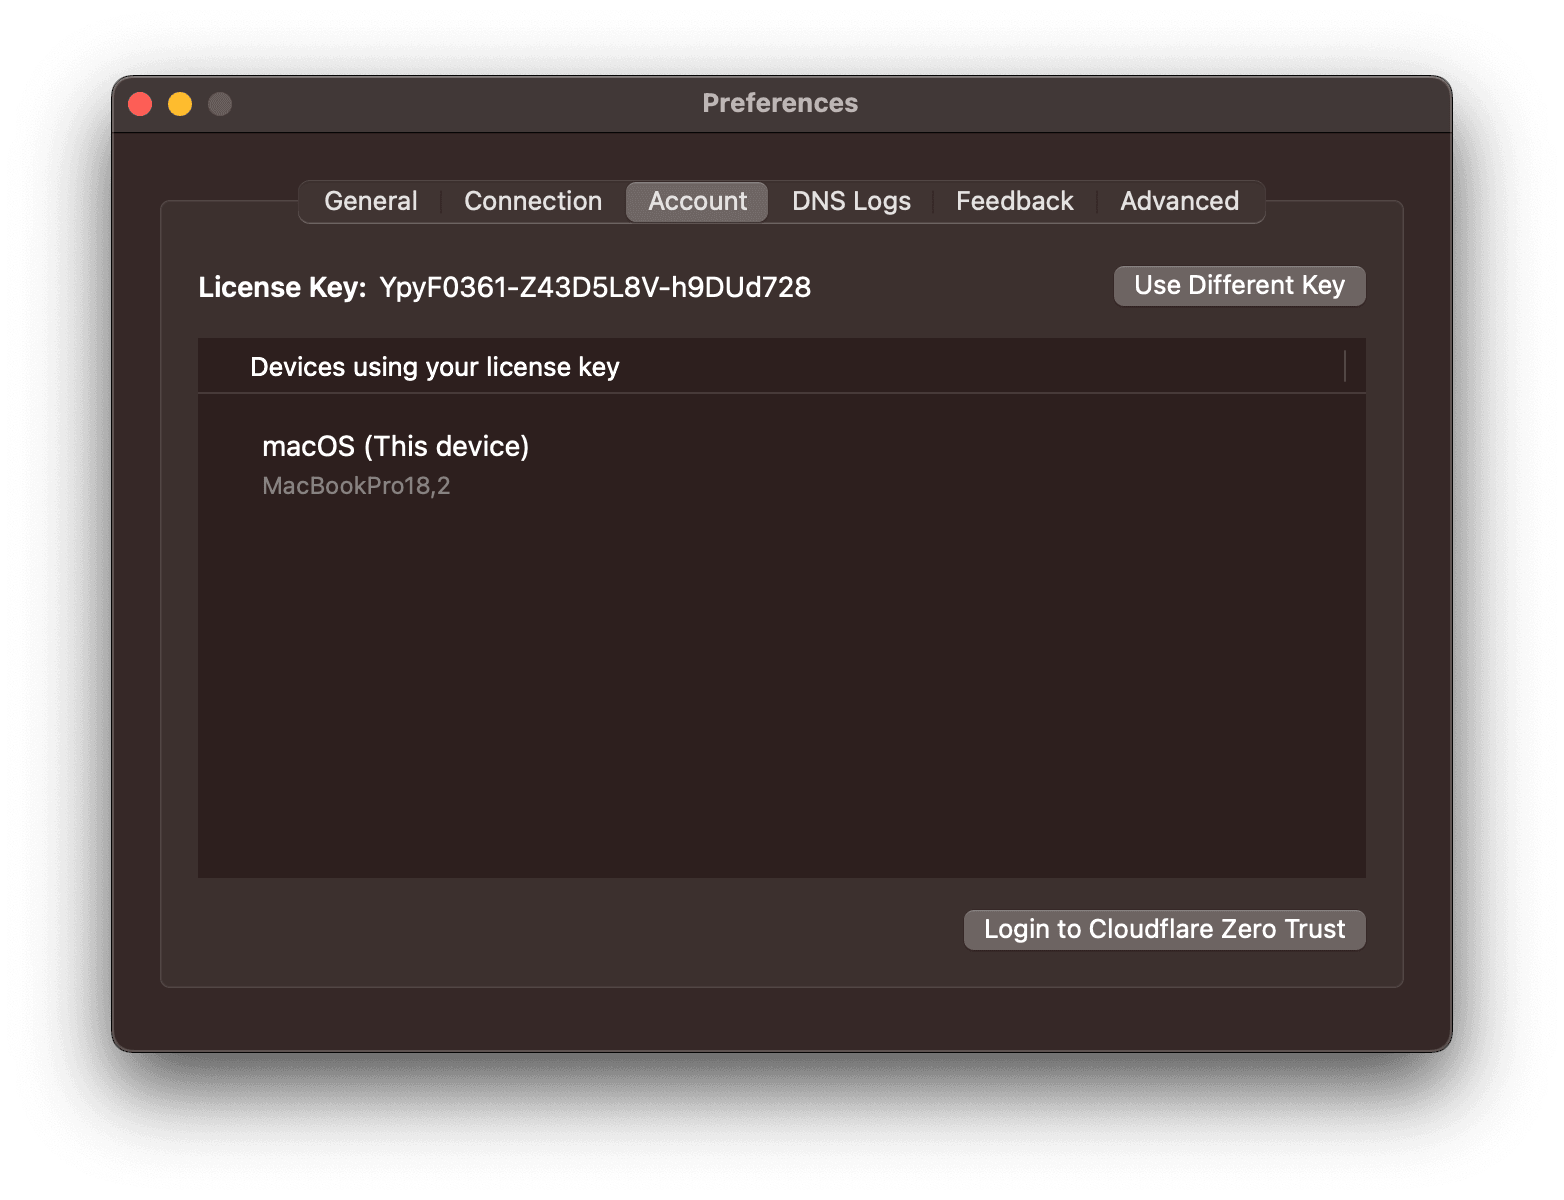
Select Account tab. And click
Login to Cloudflare Zero Trust
button.
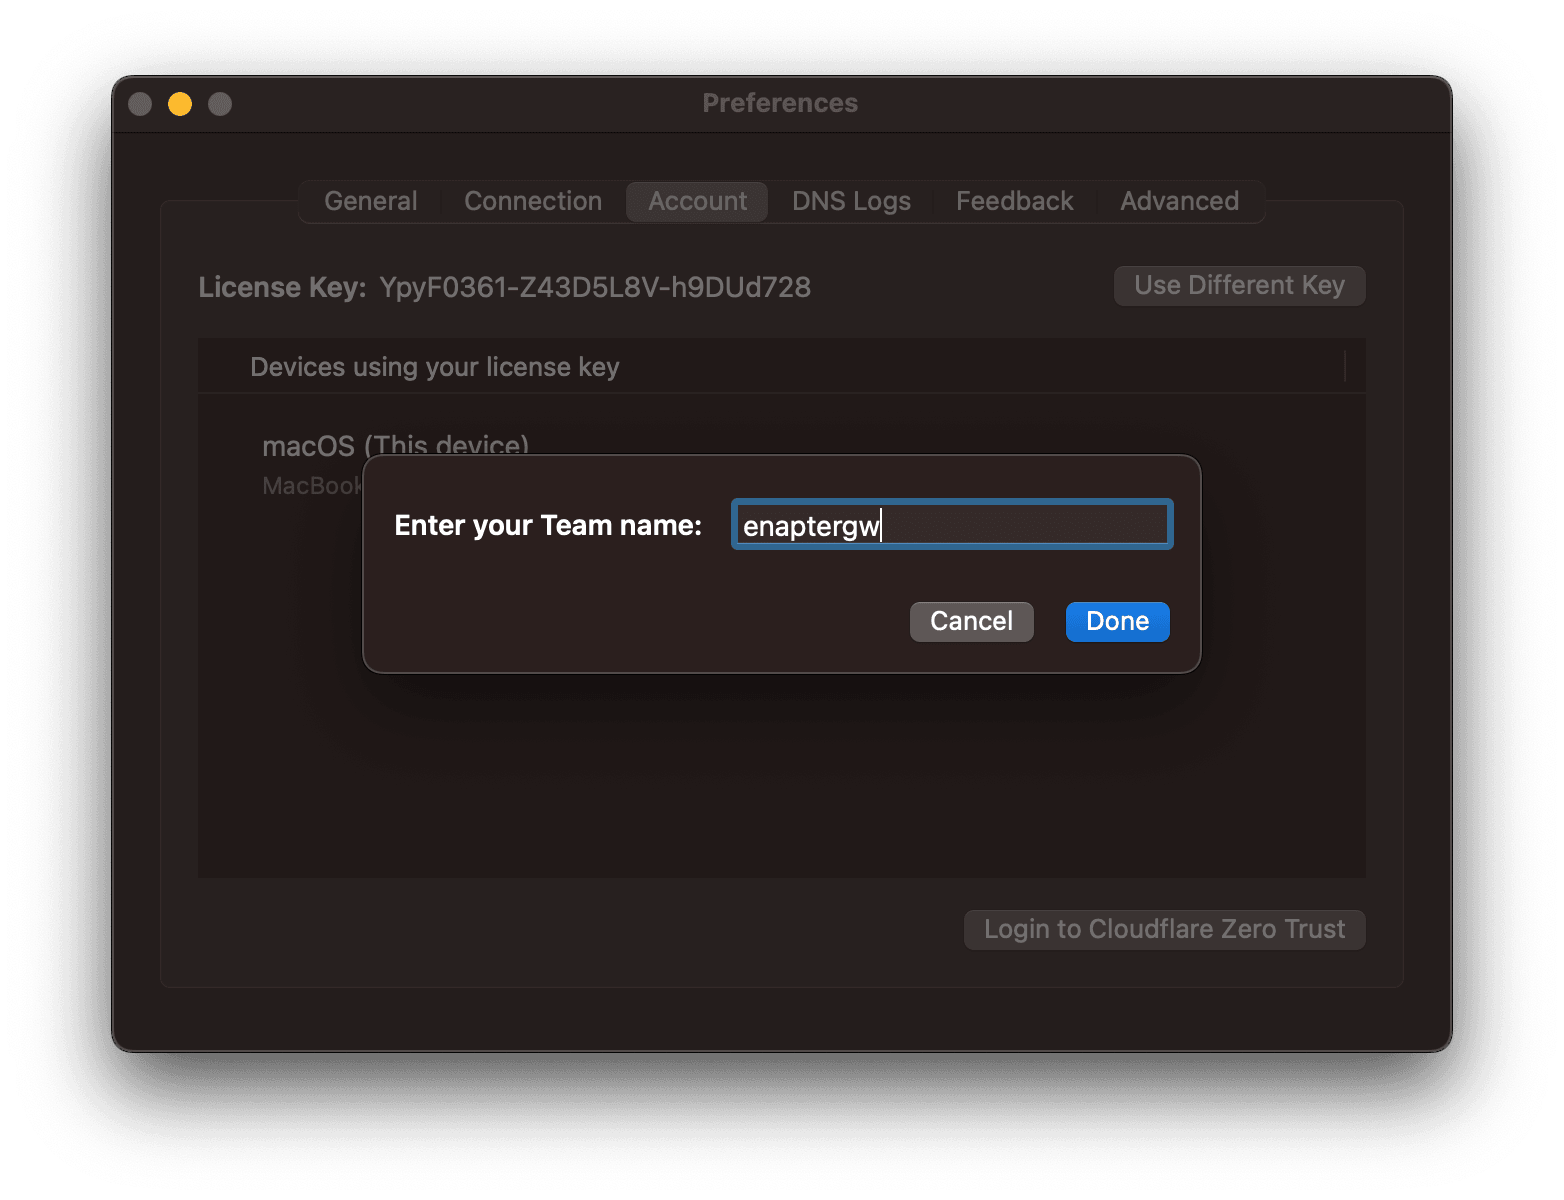
Enter your Zero Trust Team name. In our example it is enaptergw. Click
Done
button. Accept terms of use and finish setup.
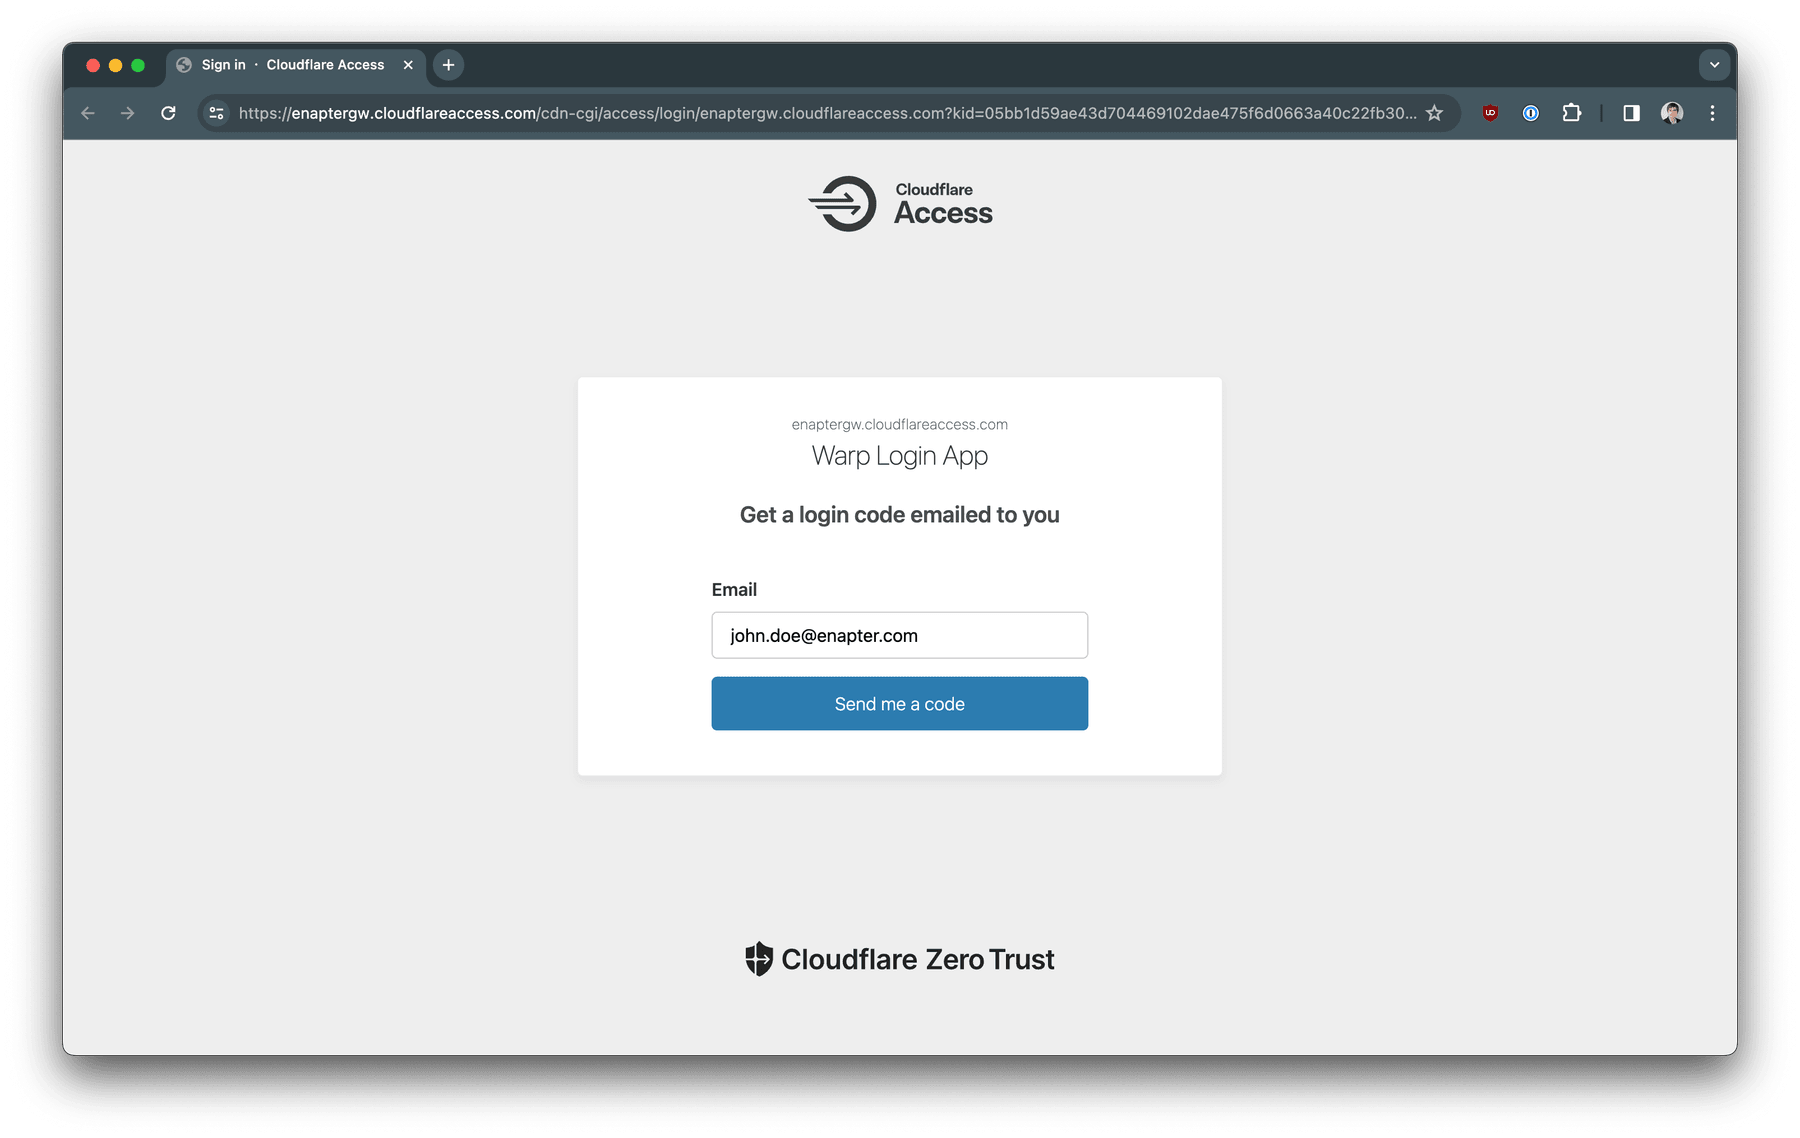
The browser will open. Enter one of your email address you set in the WARP
Client enrollment policy. And click Send me a code button.
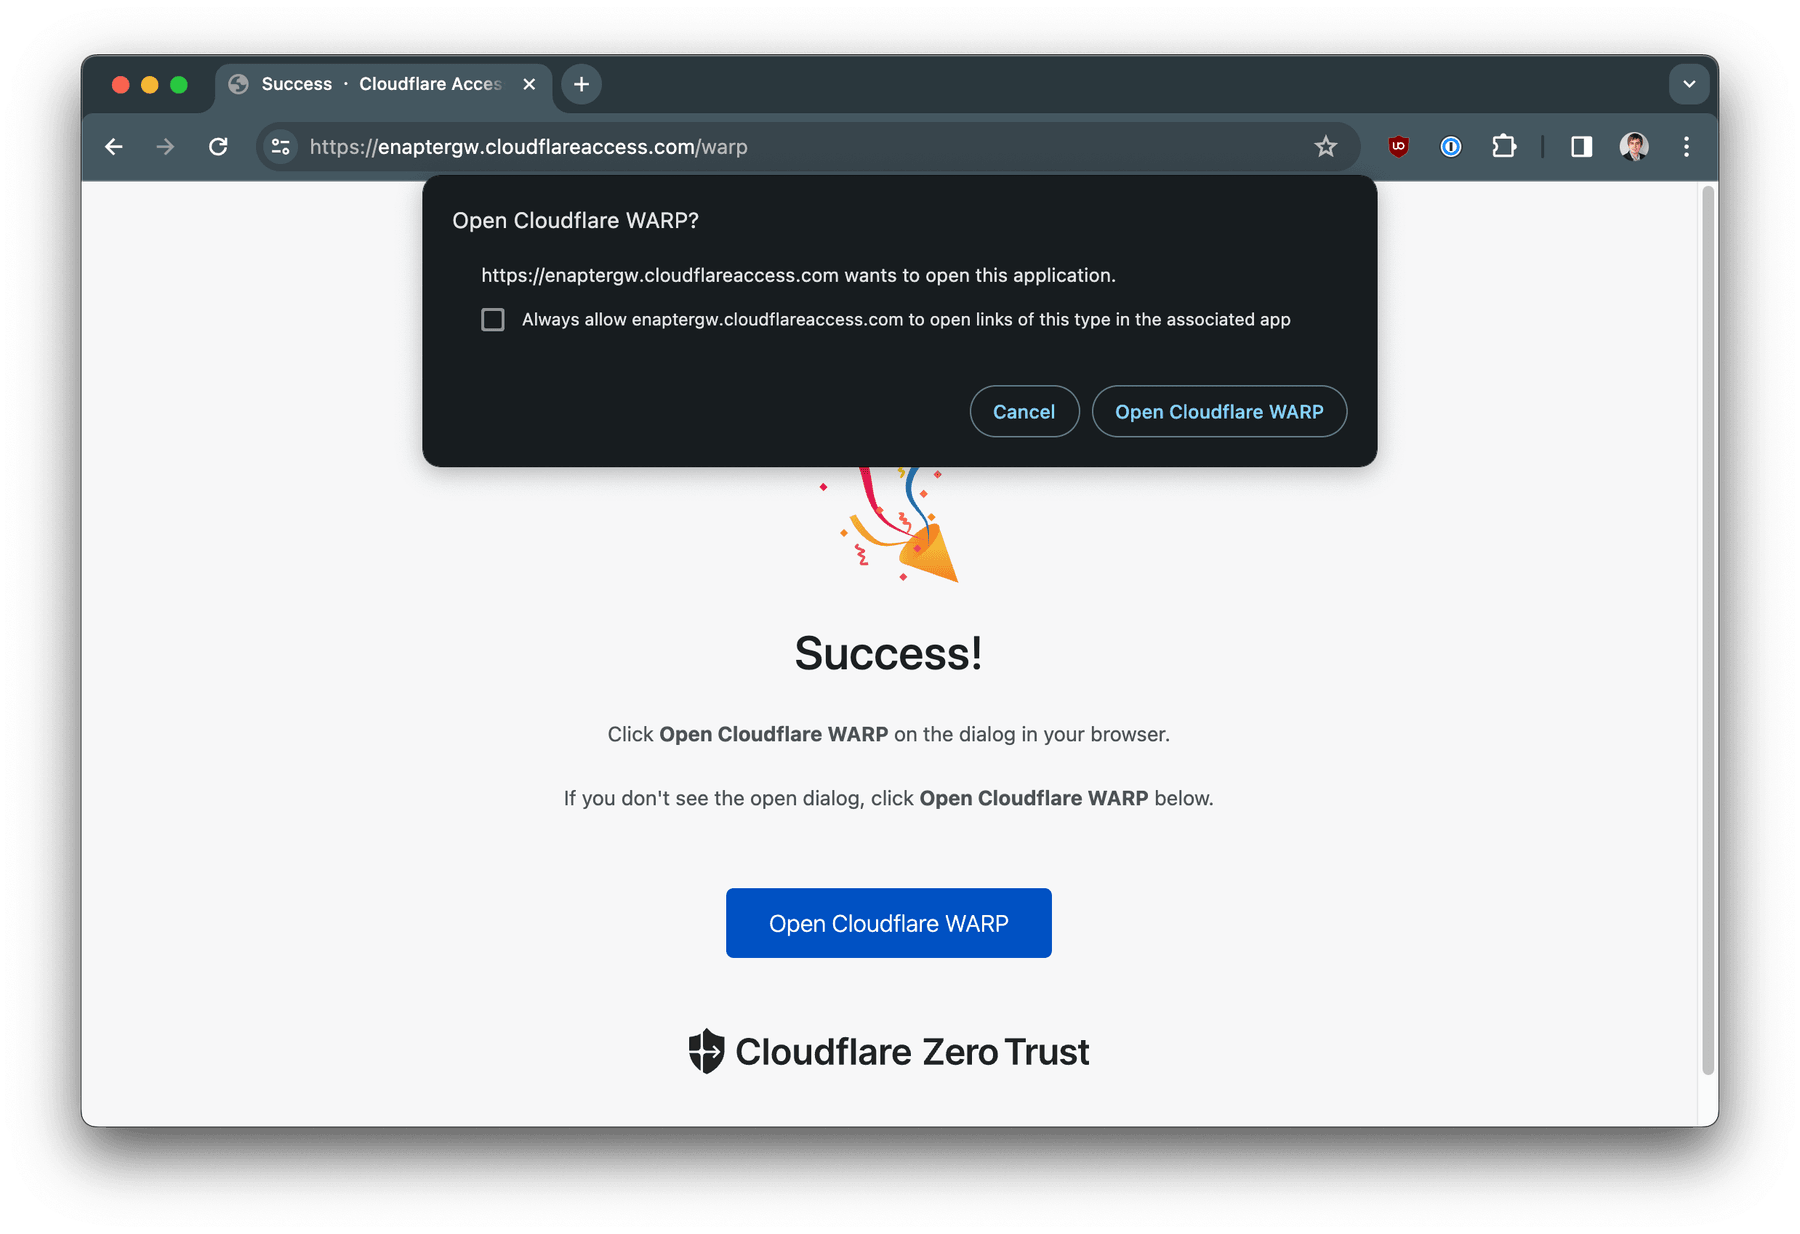
Check your email for OTP code, enter it on the page and click
Sign In
. After successful login click on
Open Cloudflare WARP
button.
The setup will be completed when orange word WARP will change to blue Zero Trust in the WARP Client window.
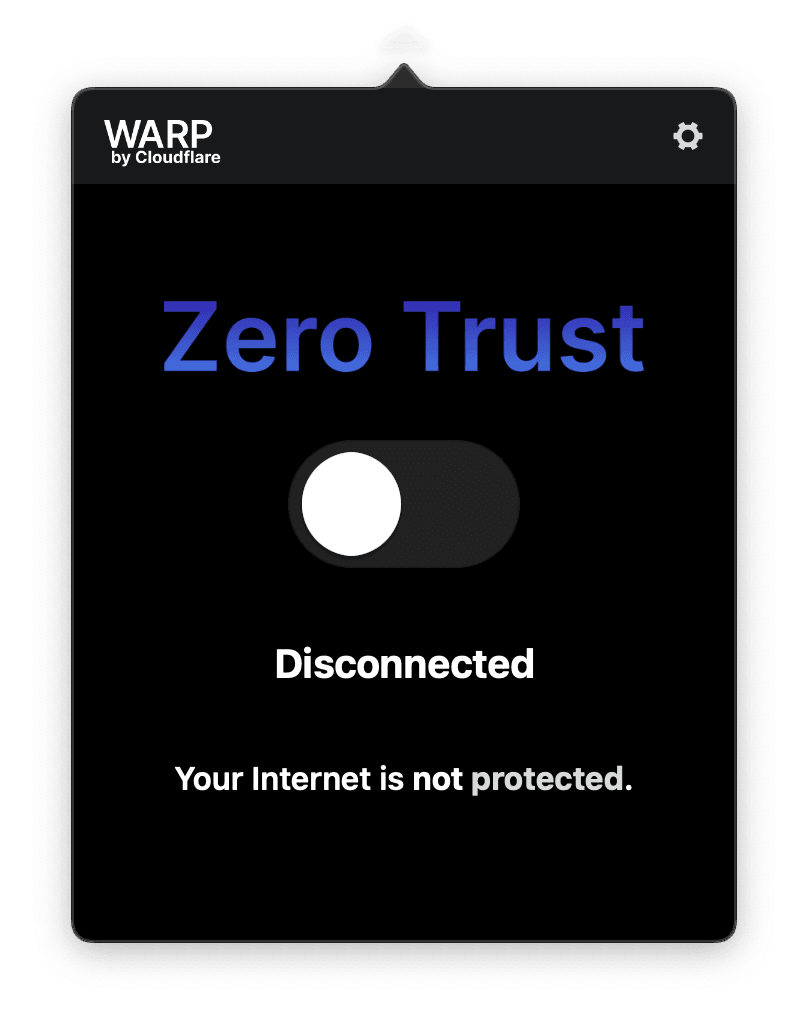
Connecting to the Enapter Gateway
Click on Cloudflare icon in the menu bar. Toggle the switch under the Zero Trust caption.
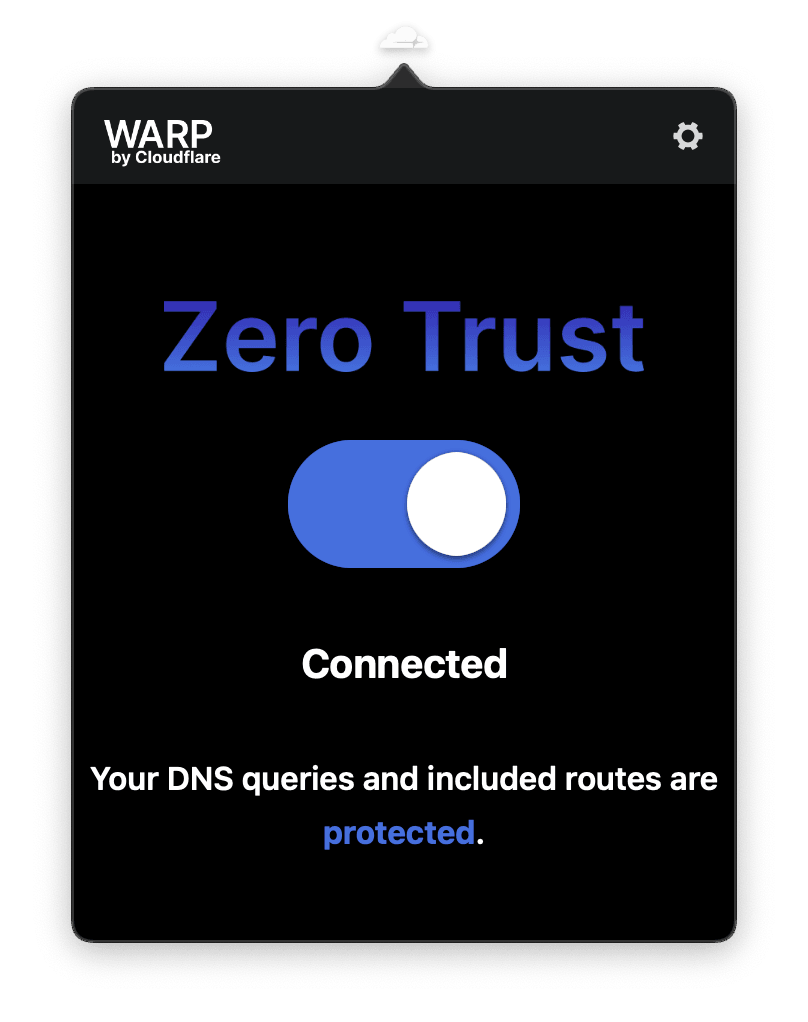
Now you can open your browser and connect to your Enapter Gateway using private IP address - 192.168.123.10 in our guide. Or you can connect any other devices in 192.168.123.0/24 network using their IP addresses.
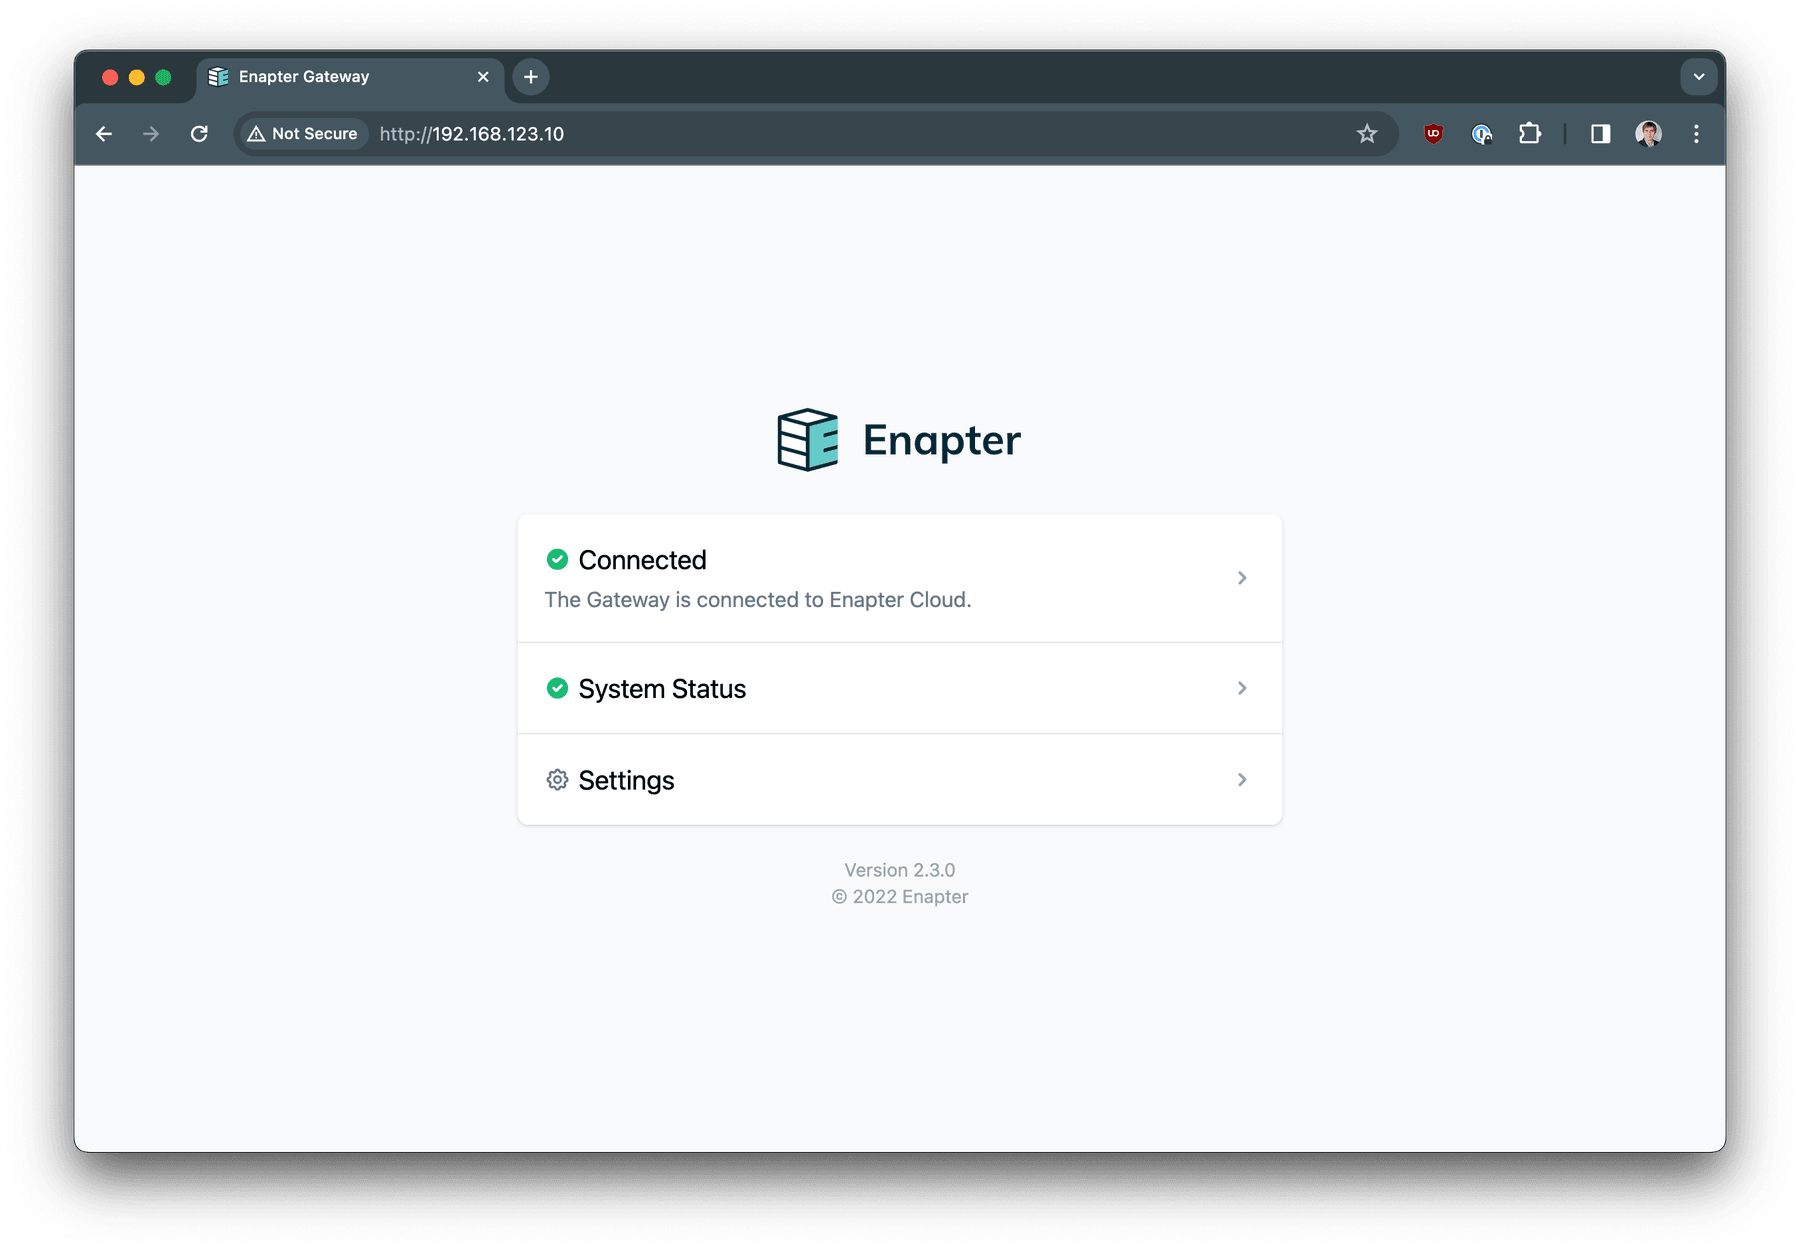
Enapter Gateway interface is available using IP address. In our example -
192.168.123.10
.
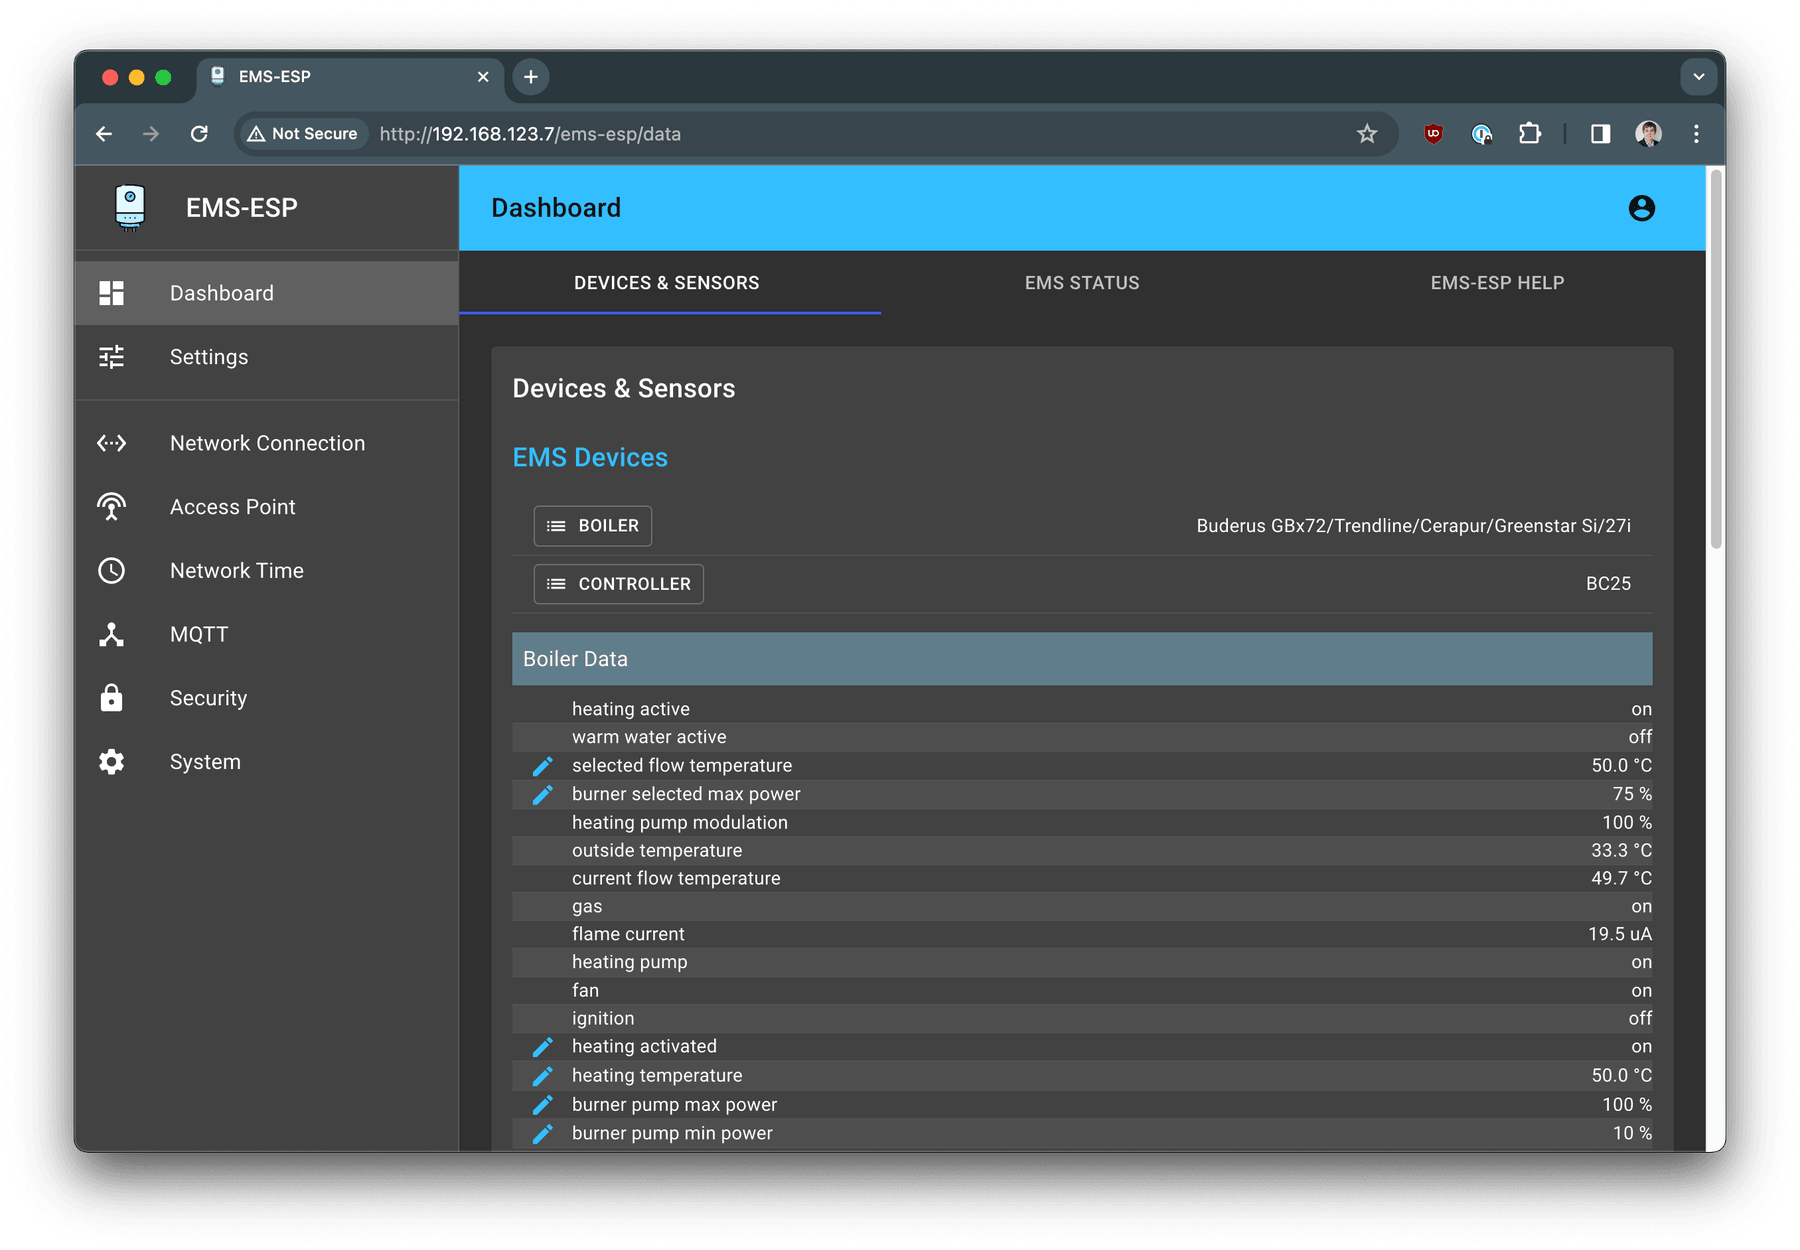
Example of the device with 192.168.123.7 IP address access using
Cloudflare Zero Trust and WARP Client.
Tips
- Virtual Networks. In situation when you have many sites with overlapping IP addresses ranges you can use Virtual Networks option in Zero Trust.
- In cases when you would like to approve each access to your system, we recommend to enable Temporary Authentication and Purpose Justification.
- It is recommended to avoid using networks 192.168.0/24, 192.168.1.0/24 for setting up IP address for your Enapter Gateway. These networks are commonly used as default networks for routers, and you might have problems accessing them over WARP and any other VPN solutions.
💬 Need Help?
Have a question or hit a roadblock? Join the Enapter Discord community to get quick support, exchange ideas, and collaborate with other developers and energy experts.