Fuel Cell Monitoring Over CAN Bus
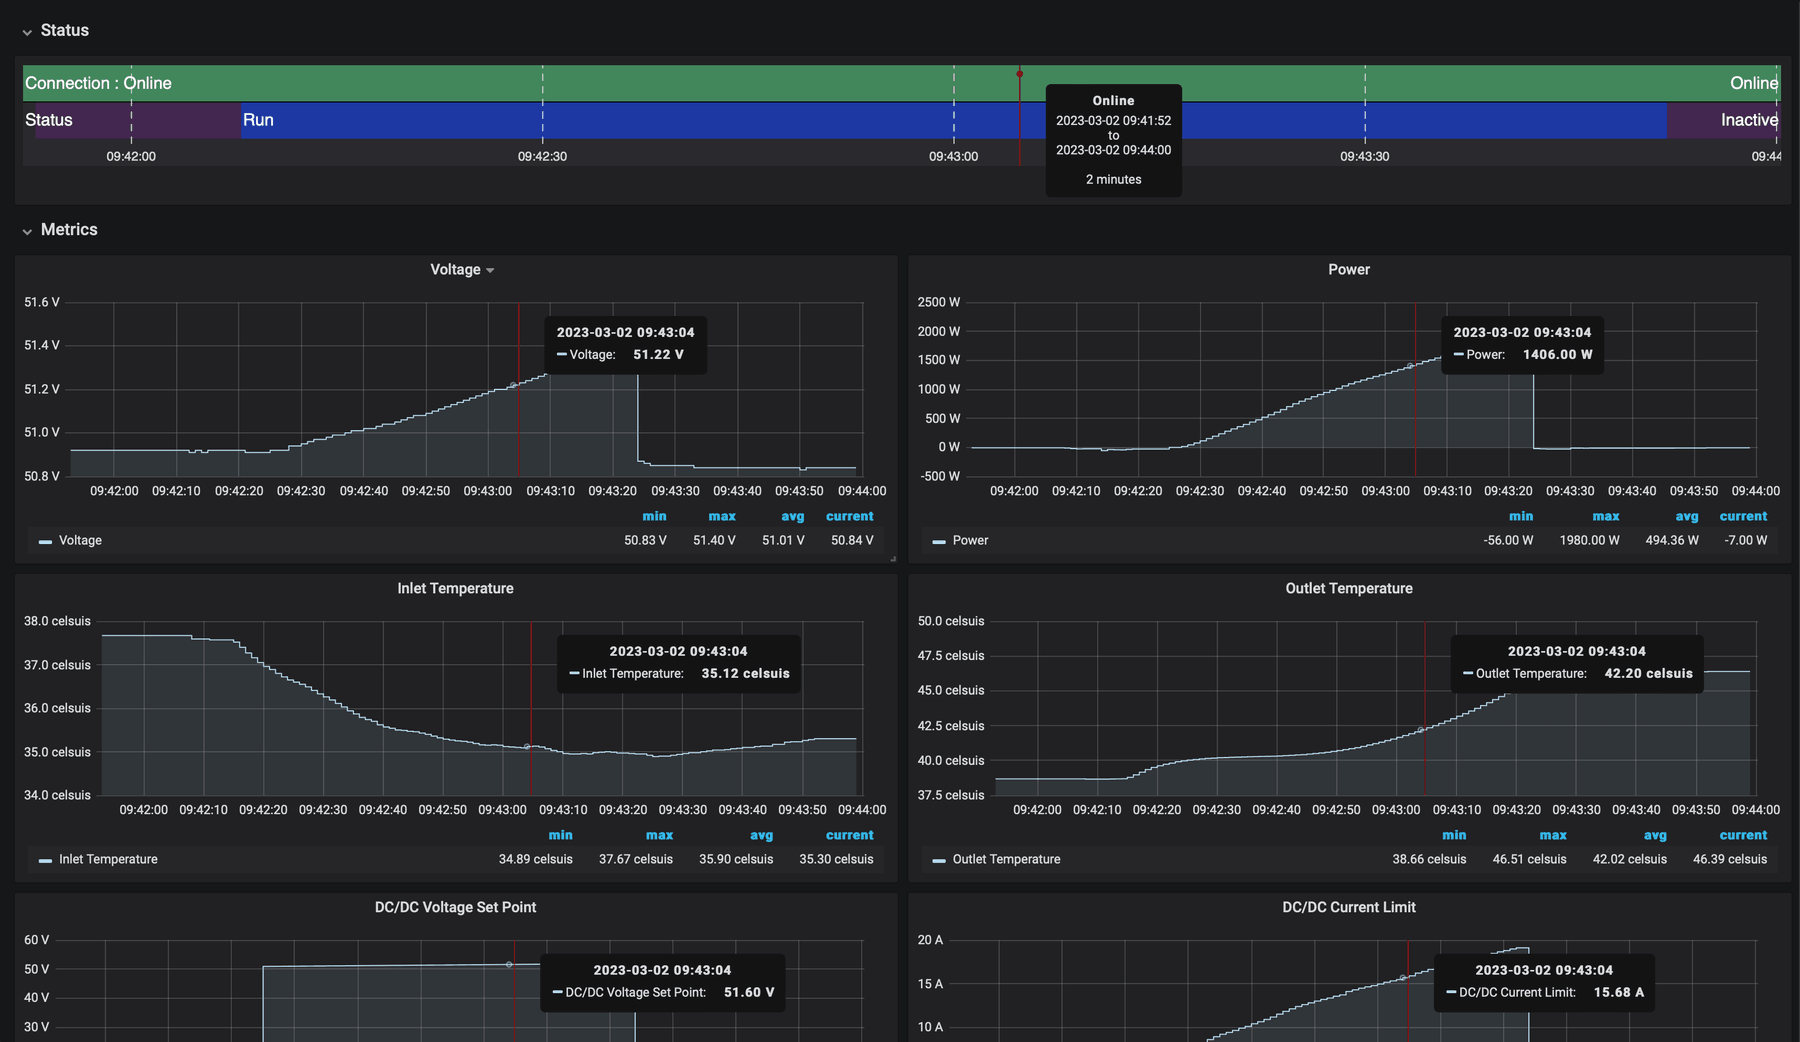
Monitoring of hydrogen fuel cell in the field is important for ensuring optimal performance and identifying issues before they become significant problems.
What We Monitor?
In this guide we will set up a real-time remote monitoring of Intelligent Energy IE-LIFT 804 hydrogen fuel cell device.
Physical Connection
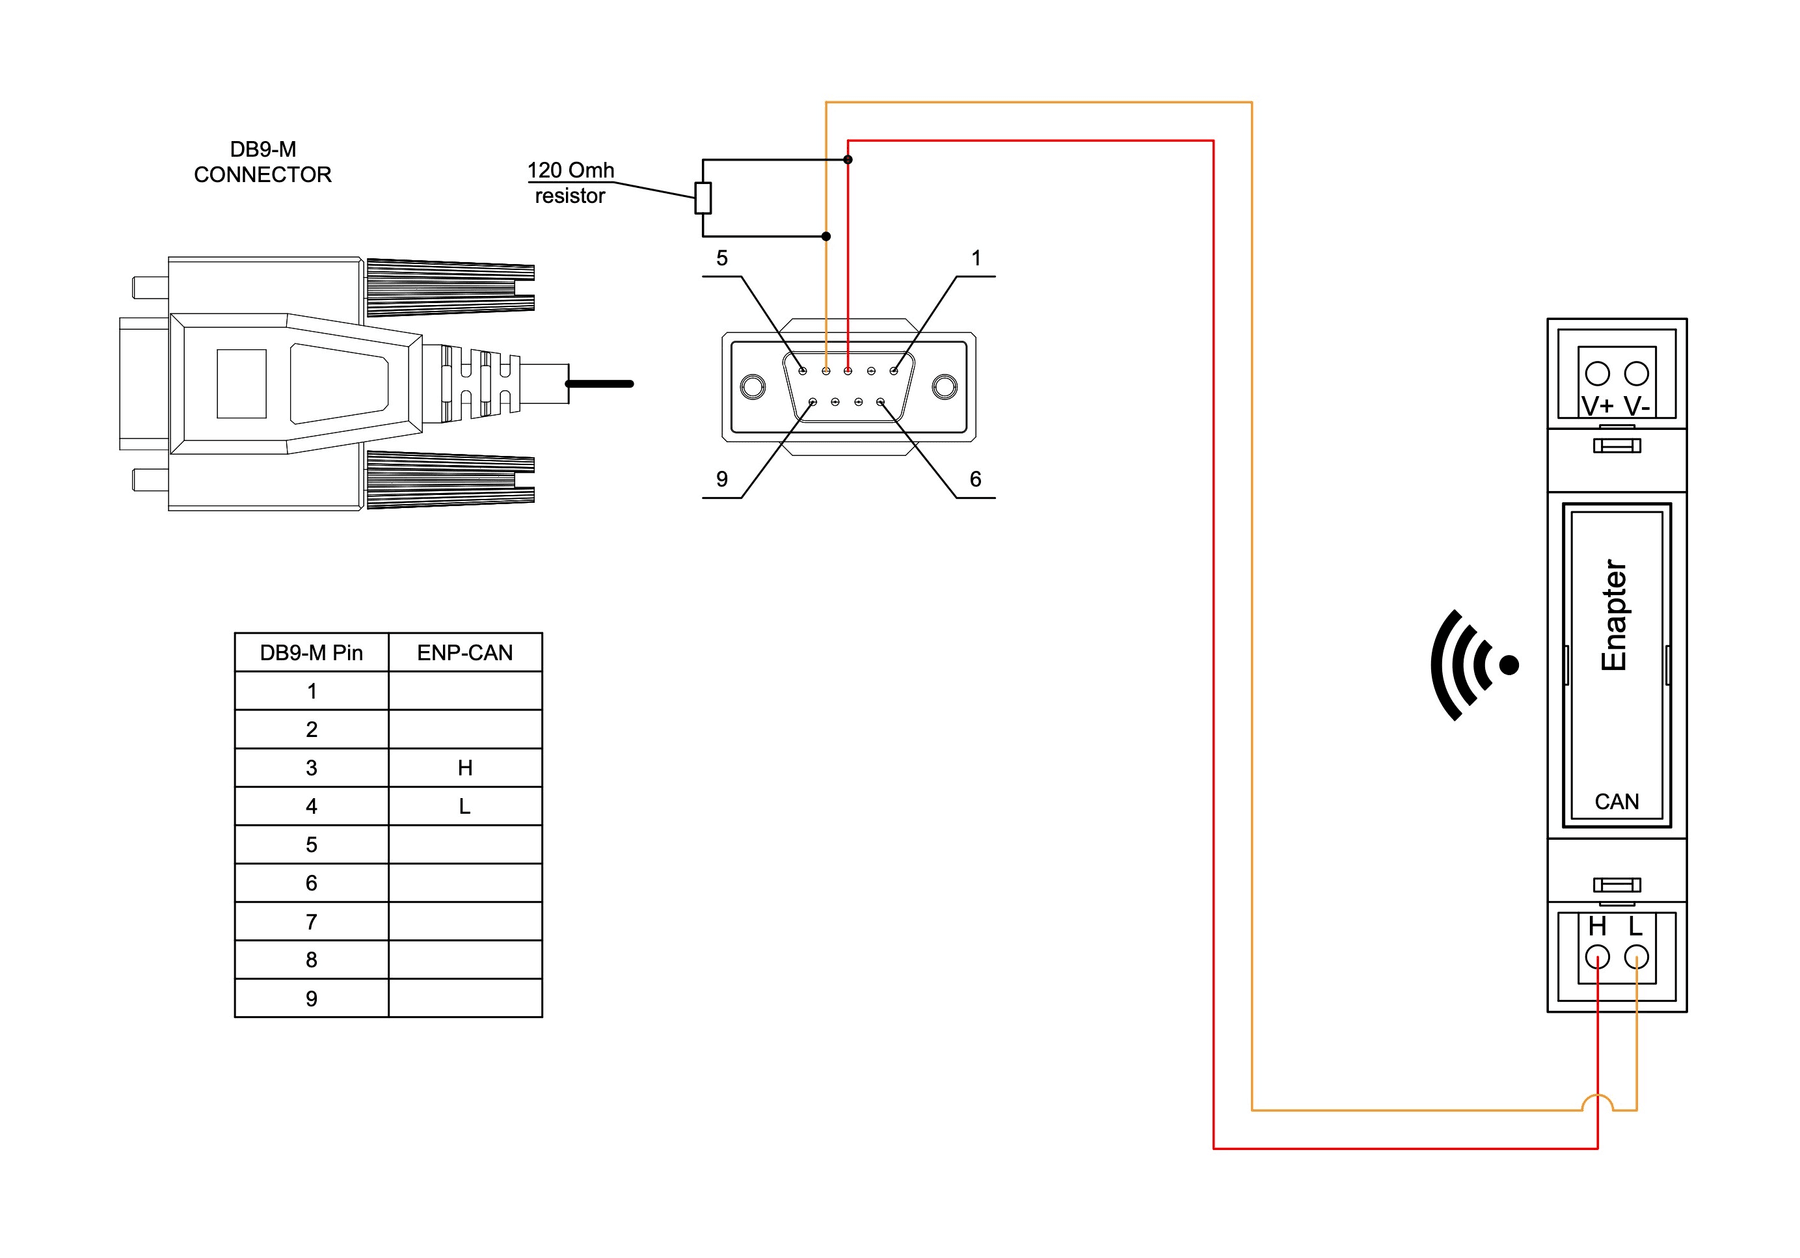
For physical CAN connection we will use either Enapter ENP-CAN communication module or ENP-KIT-232-485-CAN module (check out UCM Kit introduction and simple JLPCB ordering guide). The module will run a data acquisition program to collect CAN messages and will send those data to Enapter Cloud.
IE-LIFT 804 fuel cell has a DB9 port with CAN bus and digital IO pins. Pins 3 and 4 are used as CAN Hi and Lo and should be connected to Enapter ENP-CAN modules as shown on the scheme below.
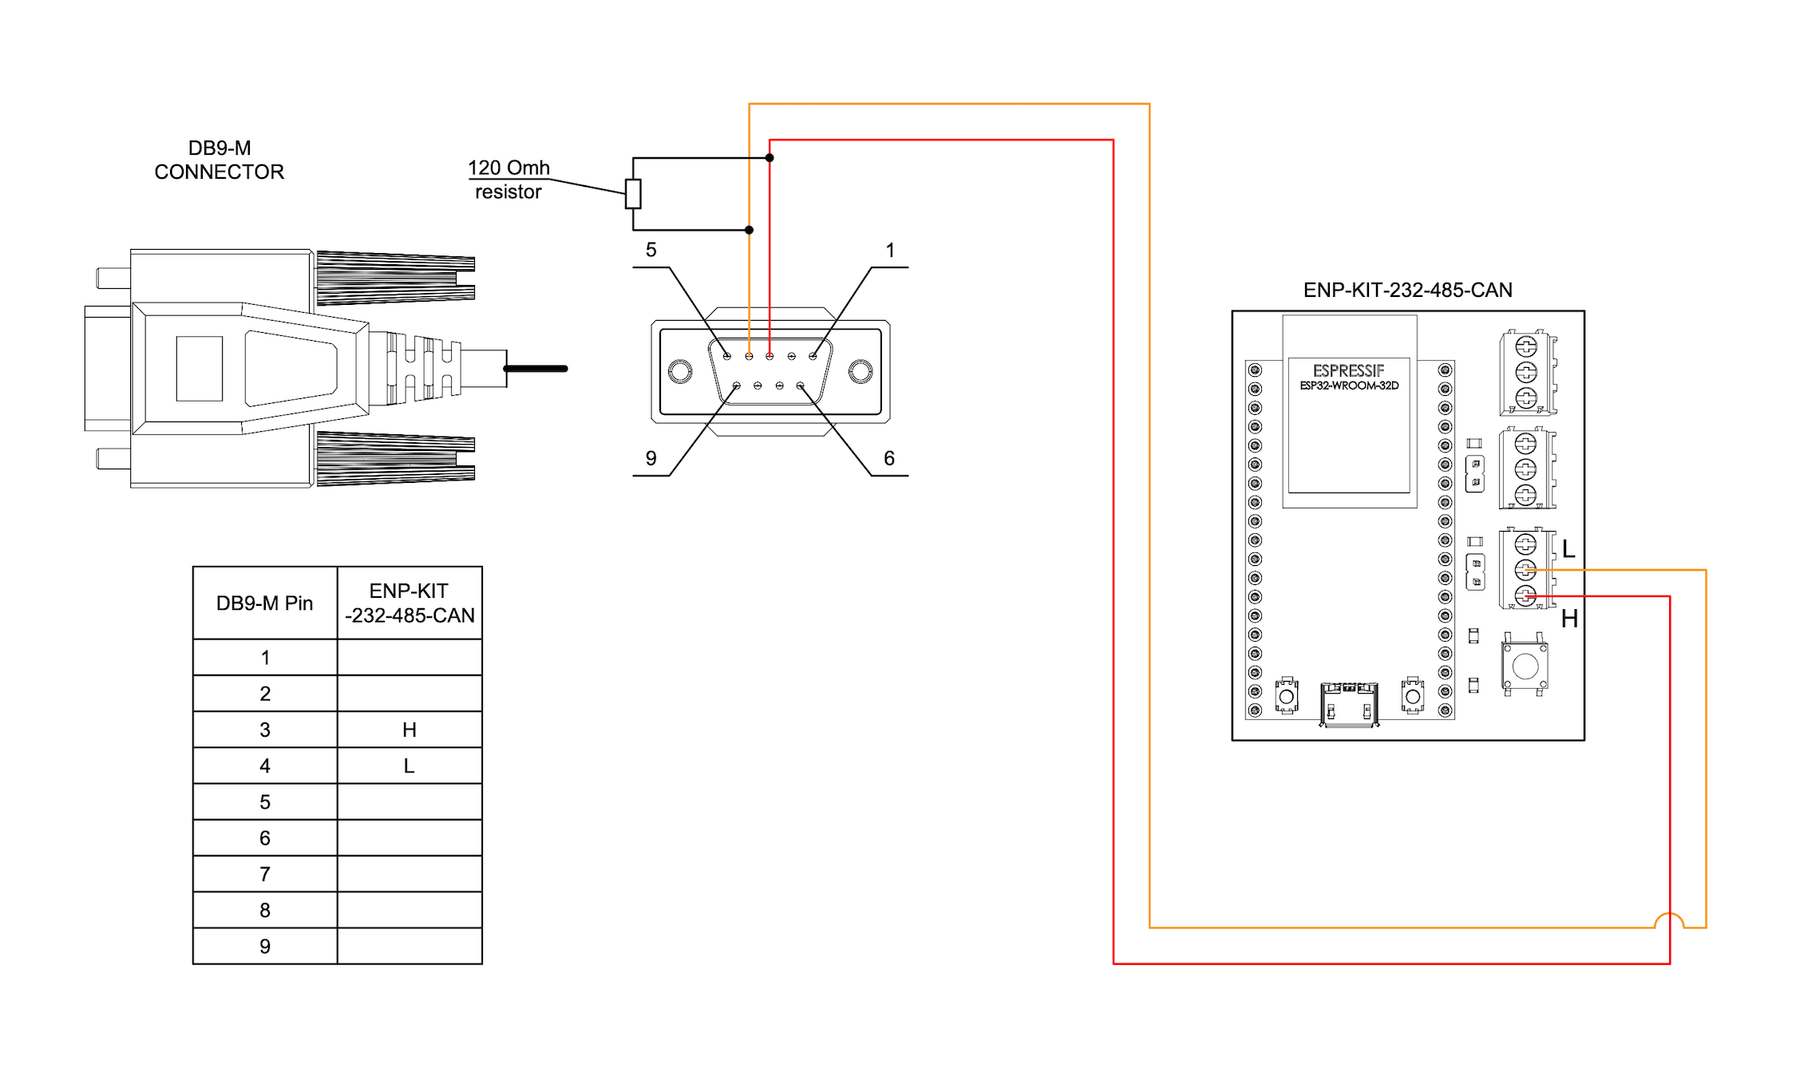
Connection scheme for ENP-KIT-232-485-CAN communication module .
Communication Module Setup
1. Create Site
Use Enapter mobile app for iOS or Android to create your site — the system installation in specific location.
- Press
Create New Sitebutton. - Enter your site details and press
Create Site. - Your site is ready for adding new devices.
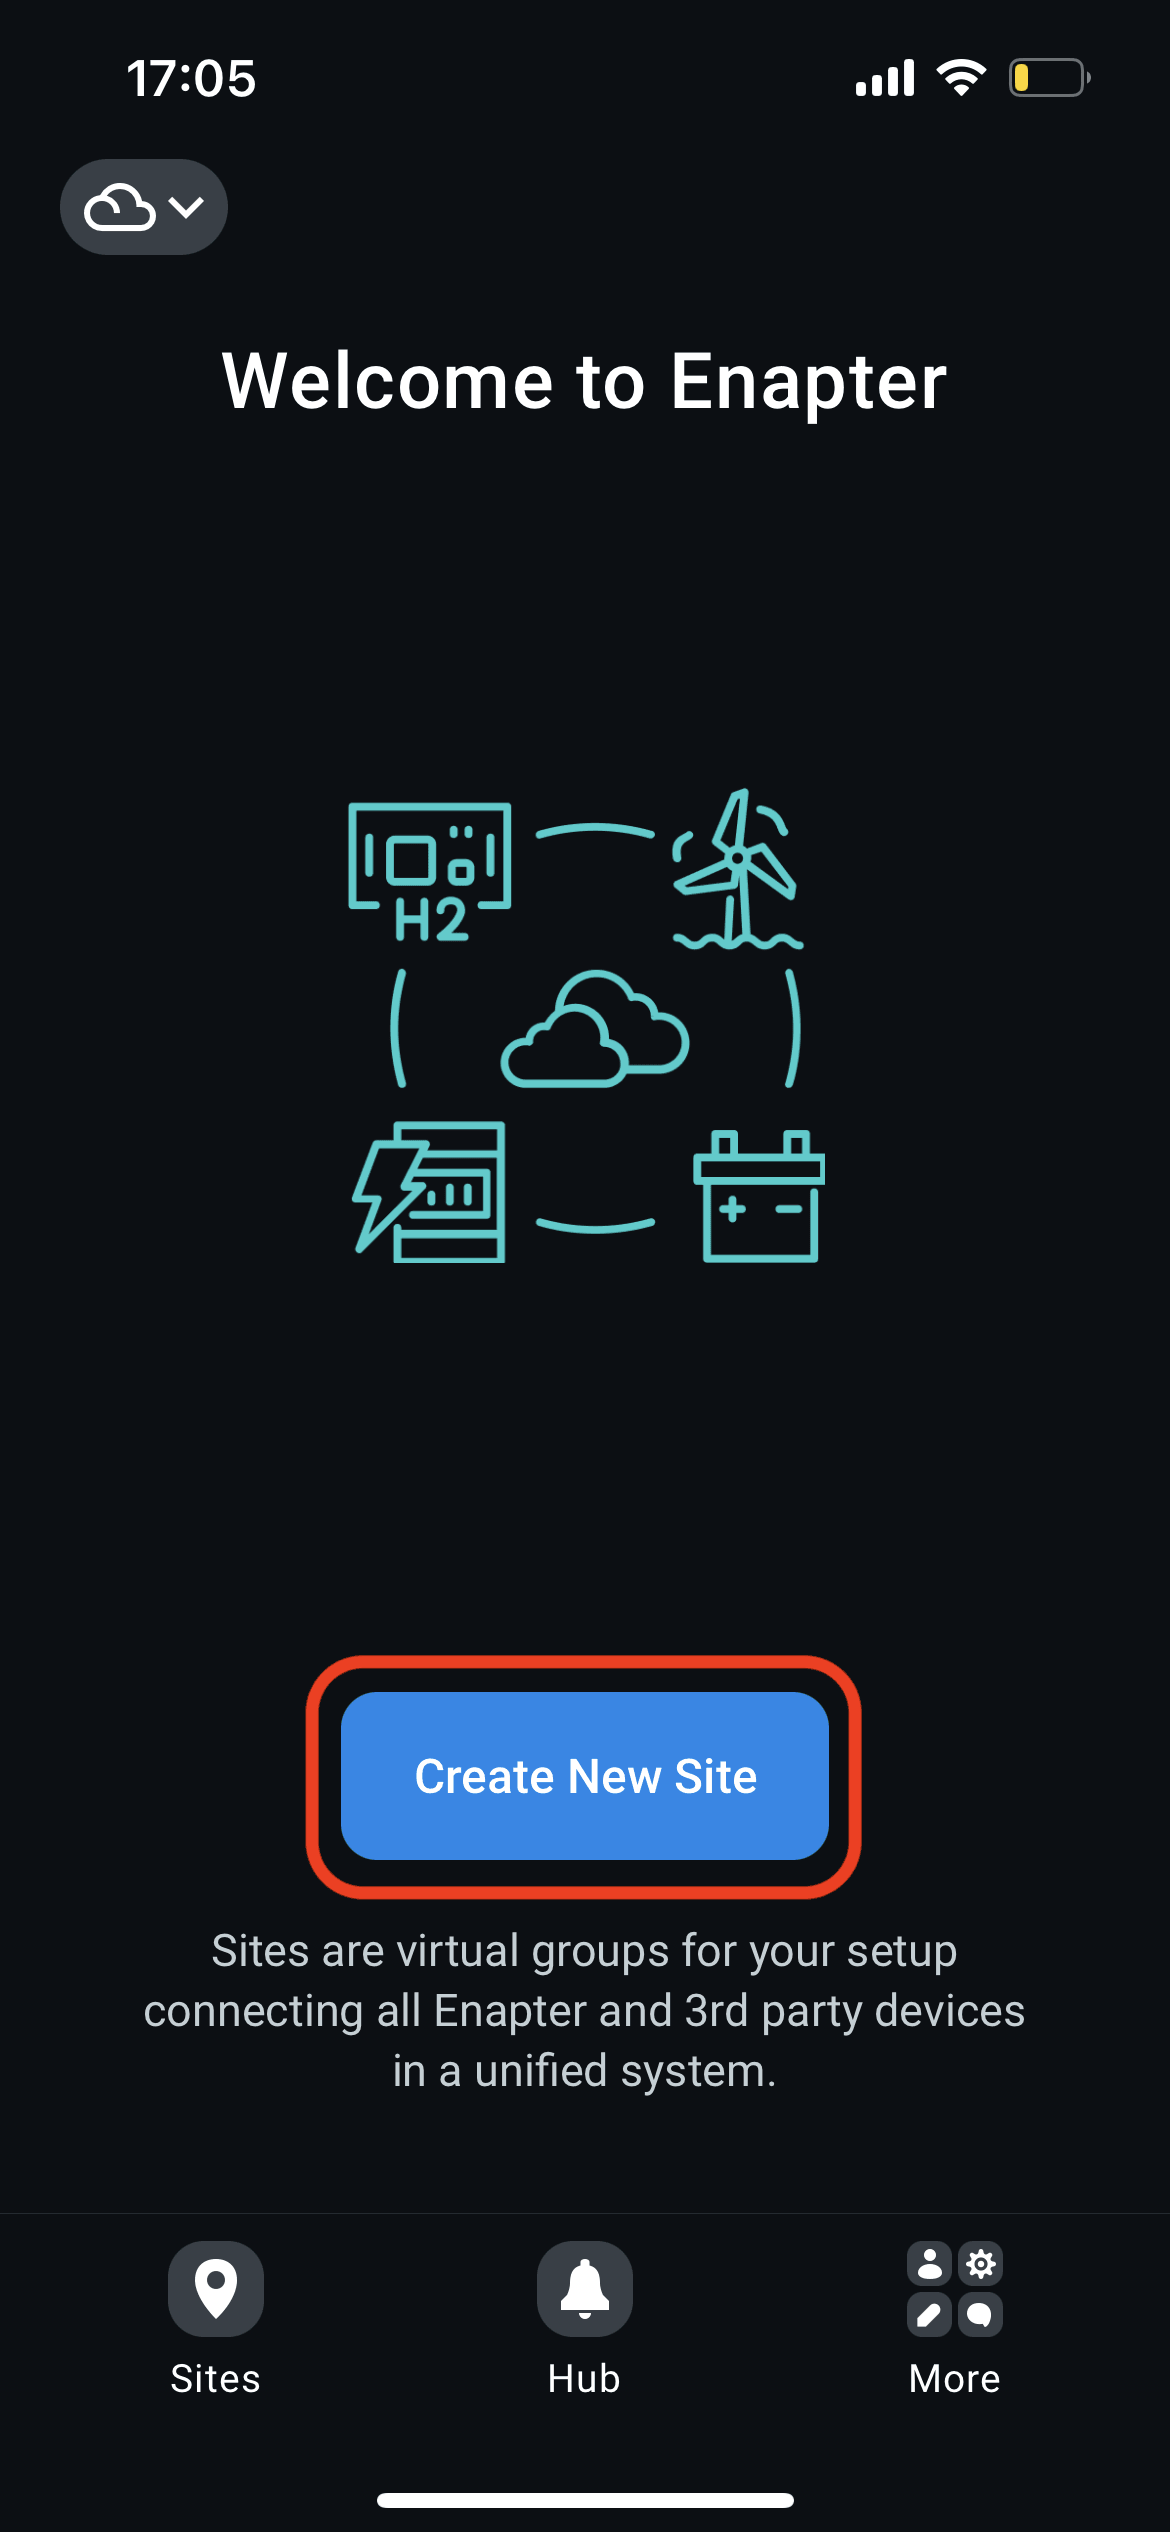
Press Create New Site button.
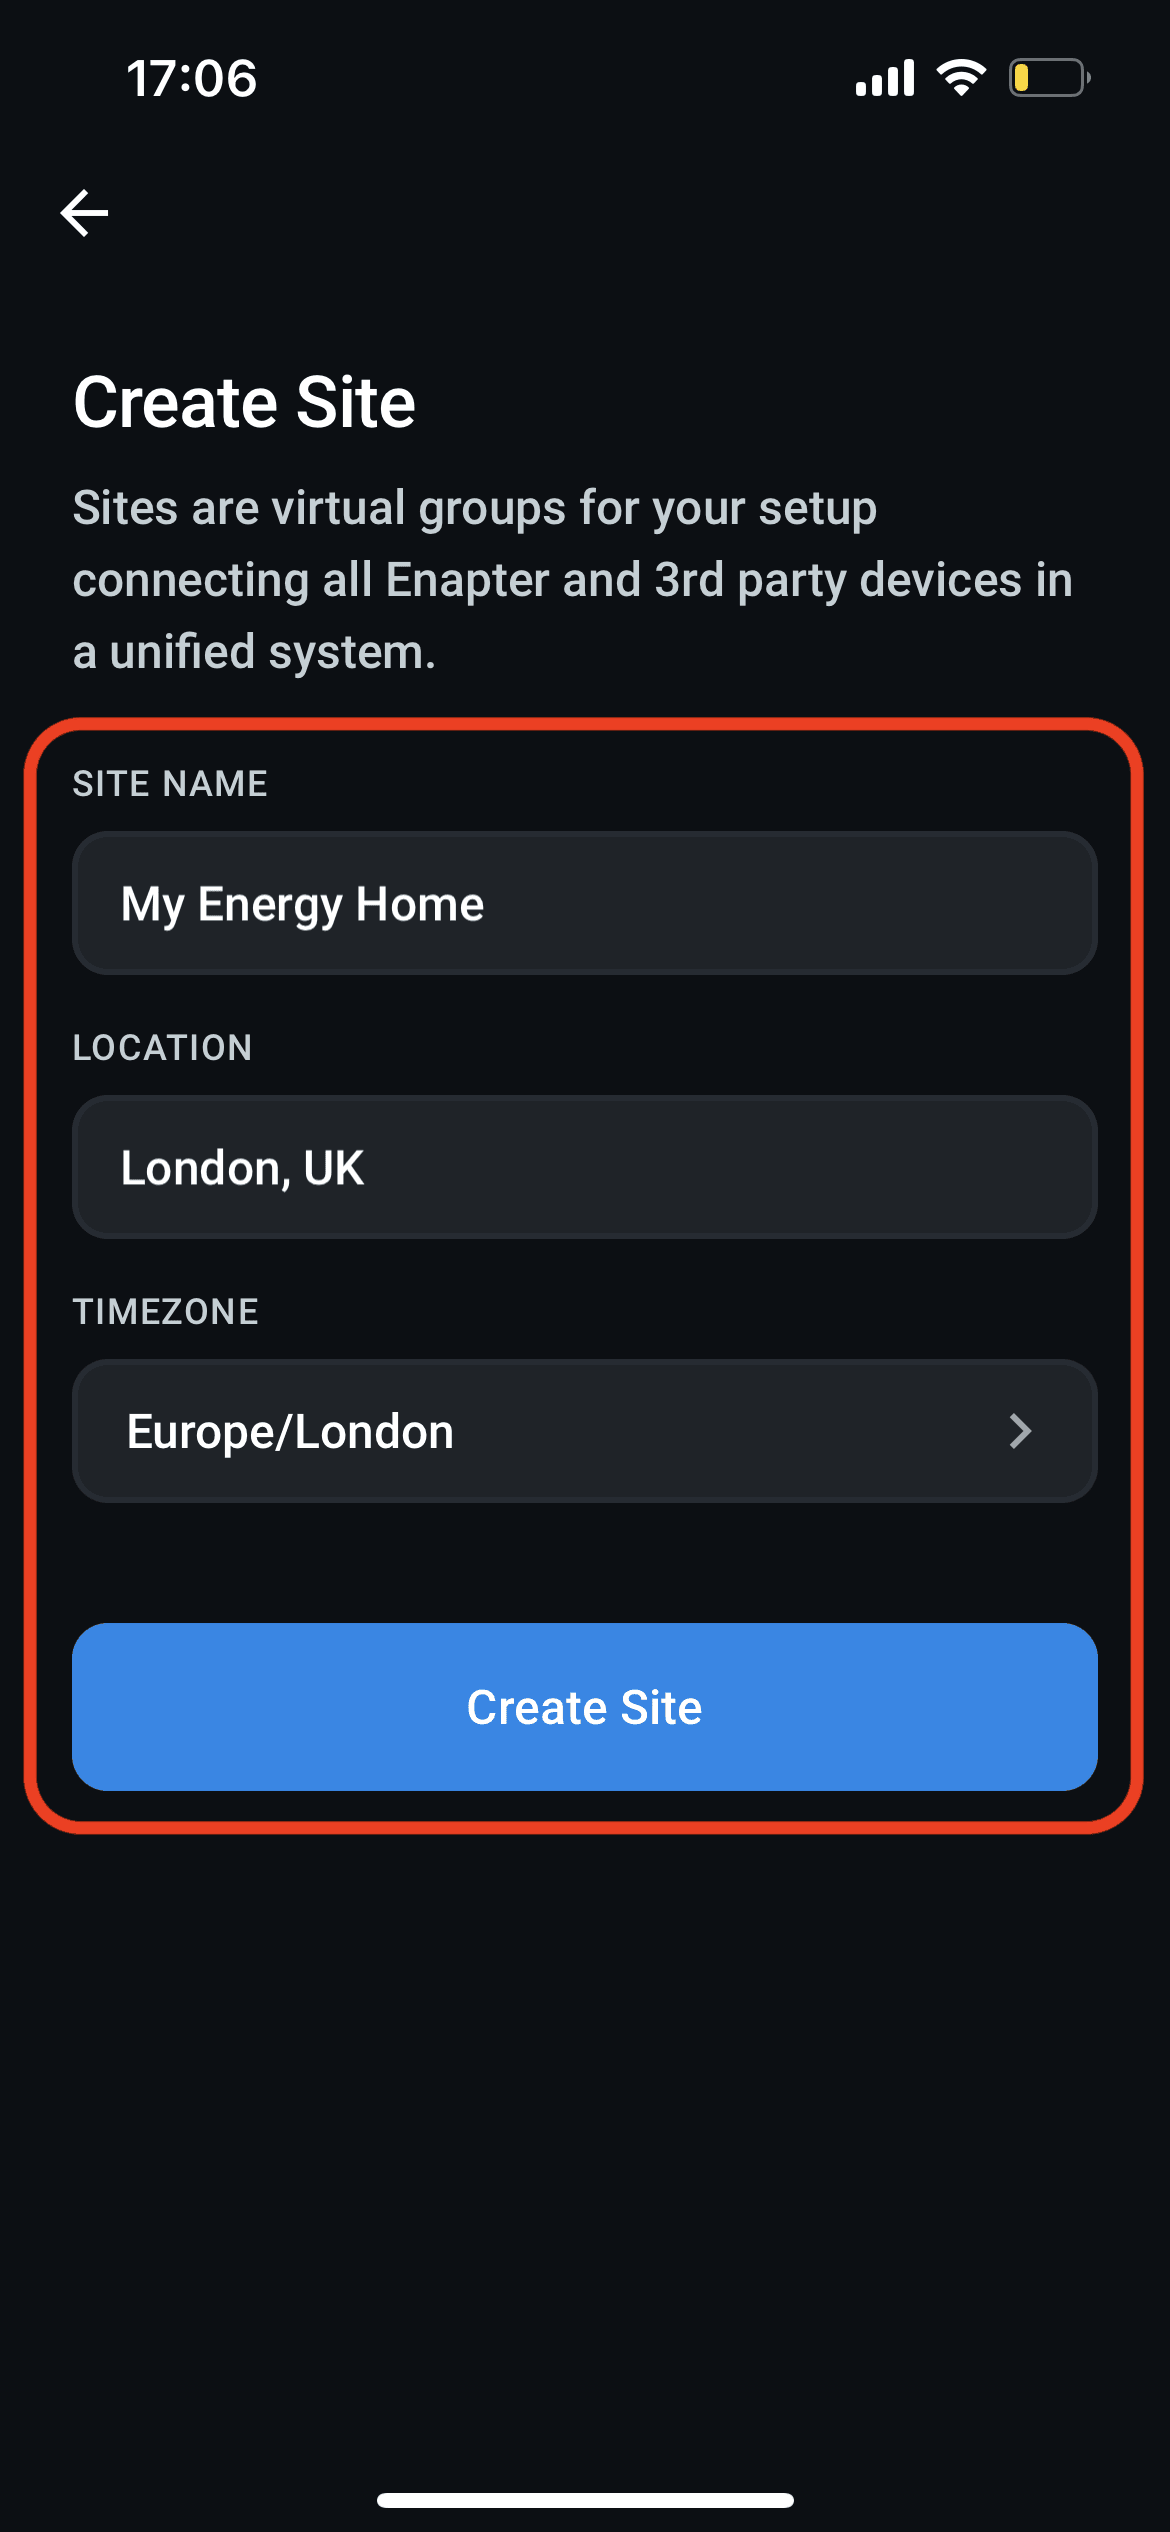
Enter your site details and press Create Site.
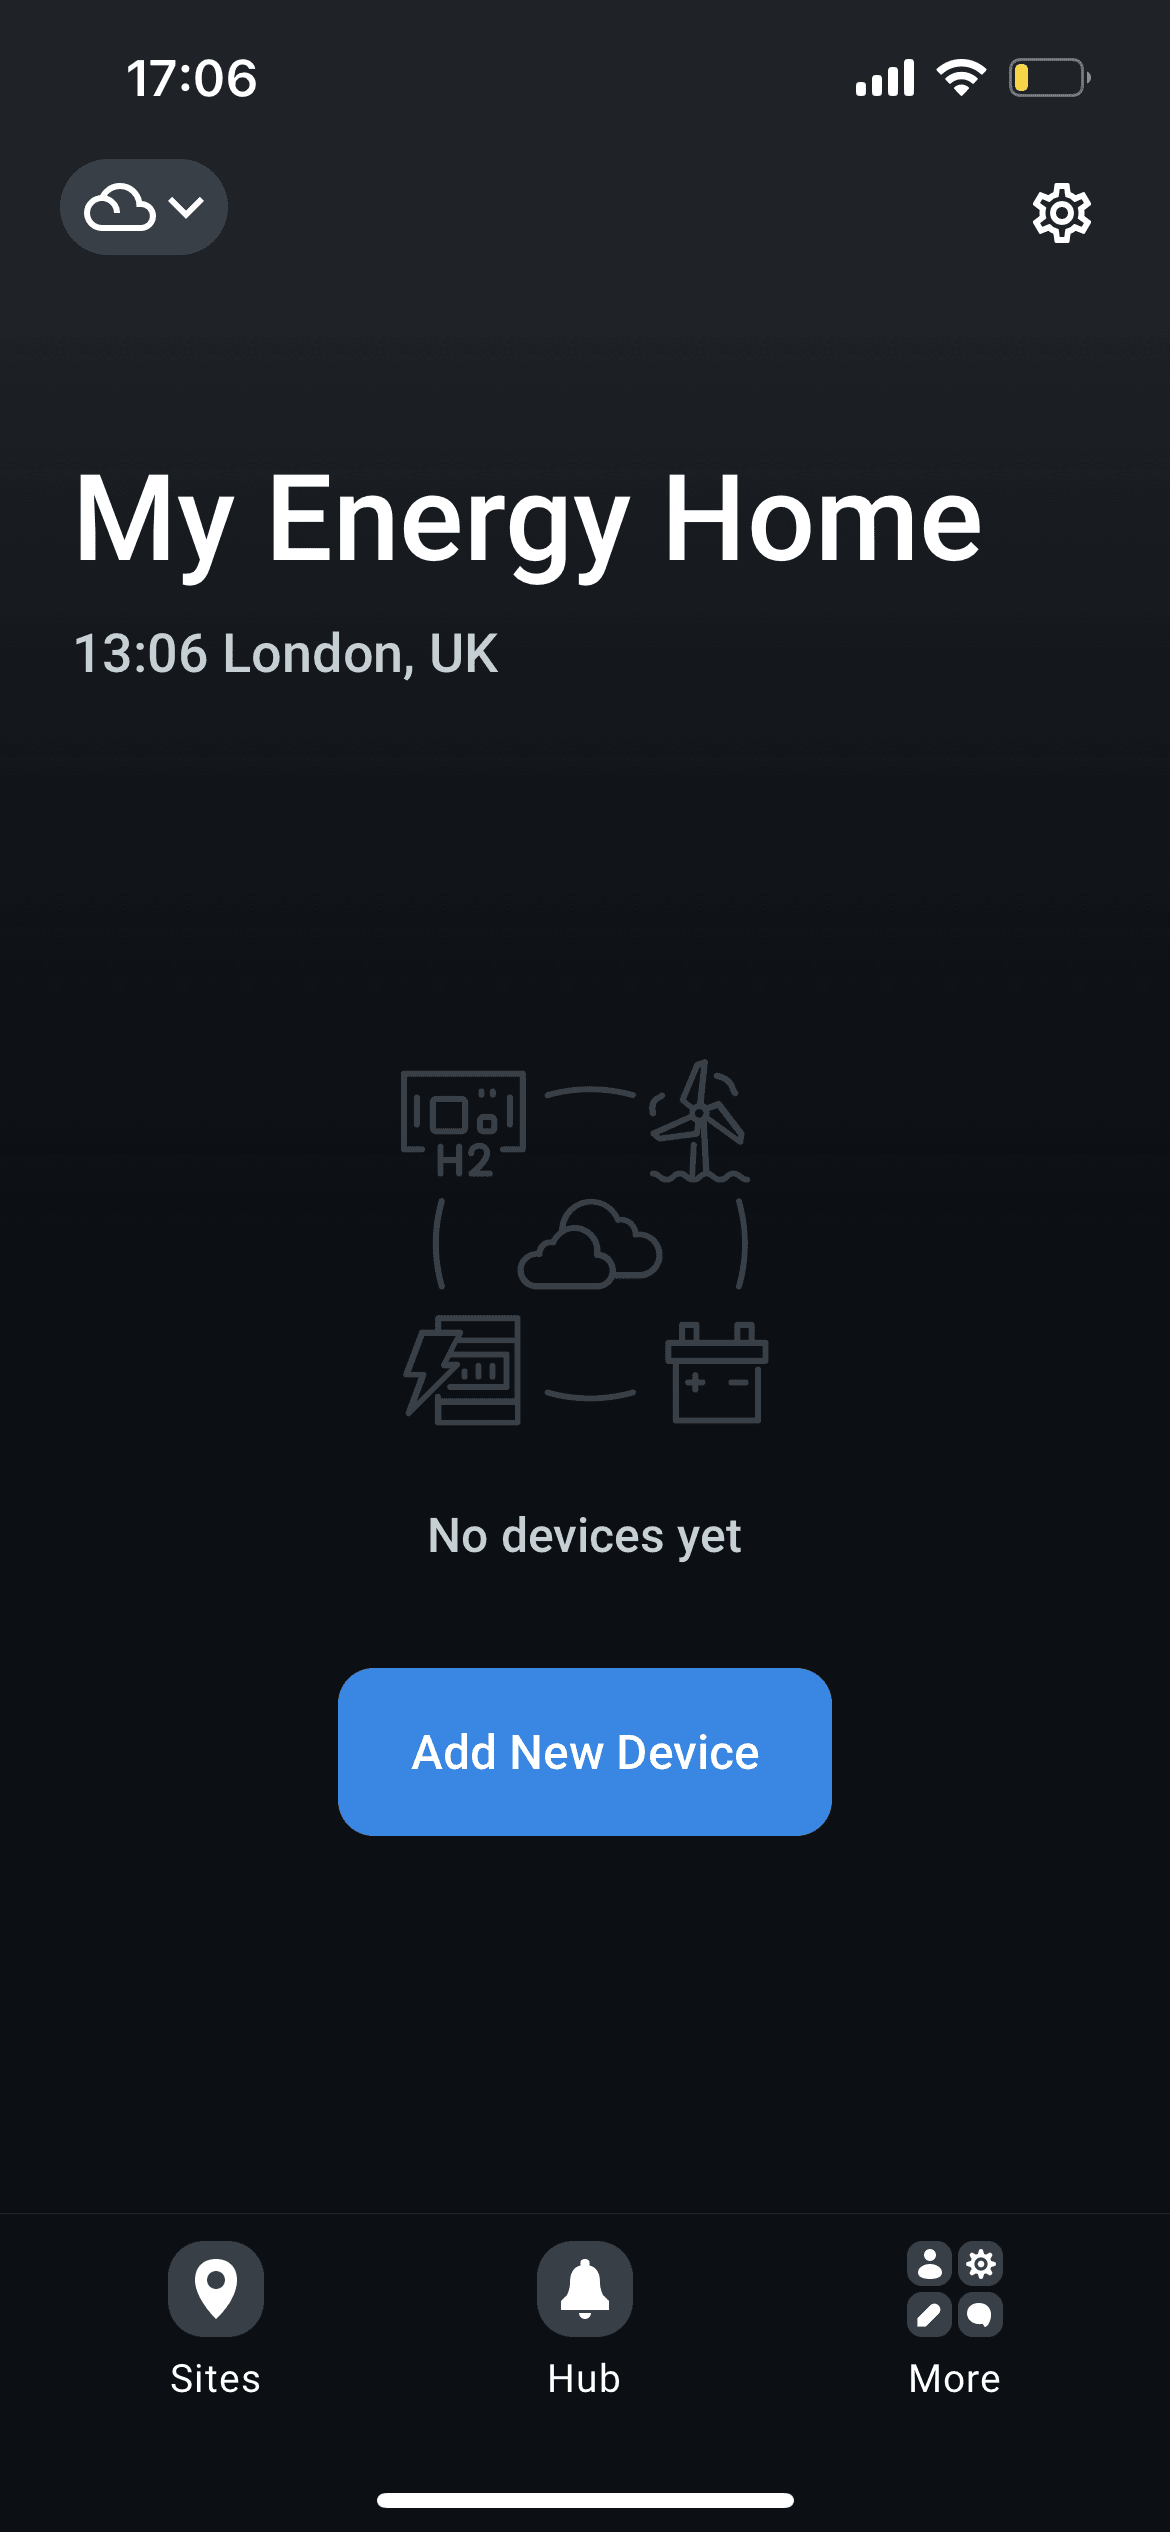
Your site is ready for adding new devices.
2. Configure ENP-CAN
ENP-CAN module uses WiFi to communicate to Enapter Cloud over internet. Use mobile app to add the module to the site and to configure WiFi connection.
- Press
Add New Devicebutton. - Scan QR code located on the side of ENP-CAN module to initiate Bluetooth connection.
- Enter your WiFi SSID and password, and press
Continue. - Wait until the module is configured and connected to Enapter Cloud.
- Enter the name you'd like to use for the device.
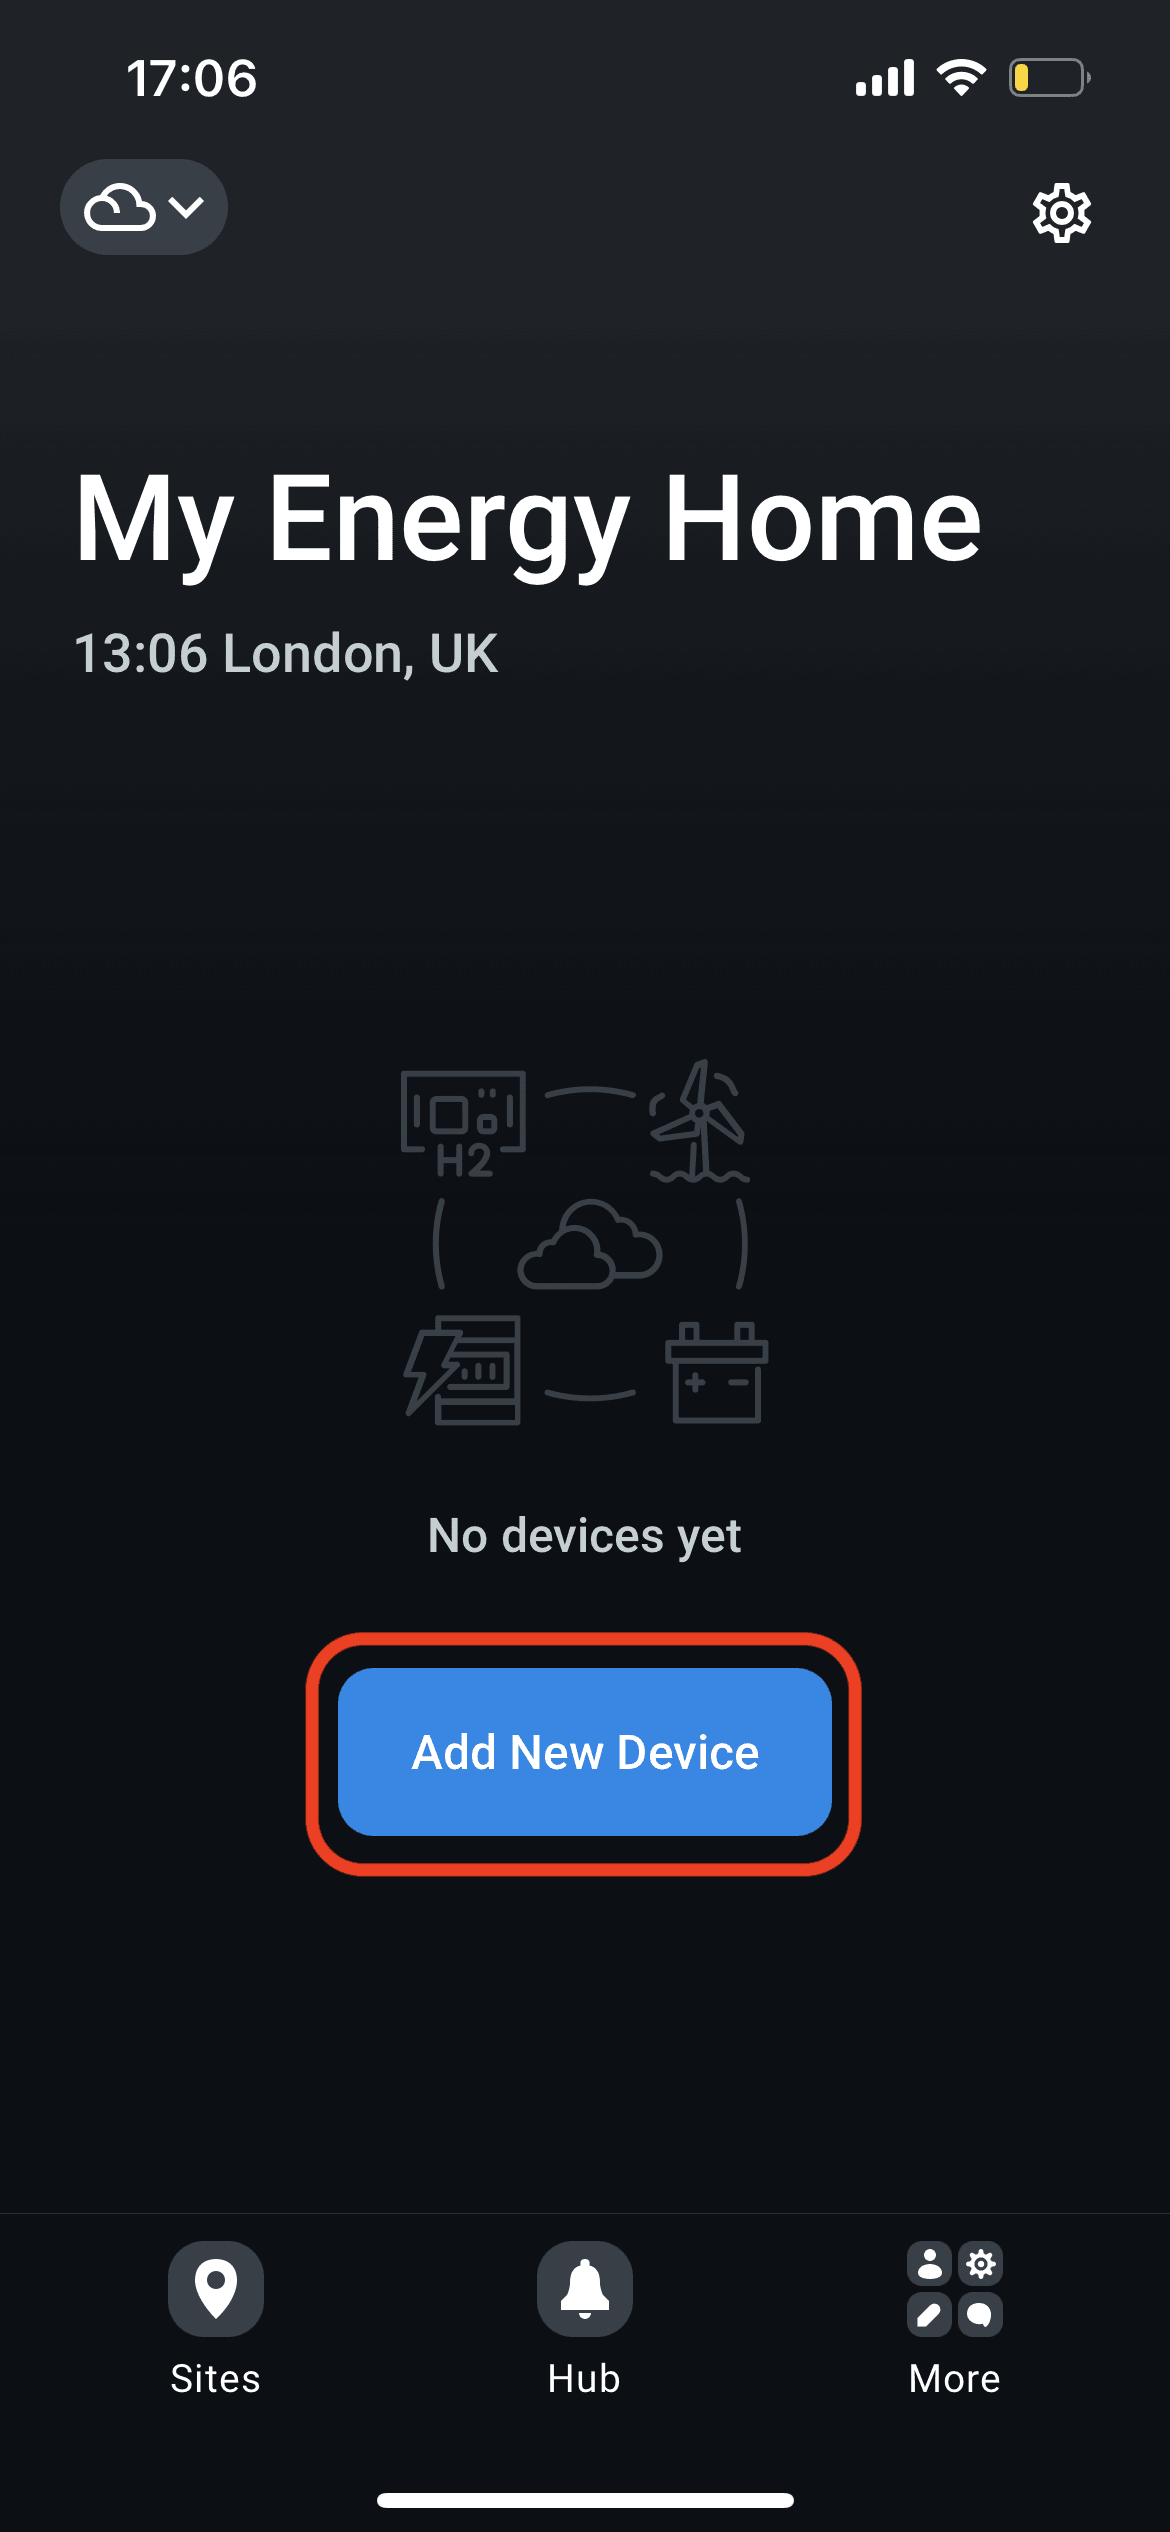
Press Add New Device button.
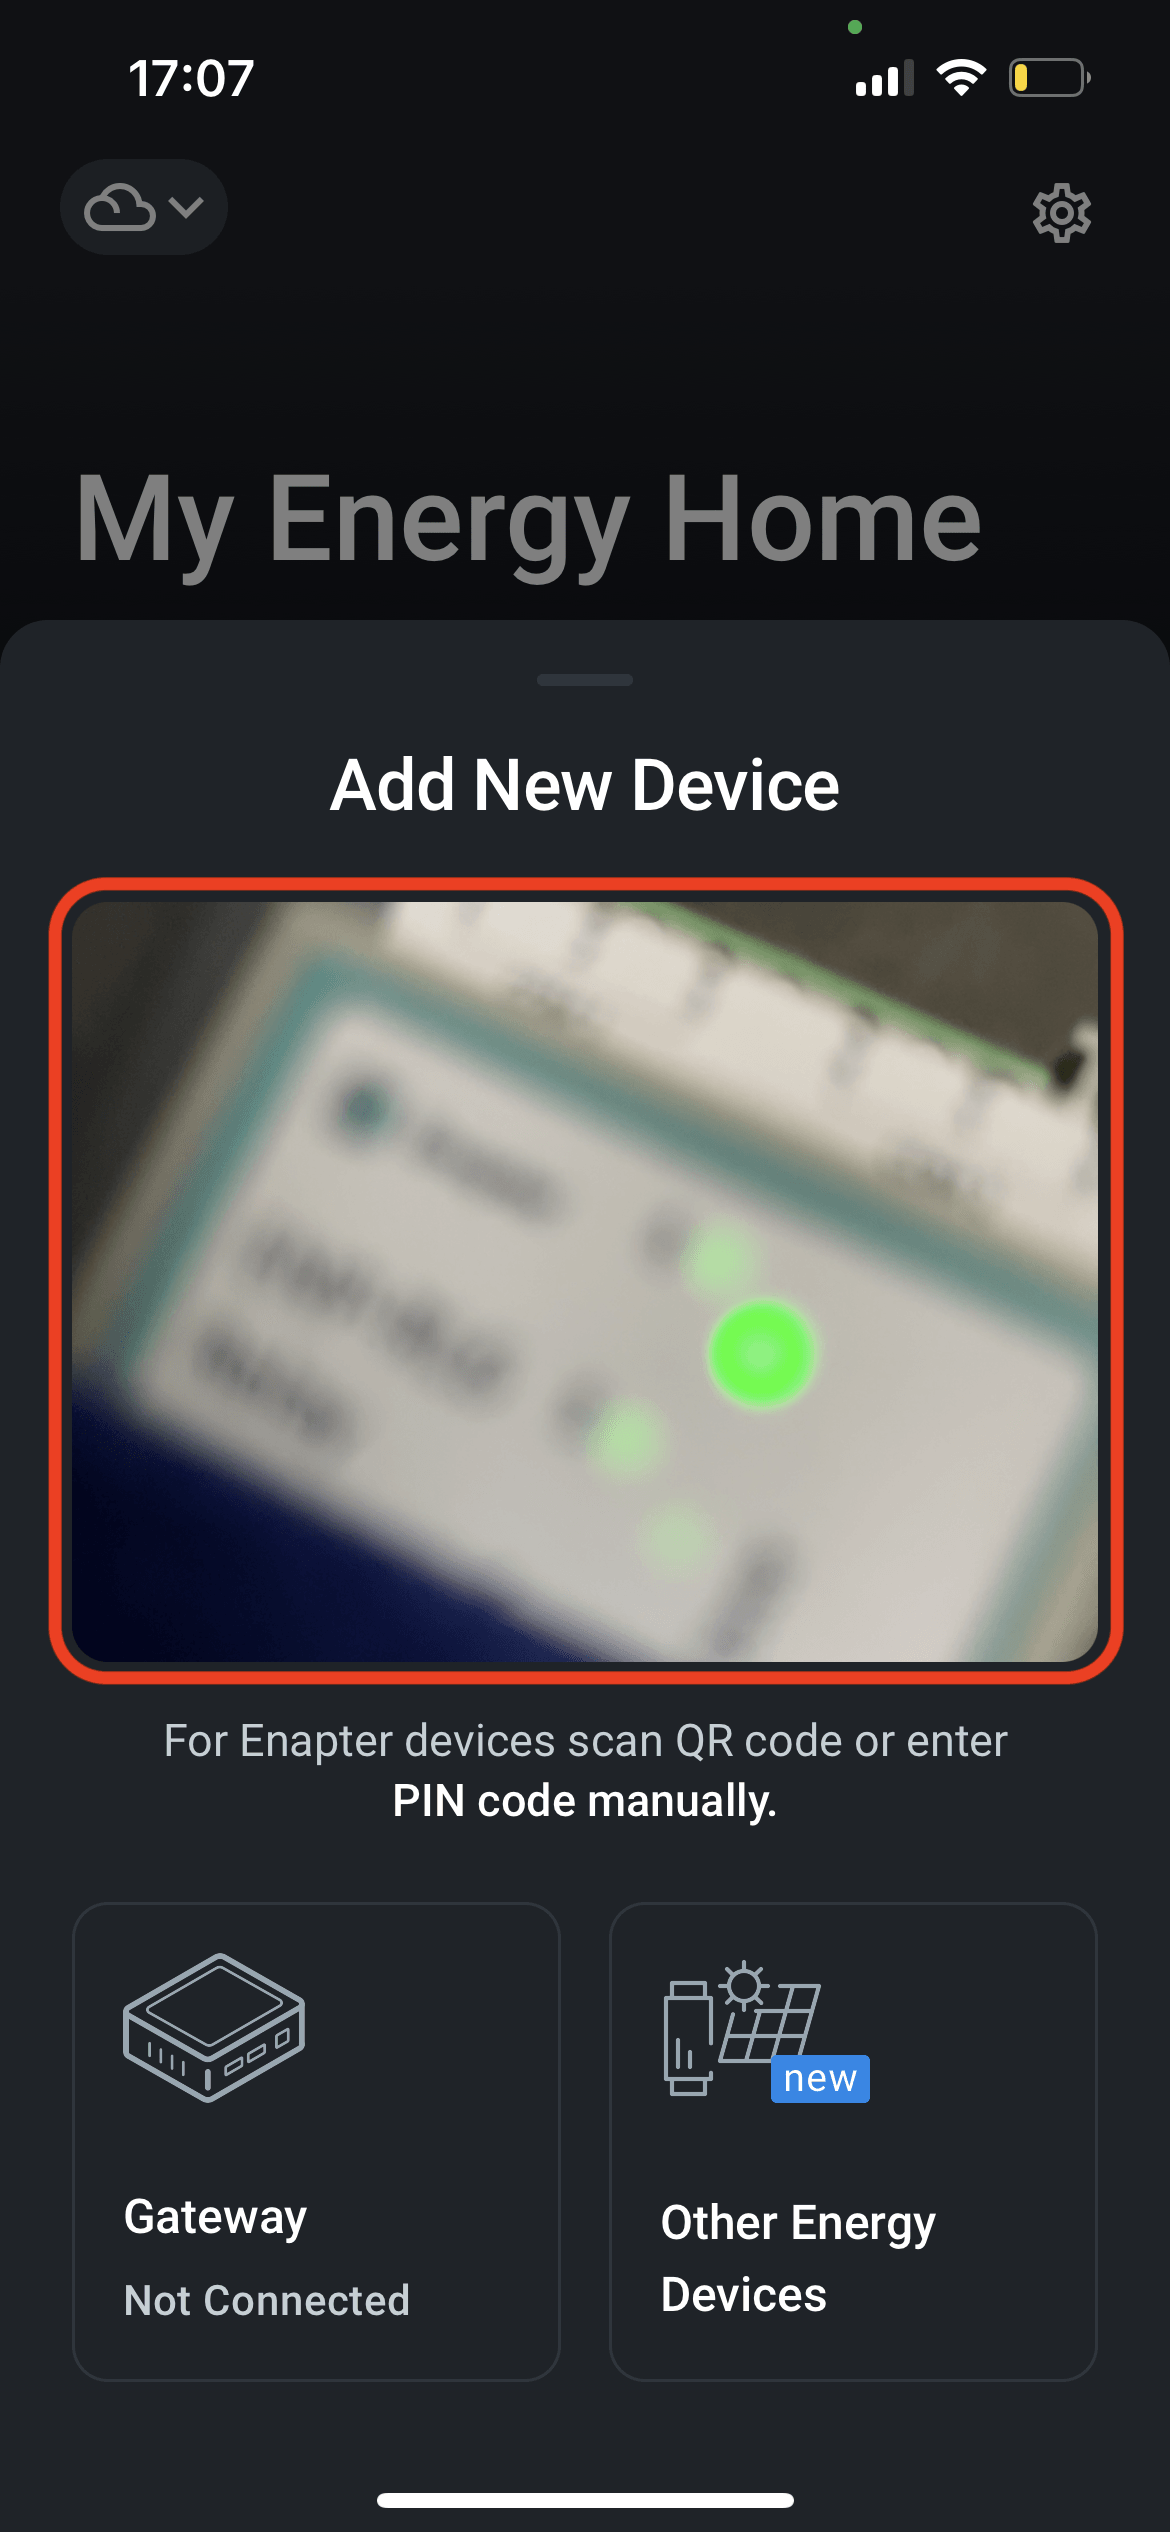
Scan QR code located on the side of ENP-CAN module to initiate Bluetooth connection.
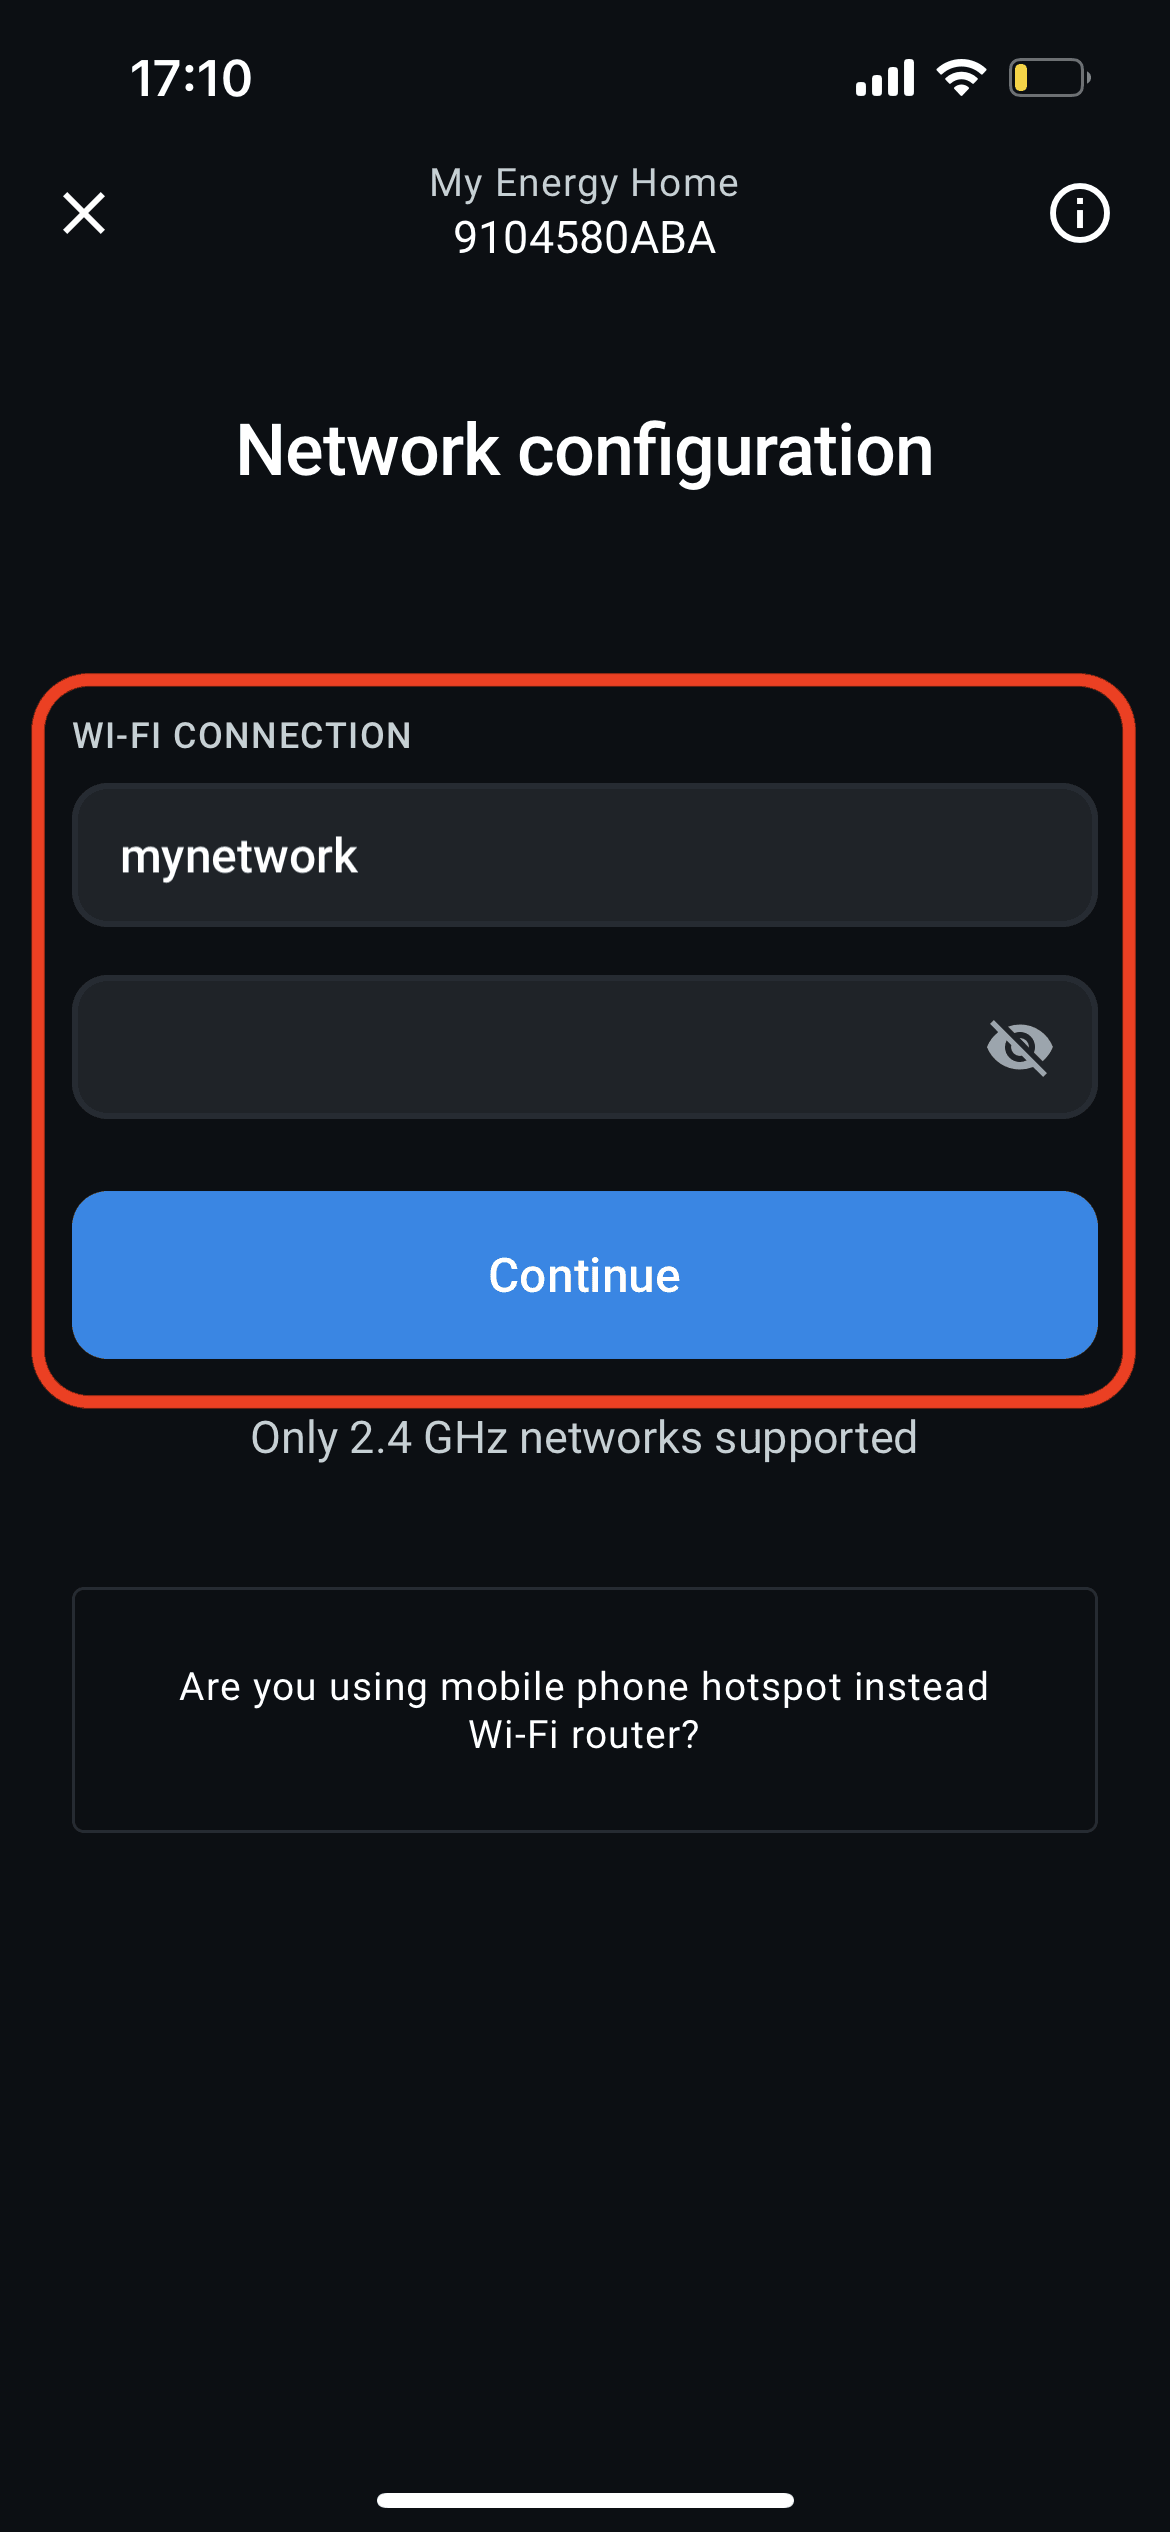
Enter your WiFi SSID and password, and press Continue.
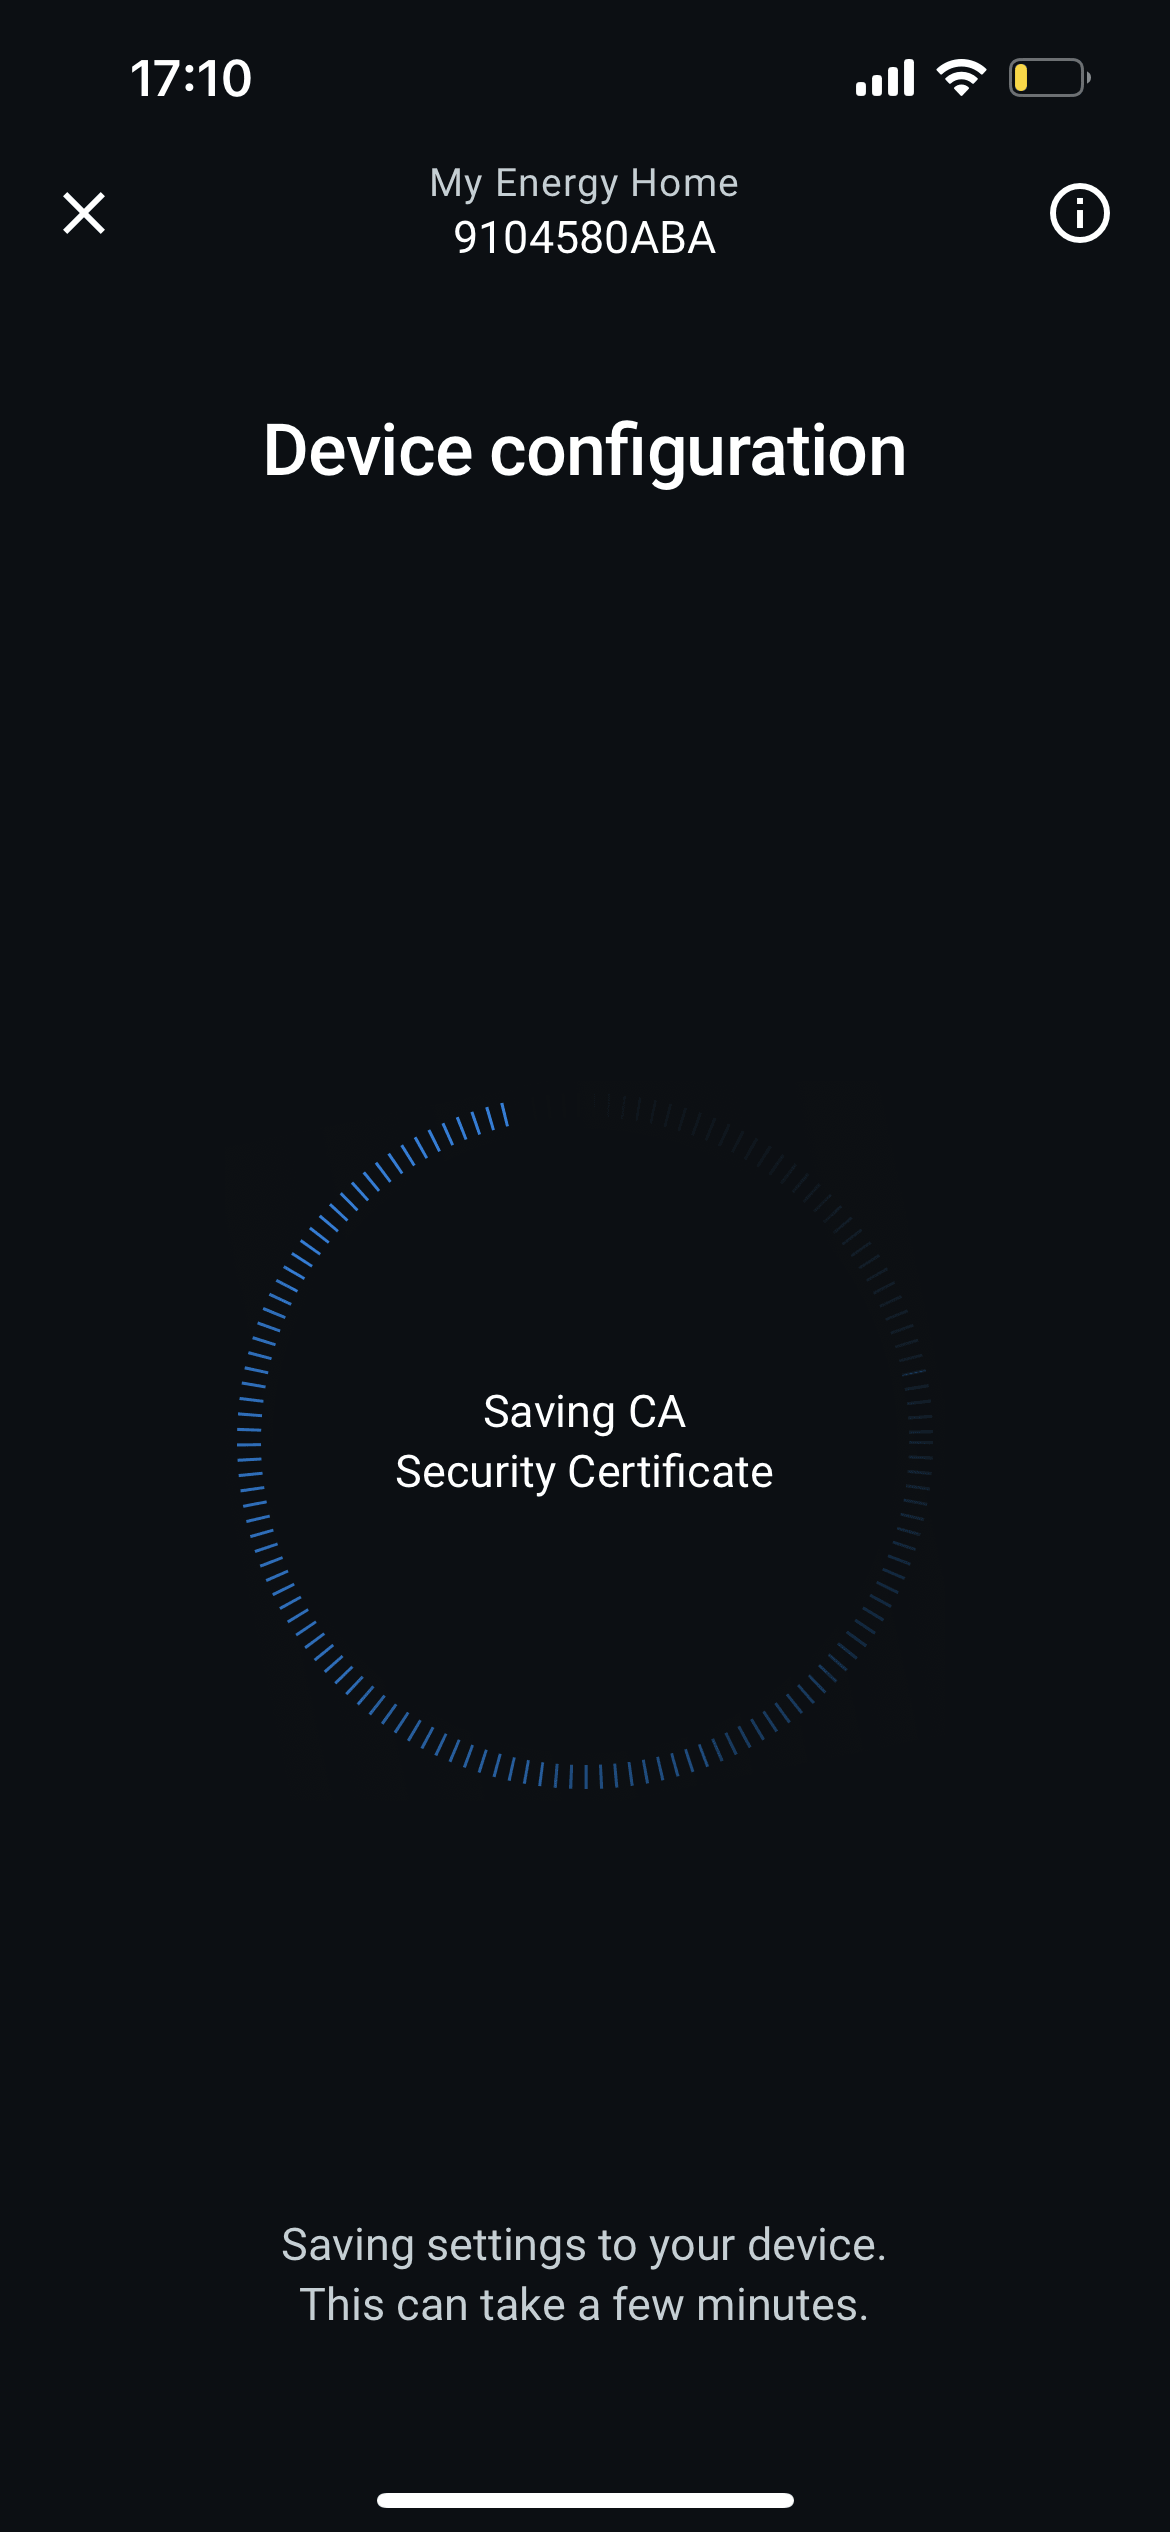
Wait until the module is configured and connected to Enapter Cloud.
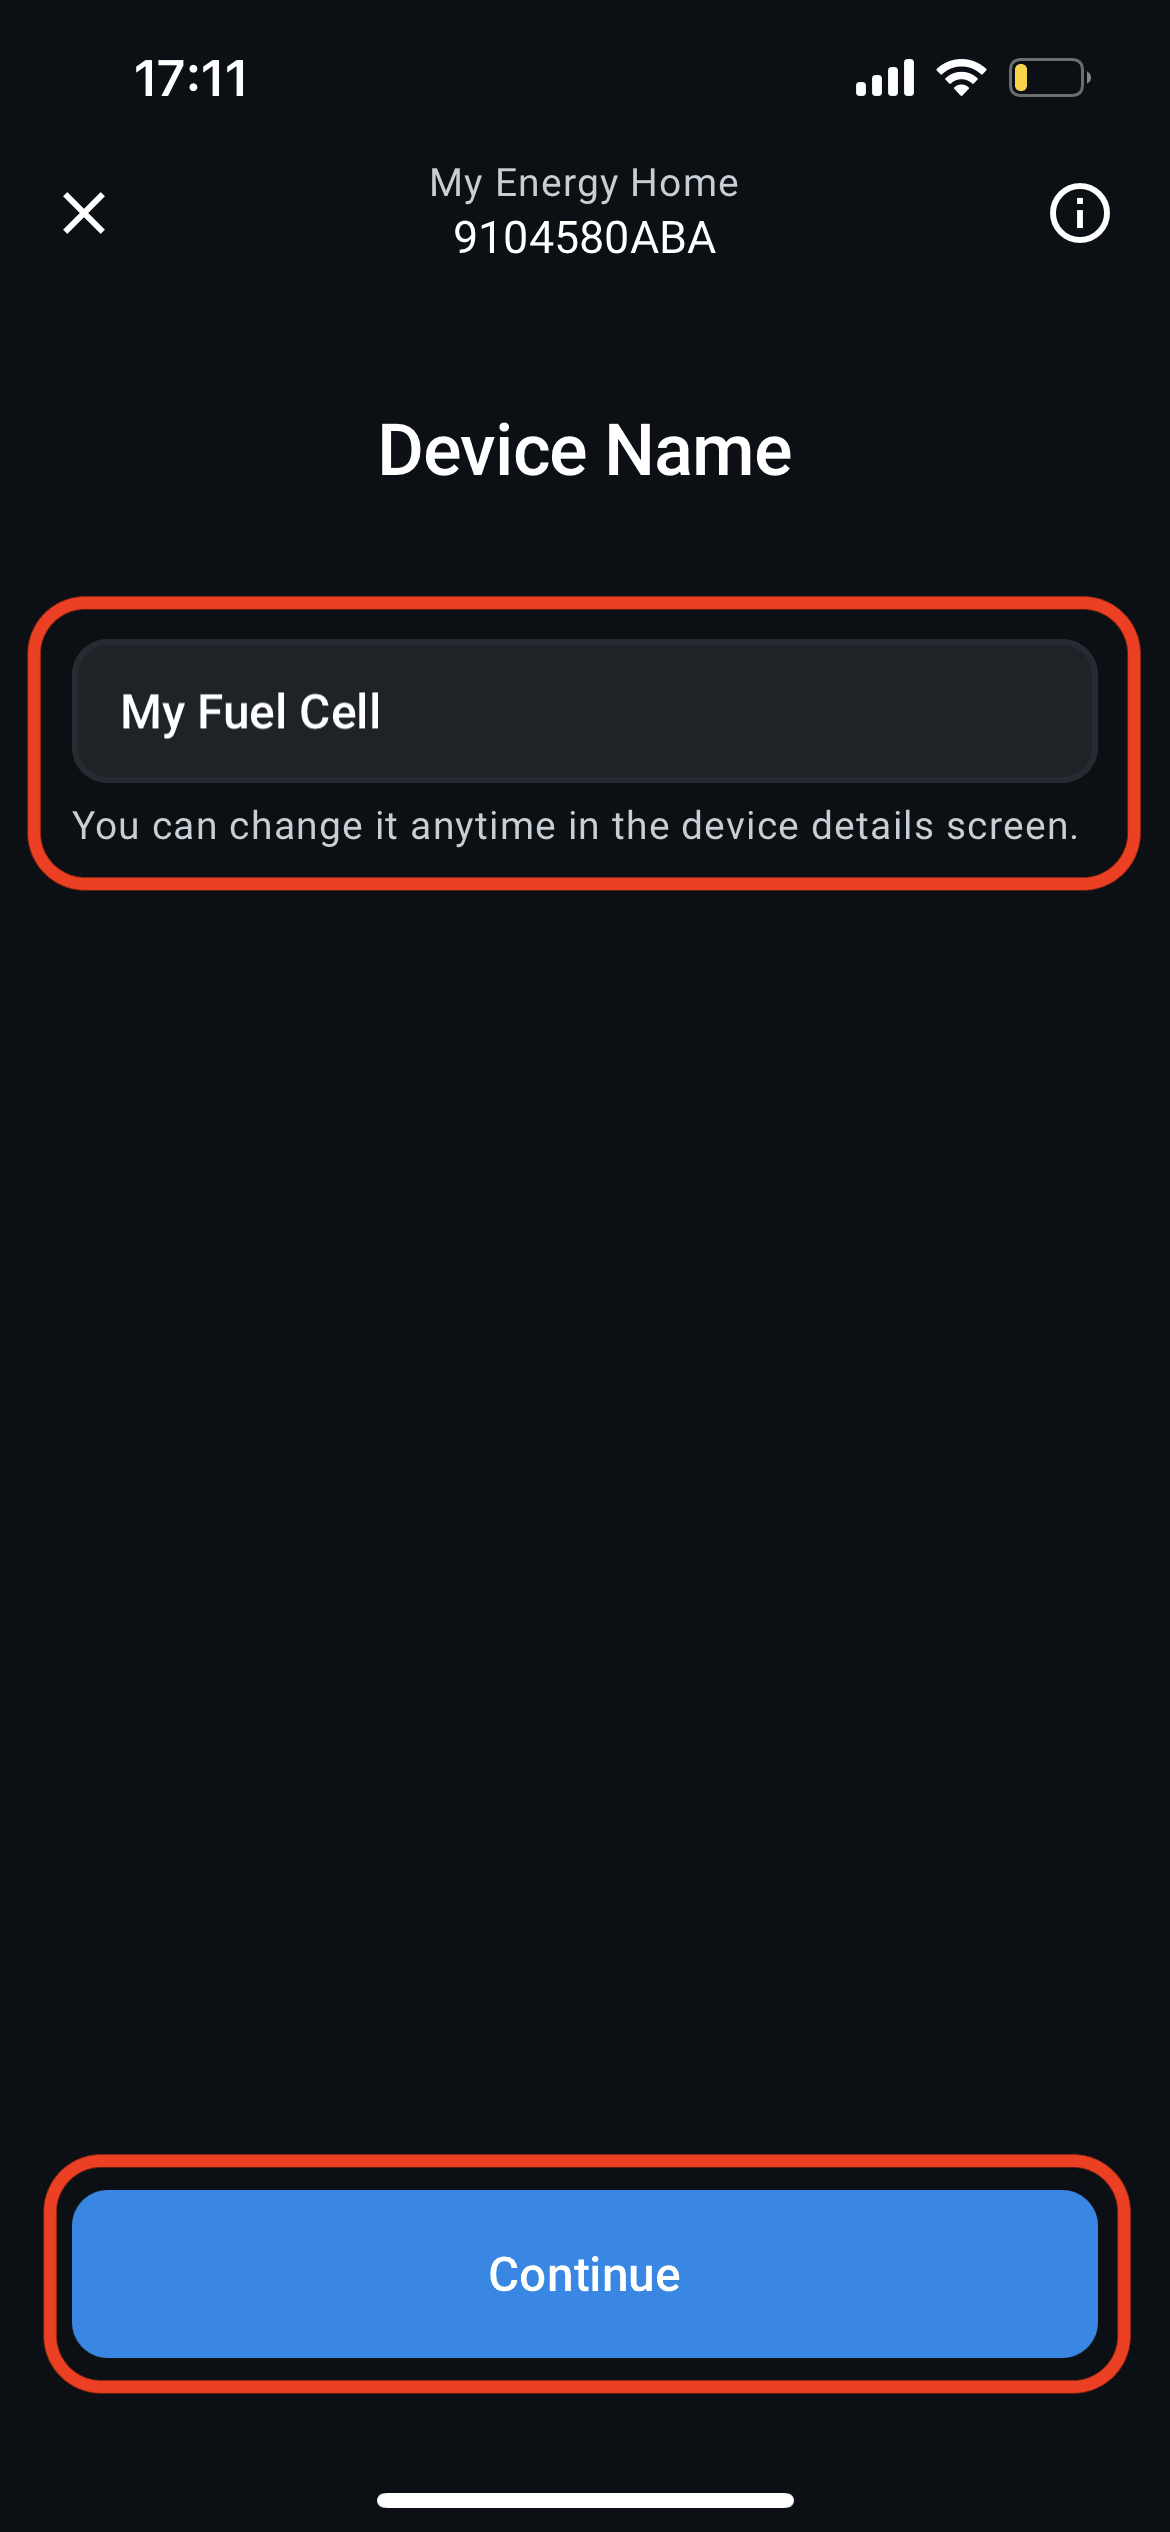
Enter the name you'd like to use for the device.
3. Install Blueprint
After ENP-CAN connection is established you'll be able to select and install device Blueprint – an integration package that contains all necessary information to acquire data from the fuel cell and to show it properly on mobile and web interfaces. Install Intelligent Energy FCM 804 blueprint.
- Find Intelligent Energy FCM 804 blueprint in the list and press
Install. - Wait until installation process is finished, normally it takes few seconds.
- The module configuration is done! Press
Opento go to device screen.
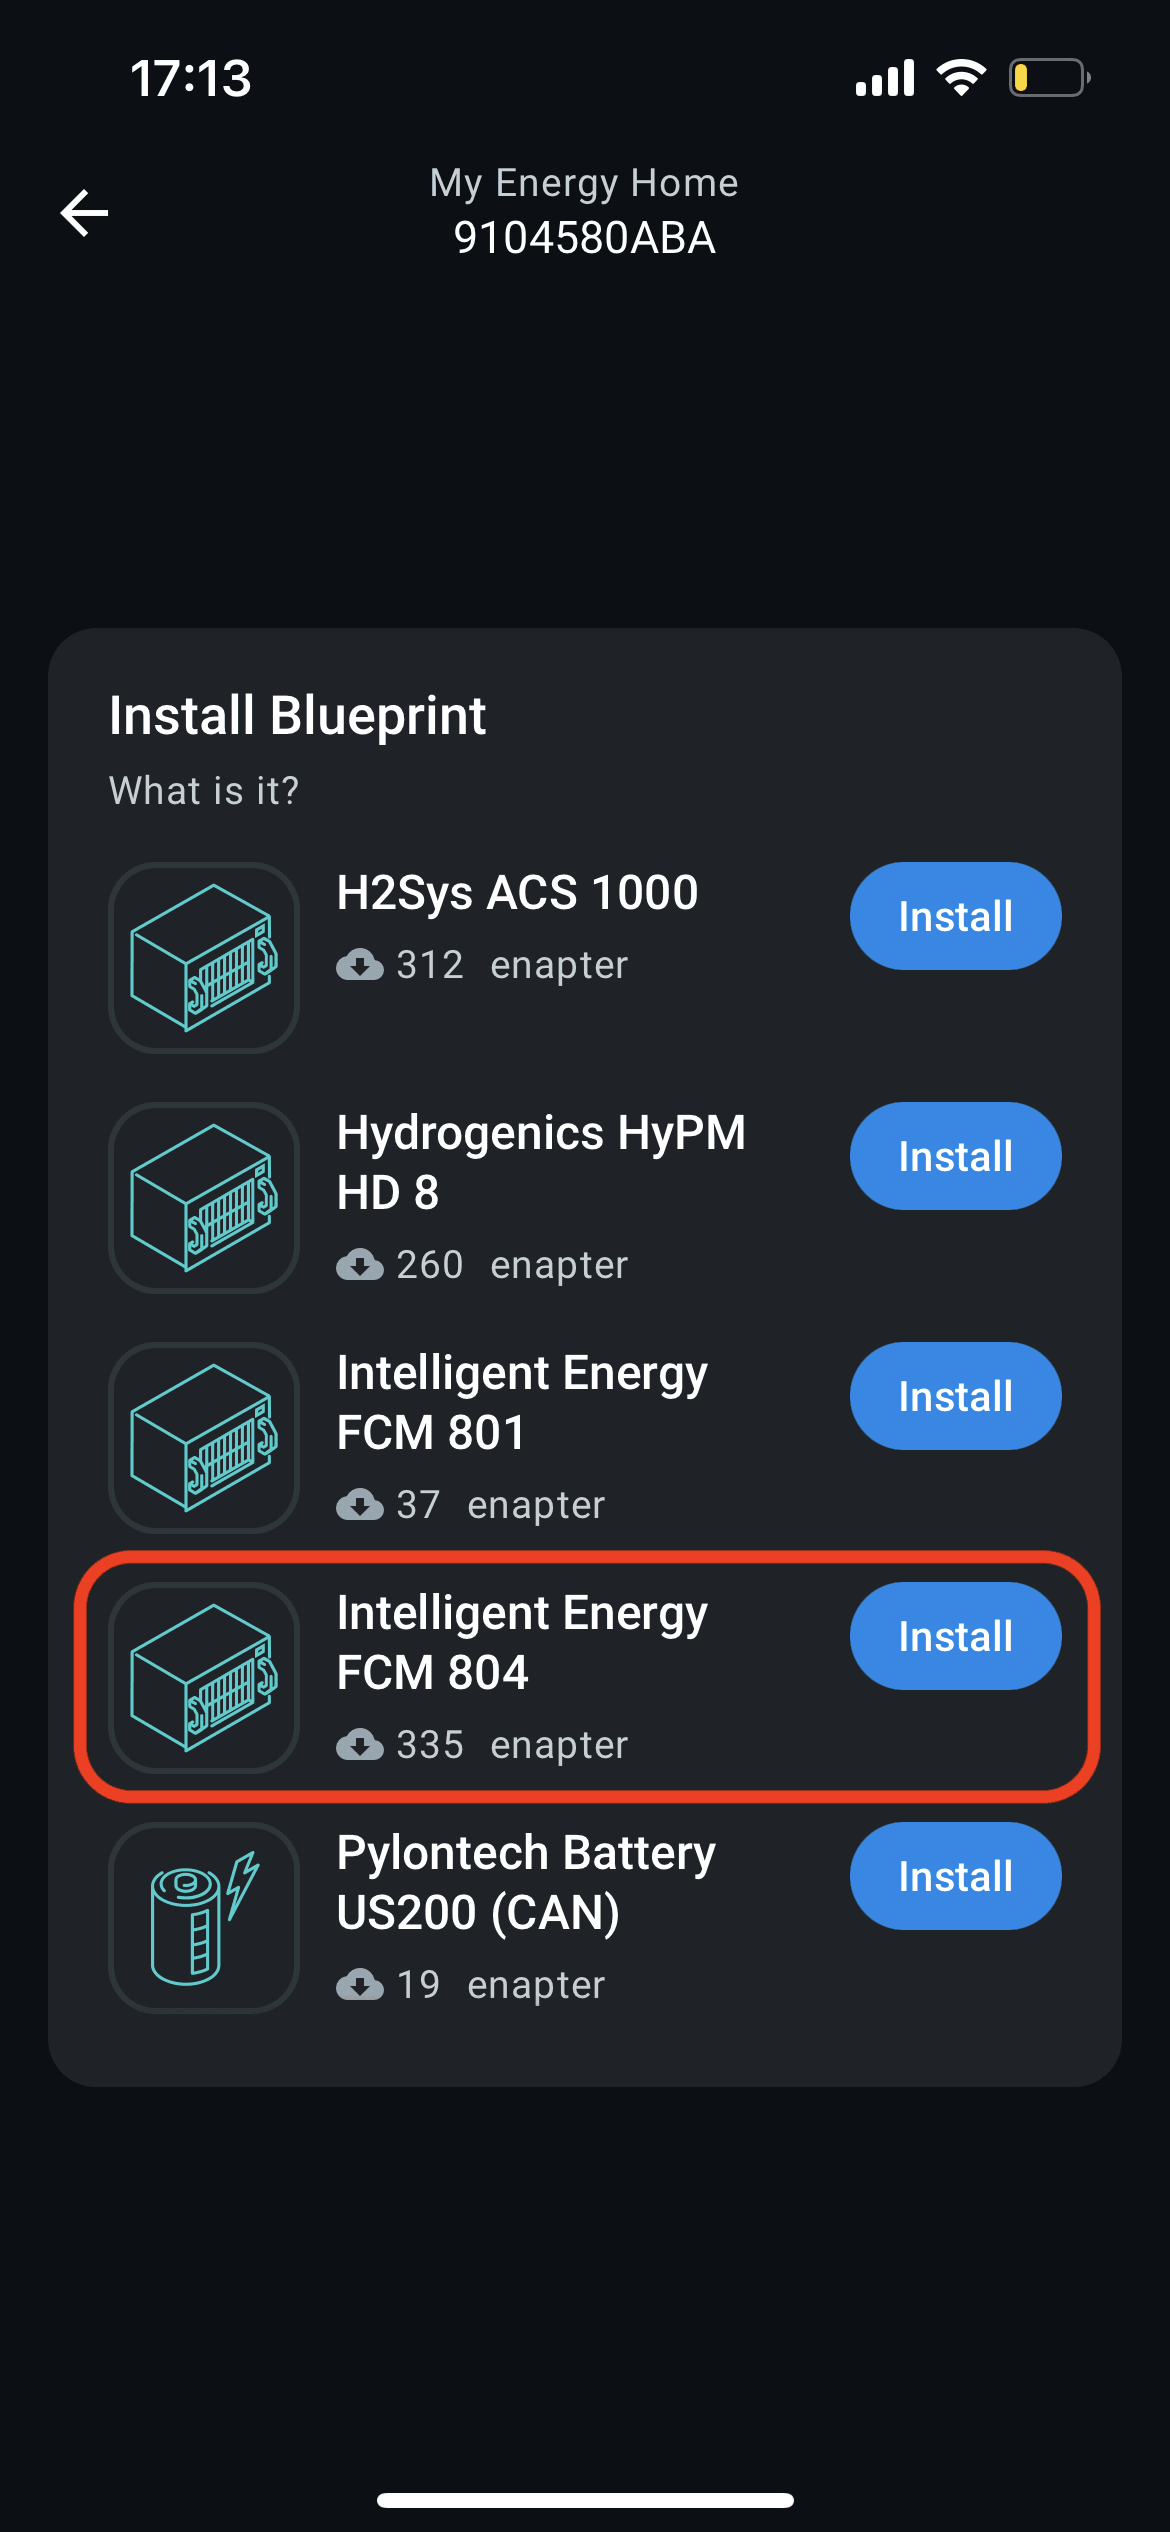
Find Intelligent Energy FCM 804 blueprint in the list and press
Install
.
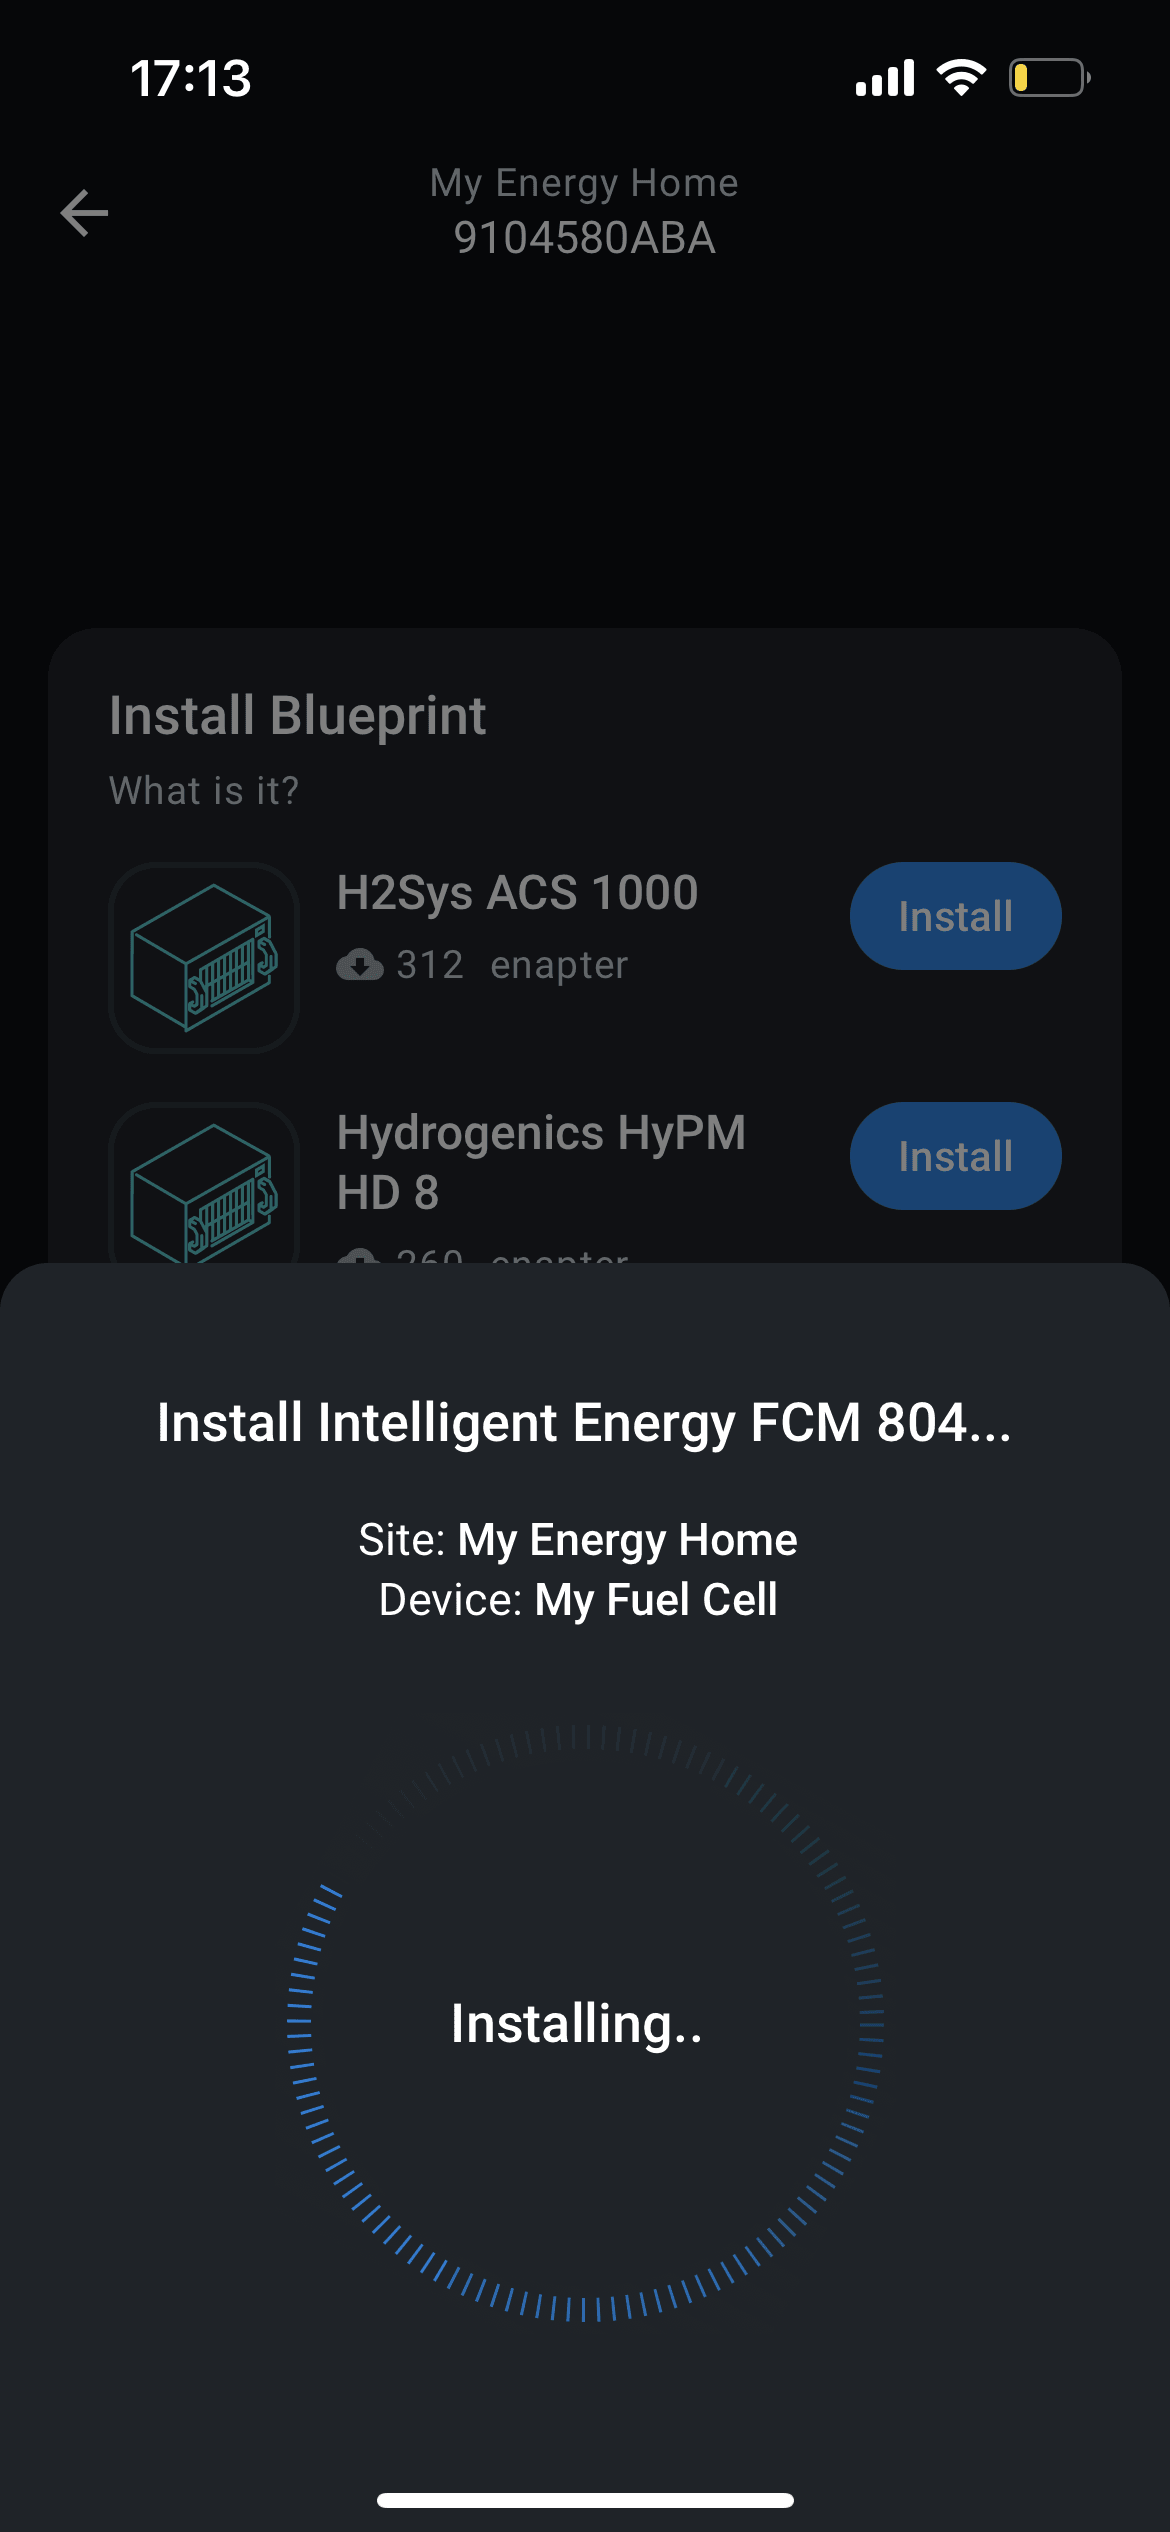
Wait until installation process is finished, normally it takes few seconds.
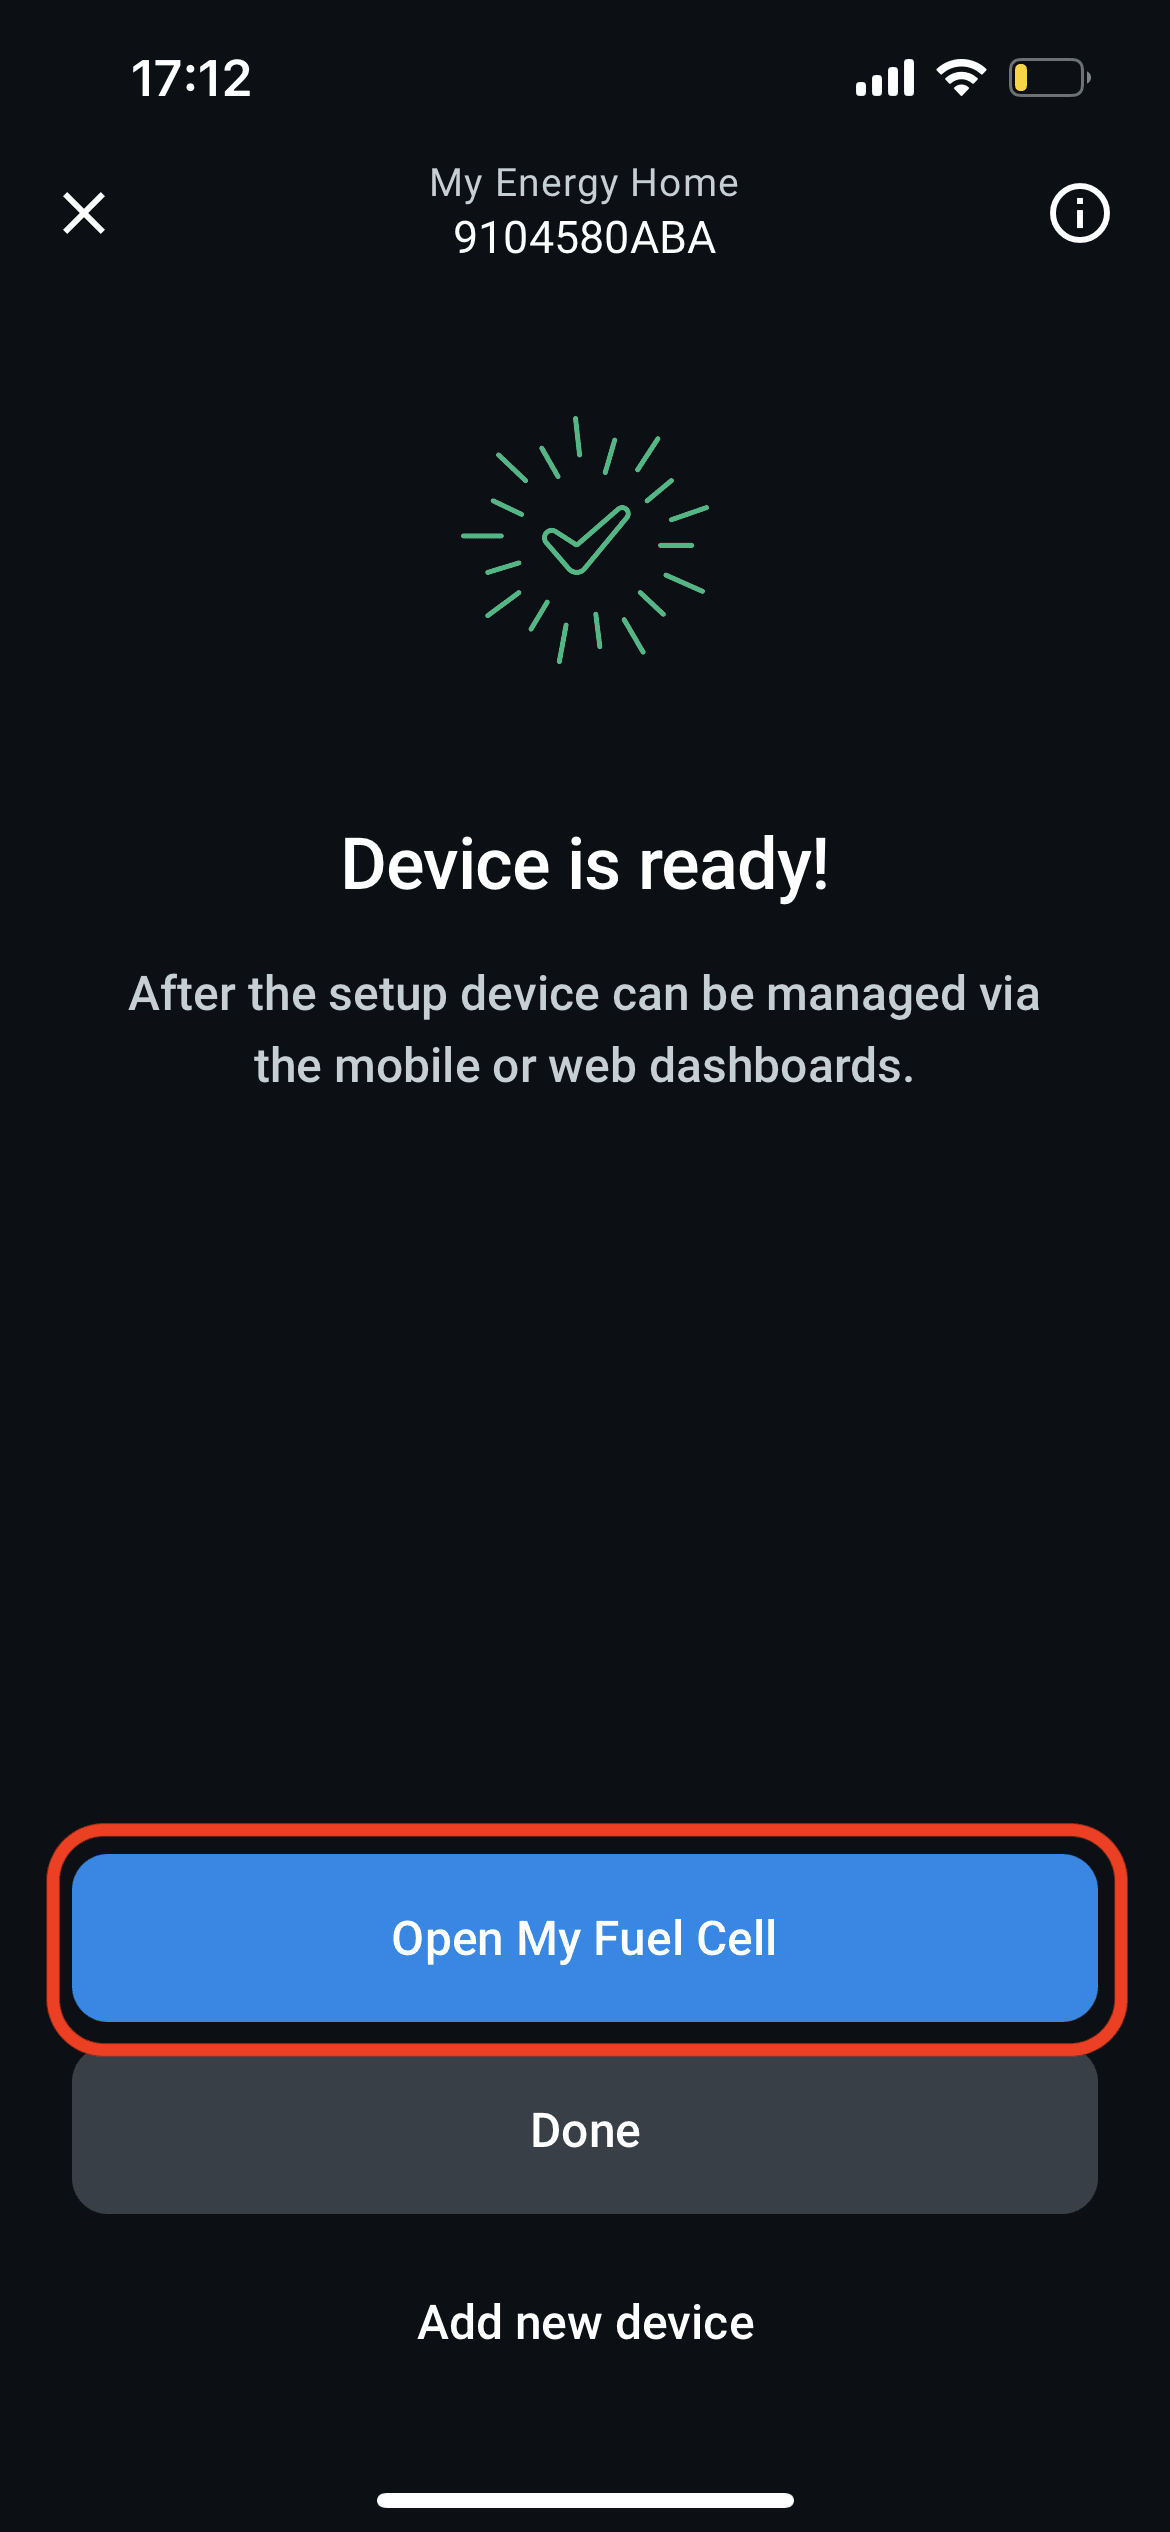
The module configuration is done! Press Open to go to device screen.
4. Configure CAN Index
If the fuel cell is configured to CAN Index other than 1, perform configuration using Configure command. CAN Index is pre-configured on a factory, you can obtain it from your device vendor.
If the CAN Index is 1, skip this step.
Device screen will not show any data if the fuel cell uses another CAN Index.
- Press
Commandsbutton on the device screen. - Select
Configurecommand. - Enter CAN Index of the fuel cell and press
Run.
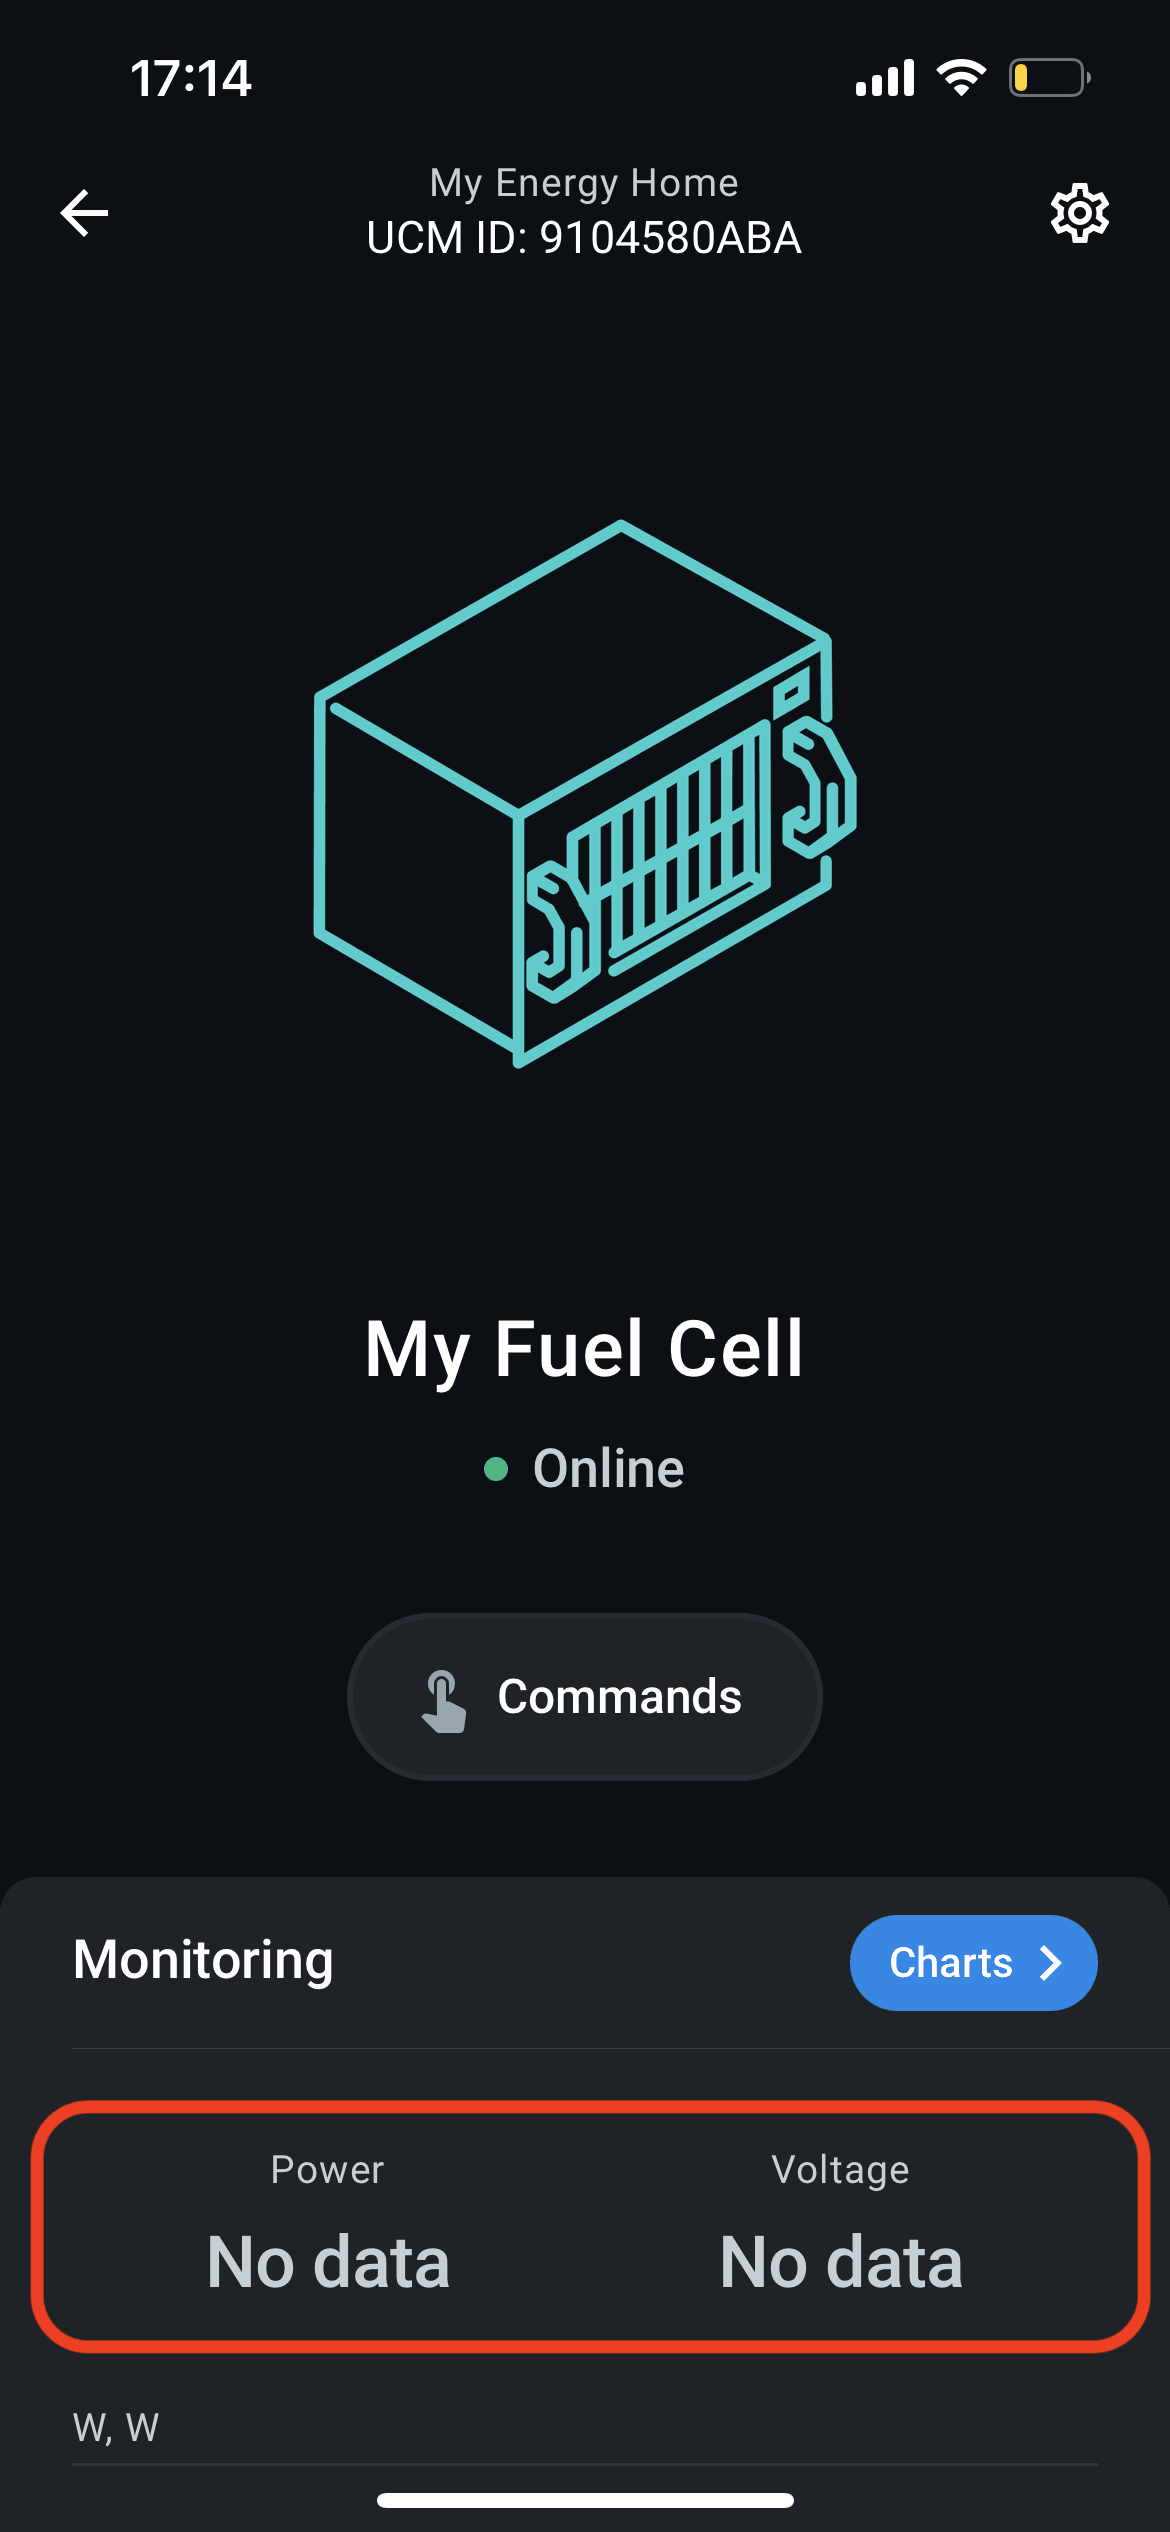
Device screen will not show any data if the fuel cell uses another CAN Index.
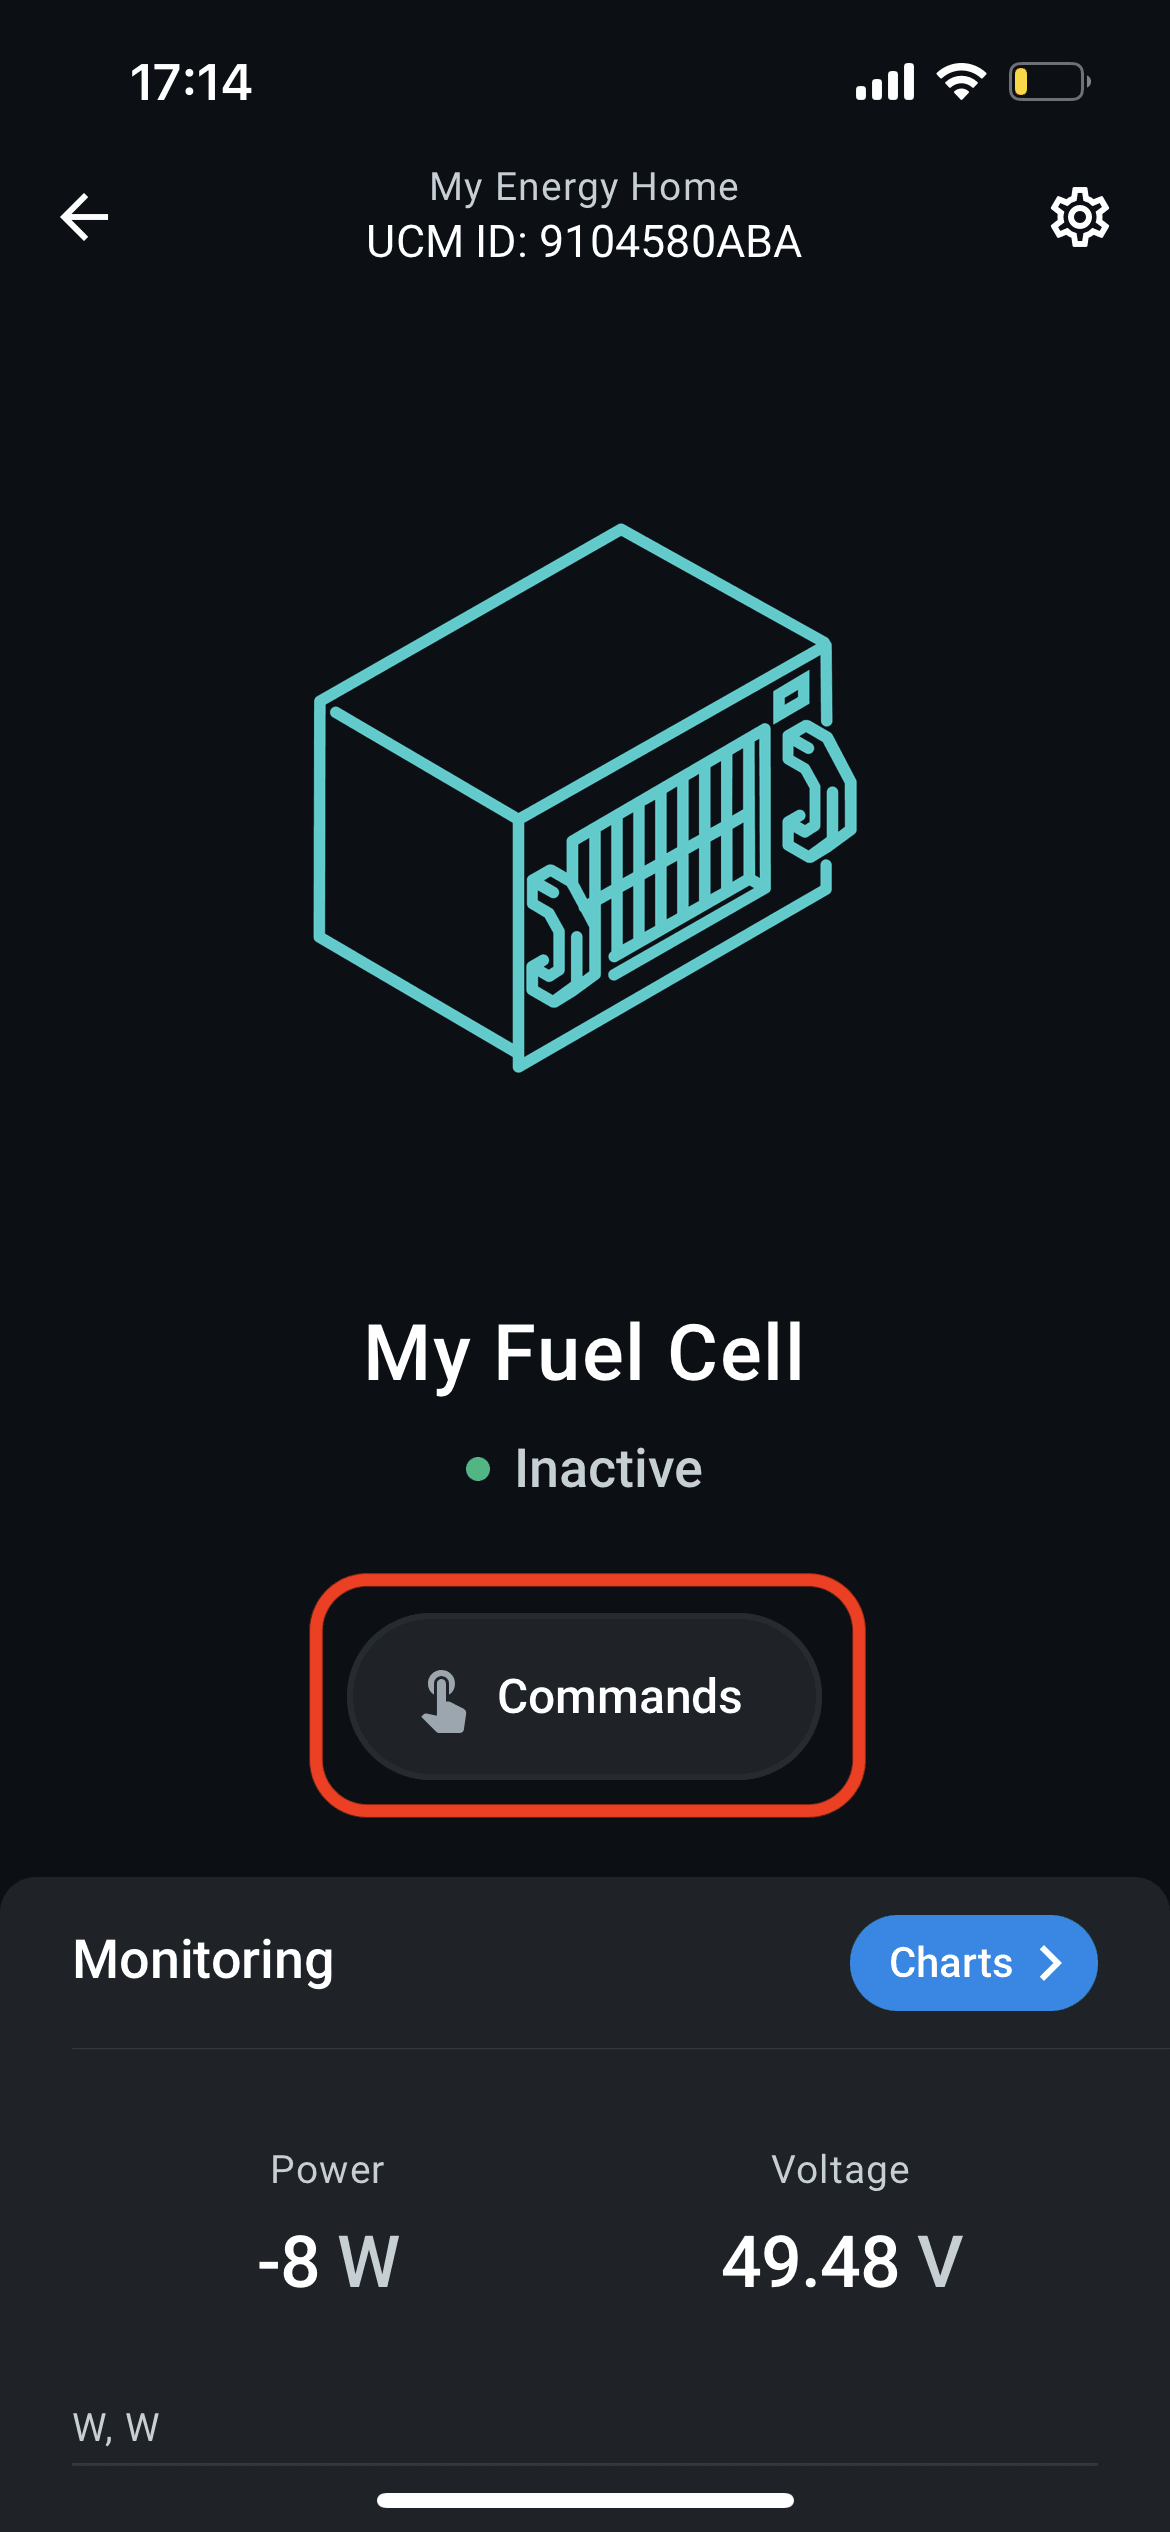
Press Commands button on the device screen.
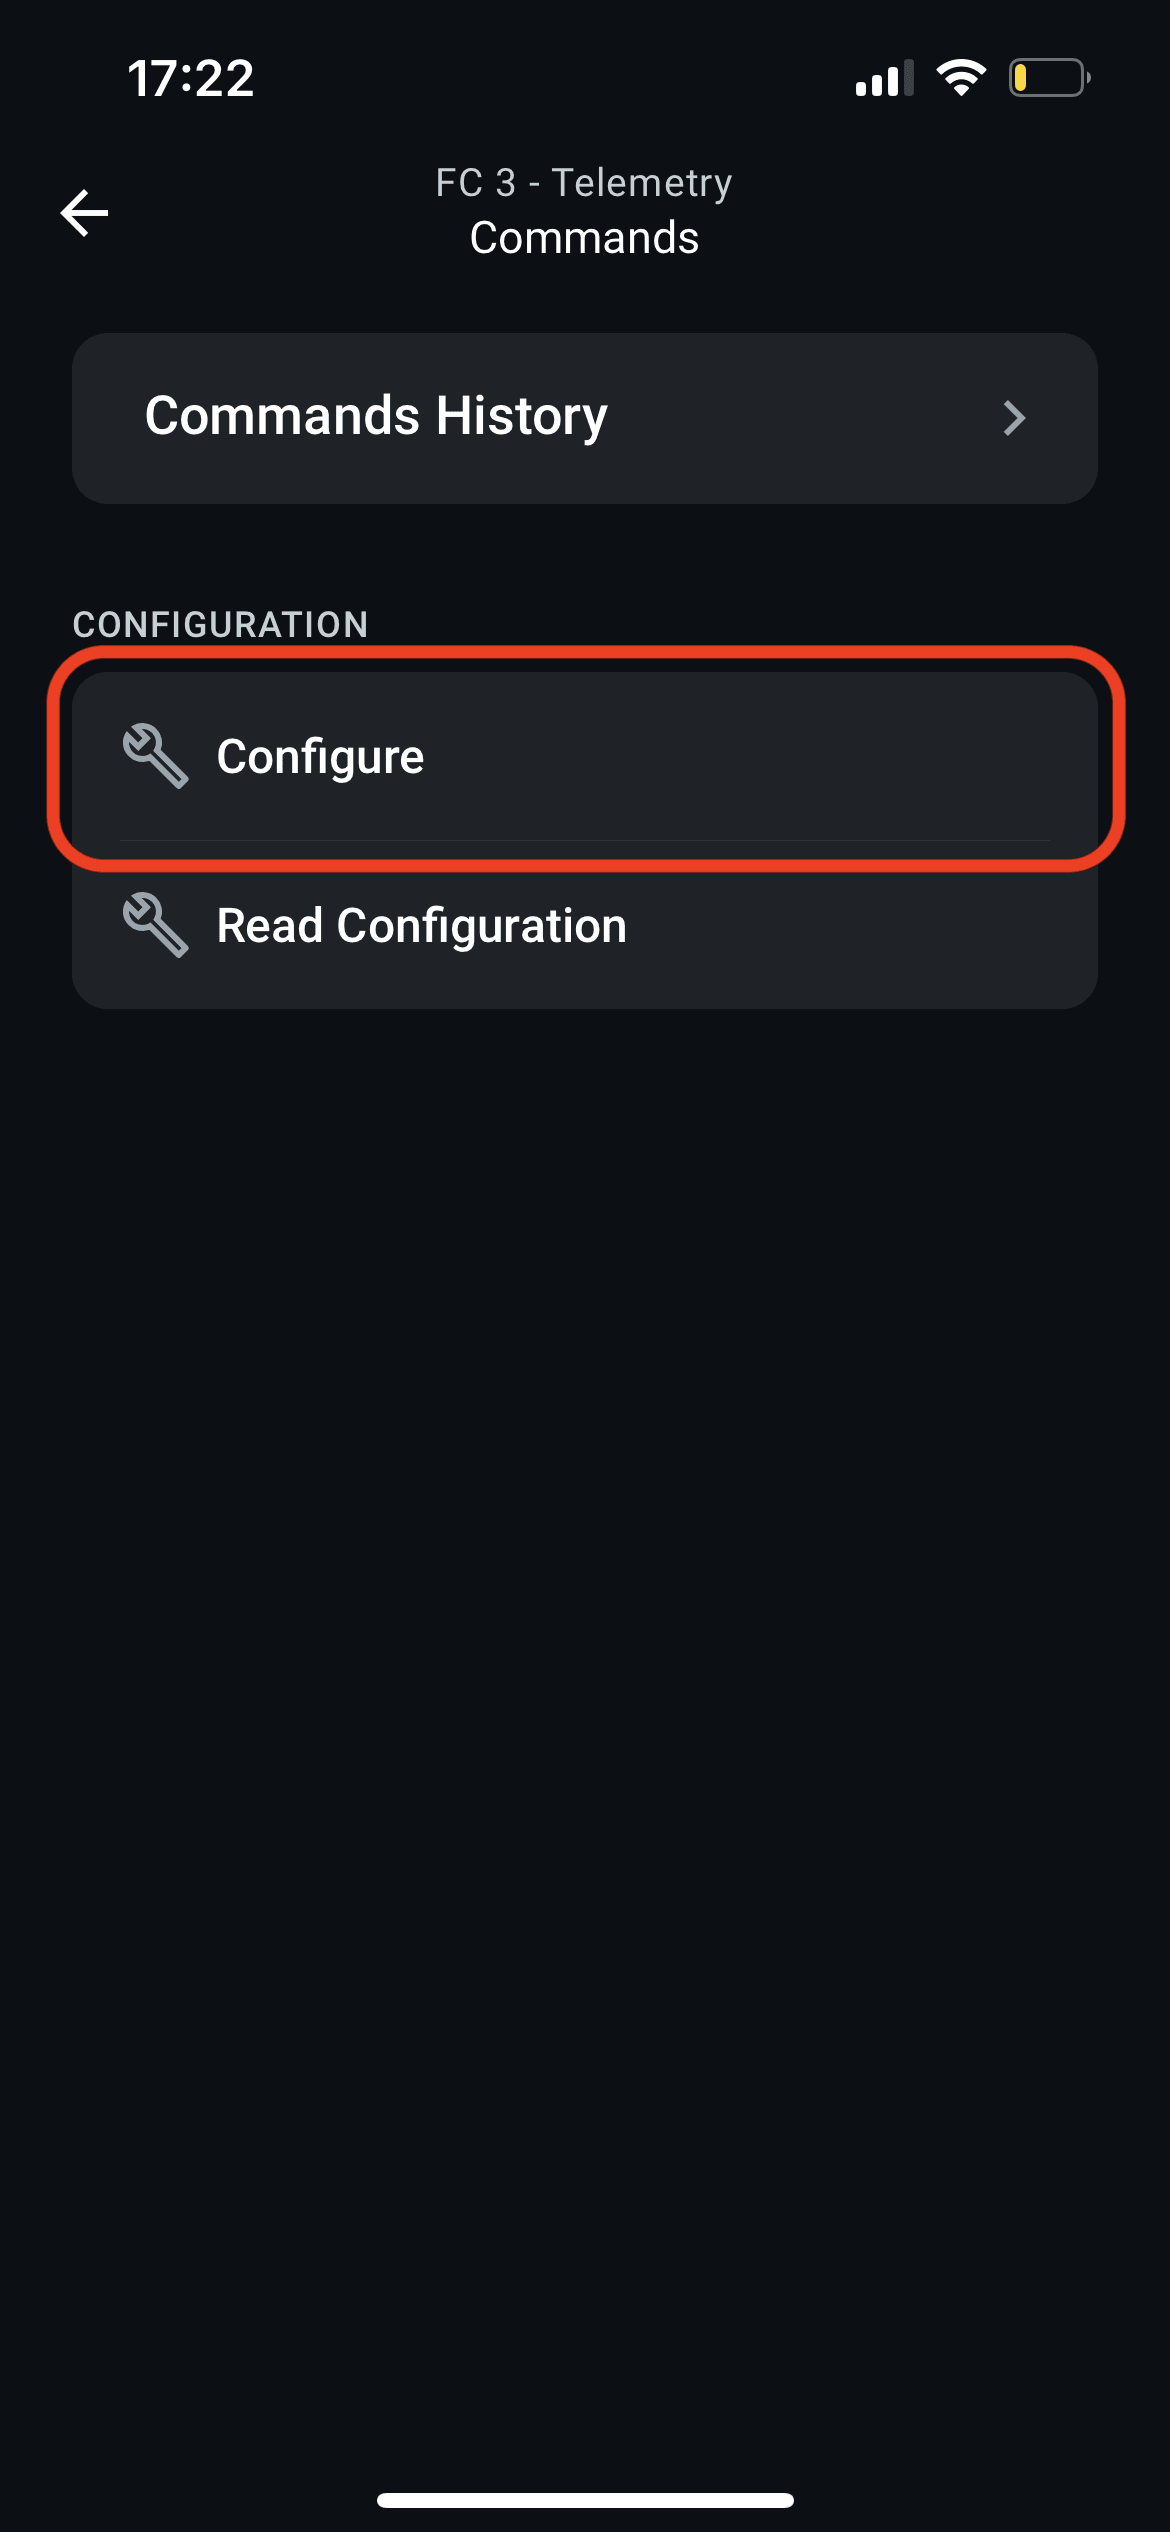
Select Configure command.
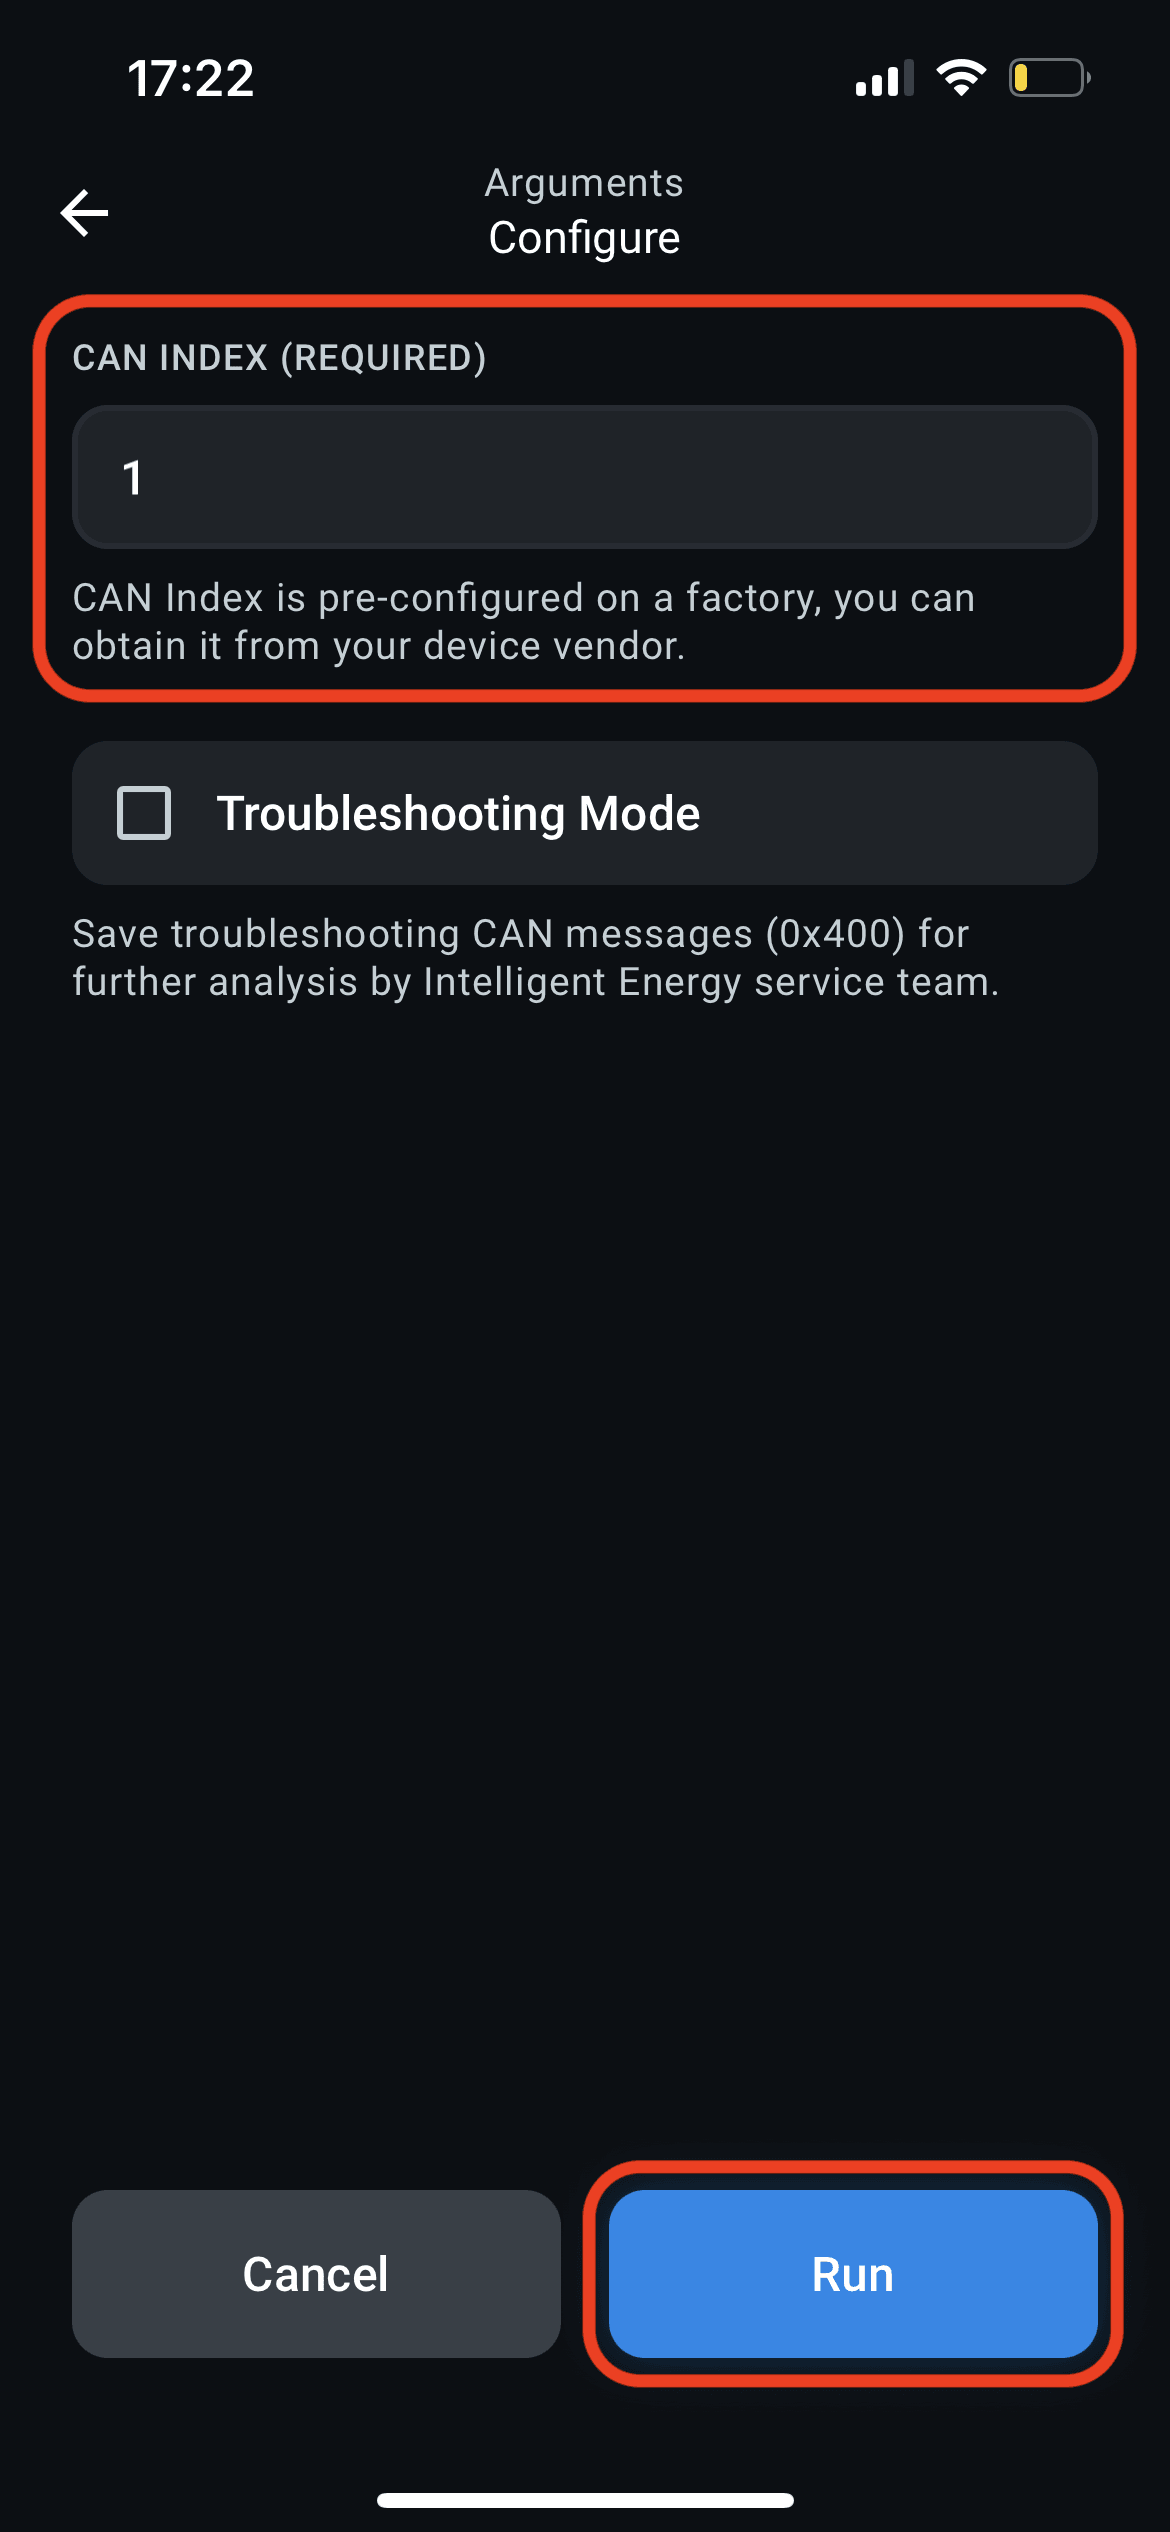
Enter CAN Index of the fuel cell and press Run.
5. Check Fuel Cell Data
ENP-CAN will start collecting fuel cell data right away. You will see the readings on the device screen in real-time. All fuel cell data will be recorded, stored in Enapter Cloud, and kept available for remote access and further analysis.
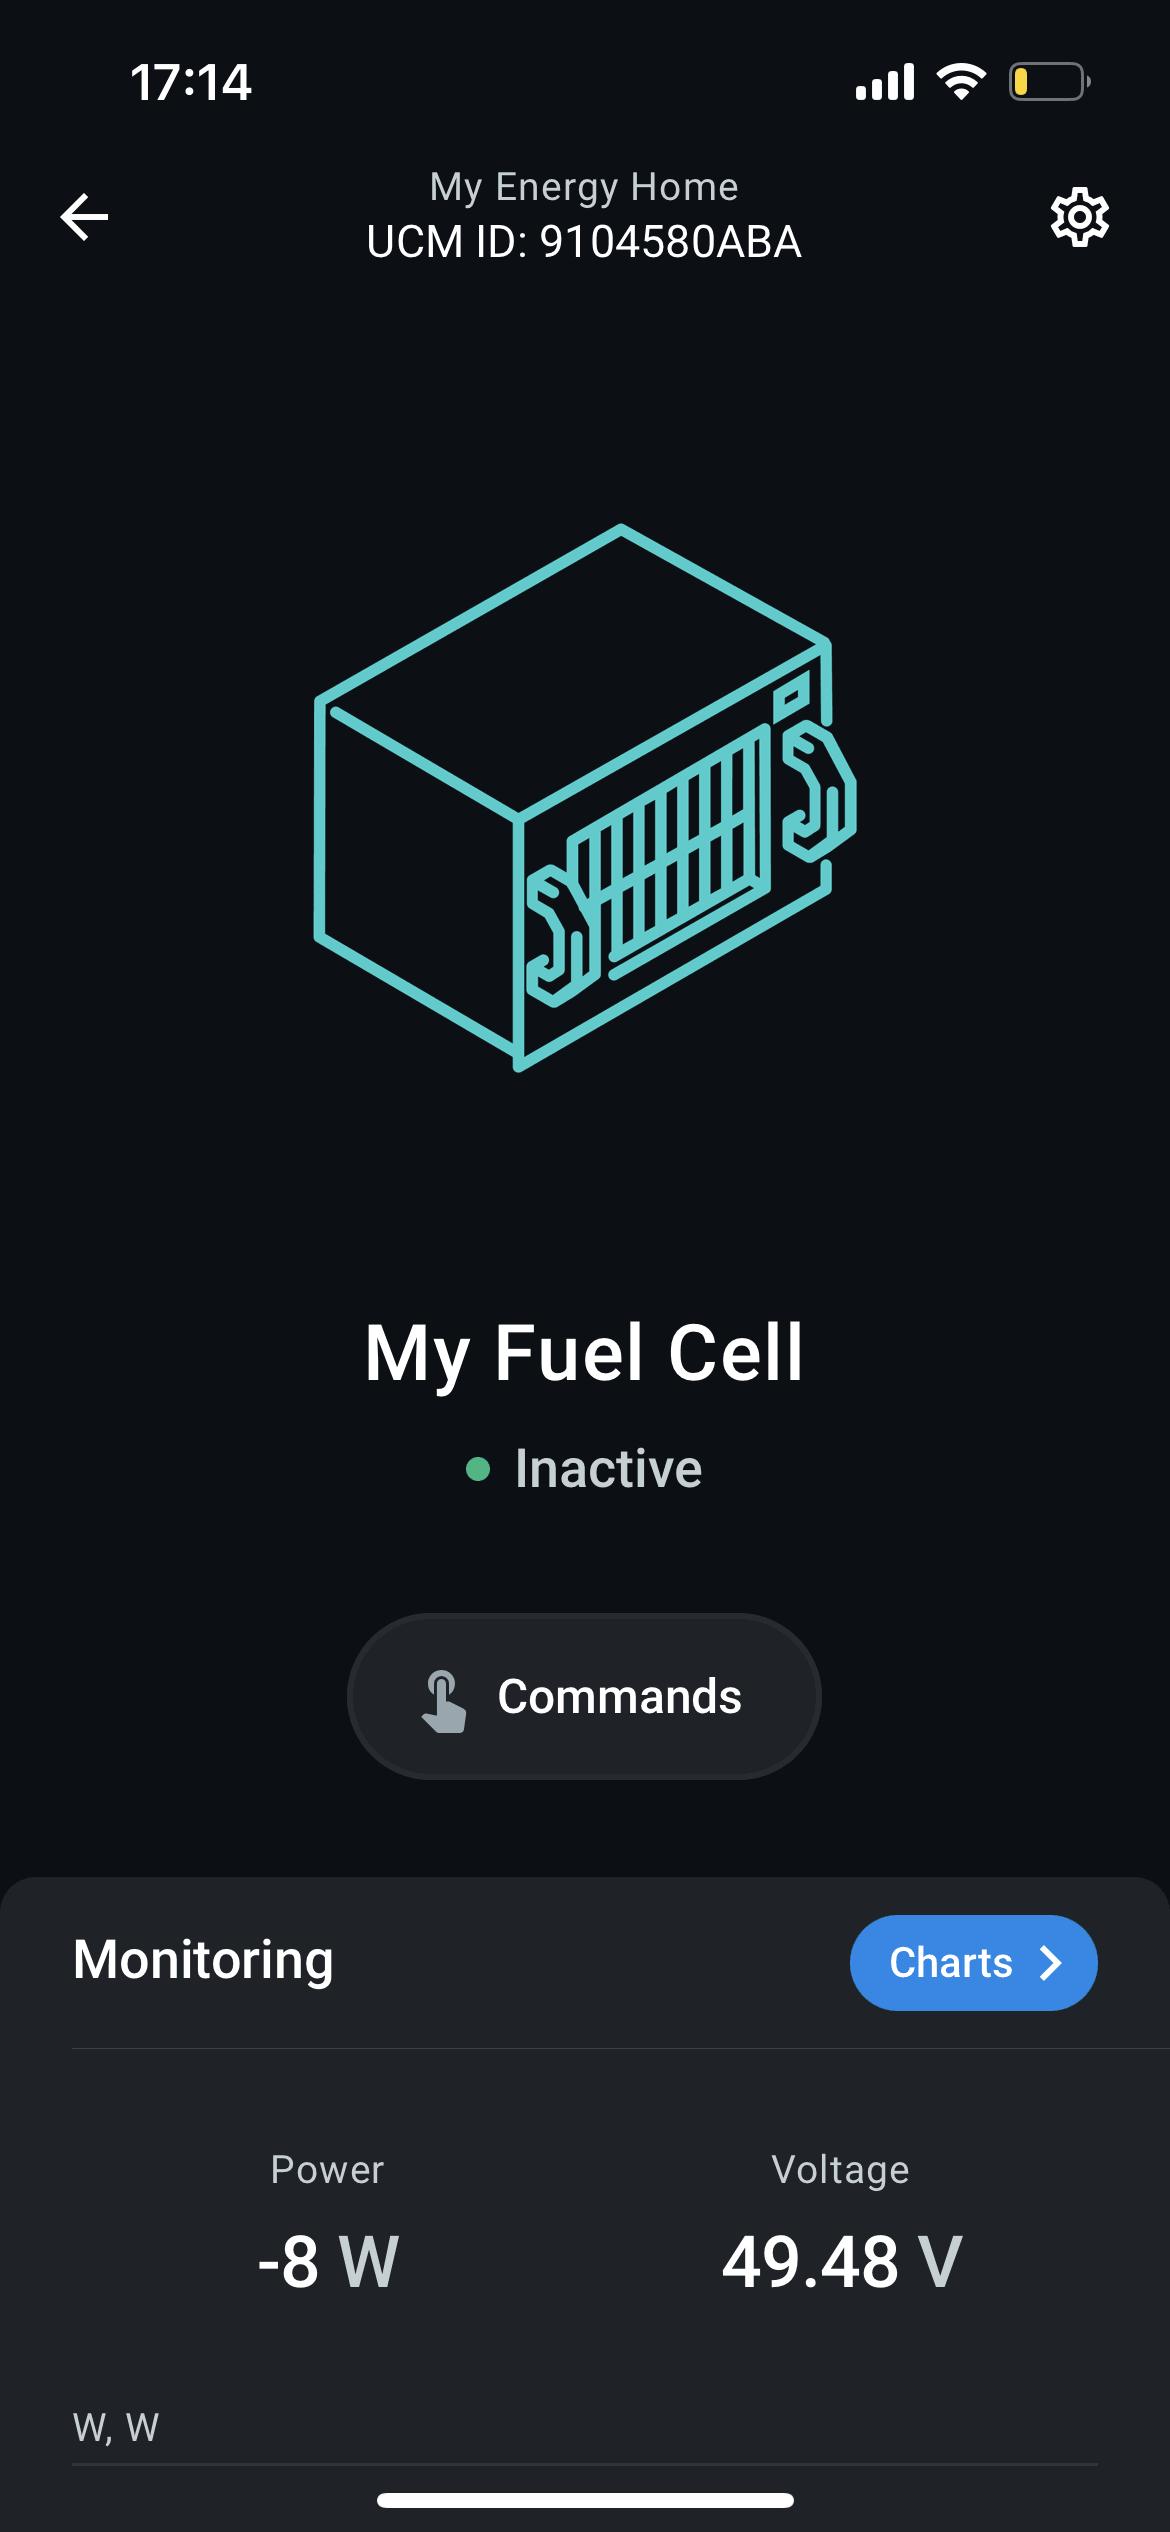
Device screen with real-time fuel cell data.
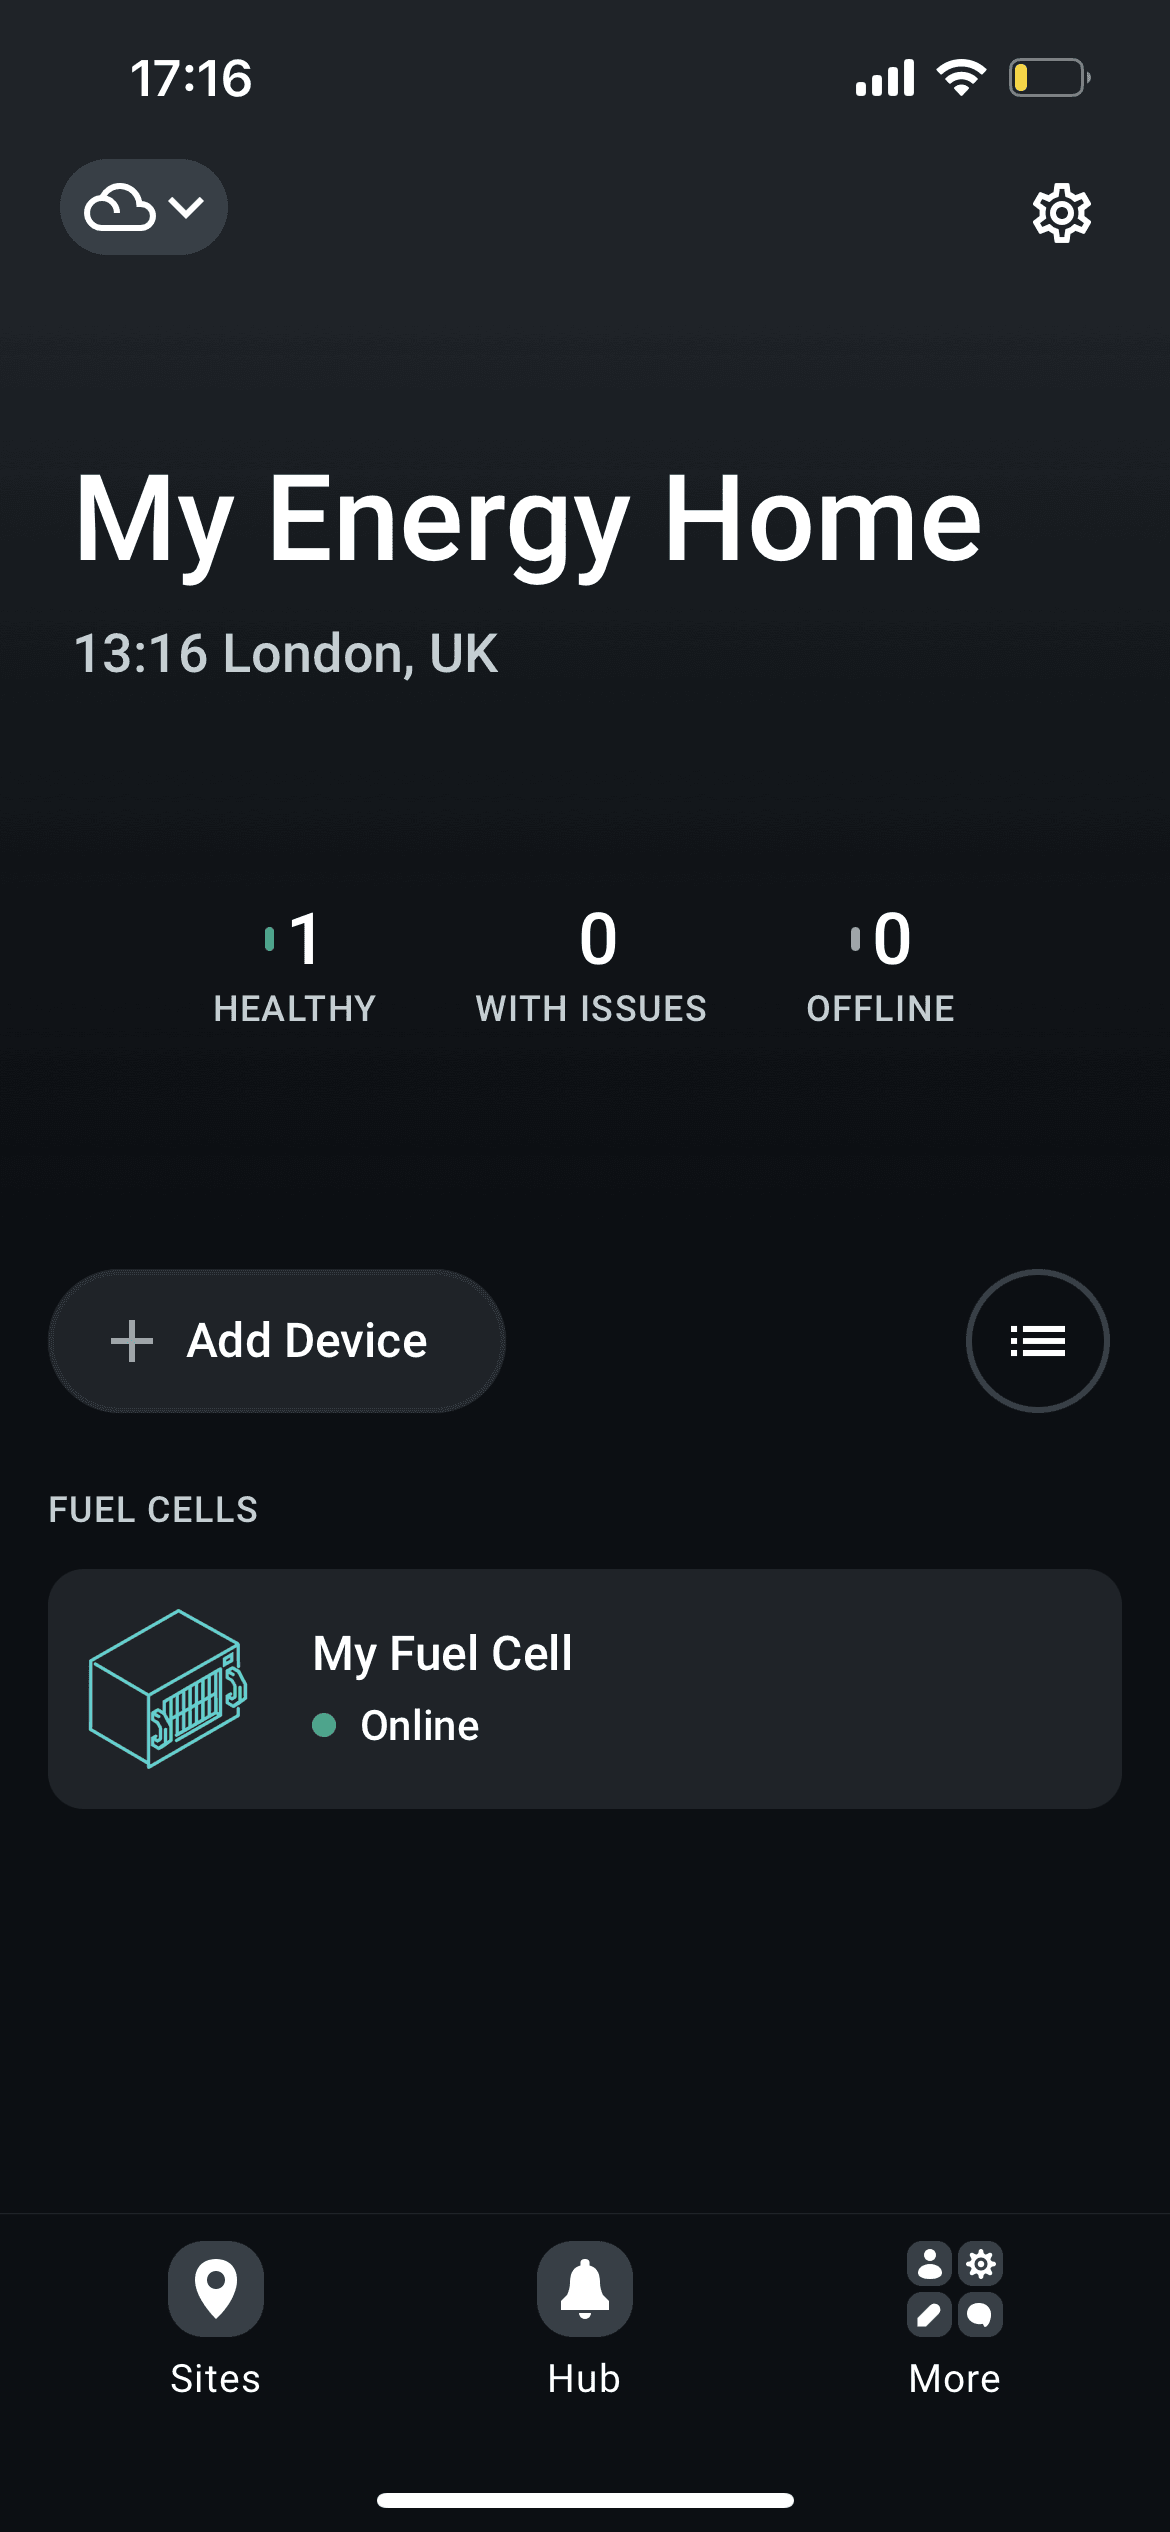
The fuel cell will appear on the device list on the site screen.
If you are facing any communication problems after finishing the module configuration, check the troubleshooting section.
Monitoring Features
Fuel Cell Alerts
When an alert or fault occurs on the fuel cell, Enapter mobile app will show a push notification on your phone containing the alert name. Go to the device issues screen to learn more about the alert details and possible resolution steps.
Once the alert is resolved, you will get a push notification with the new issue status.
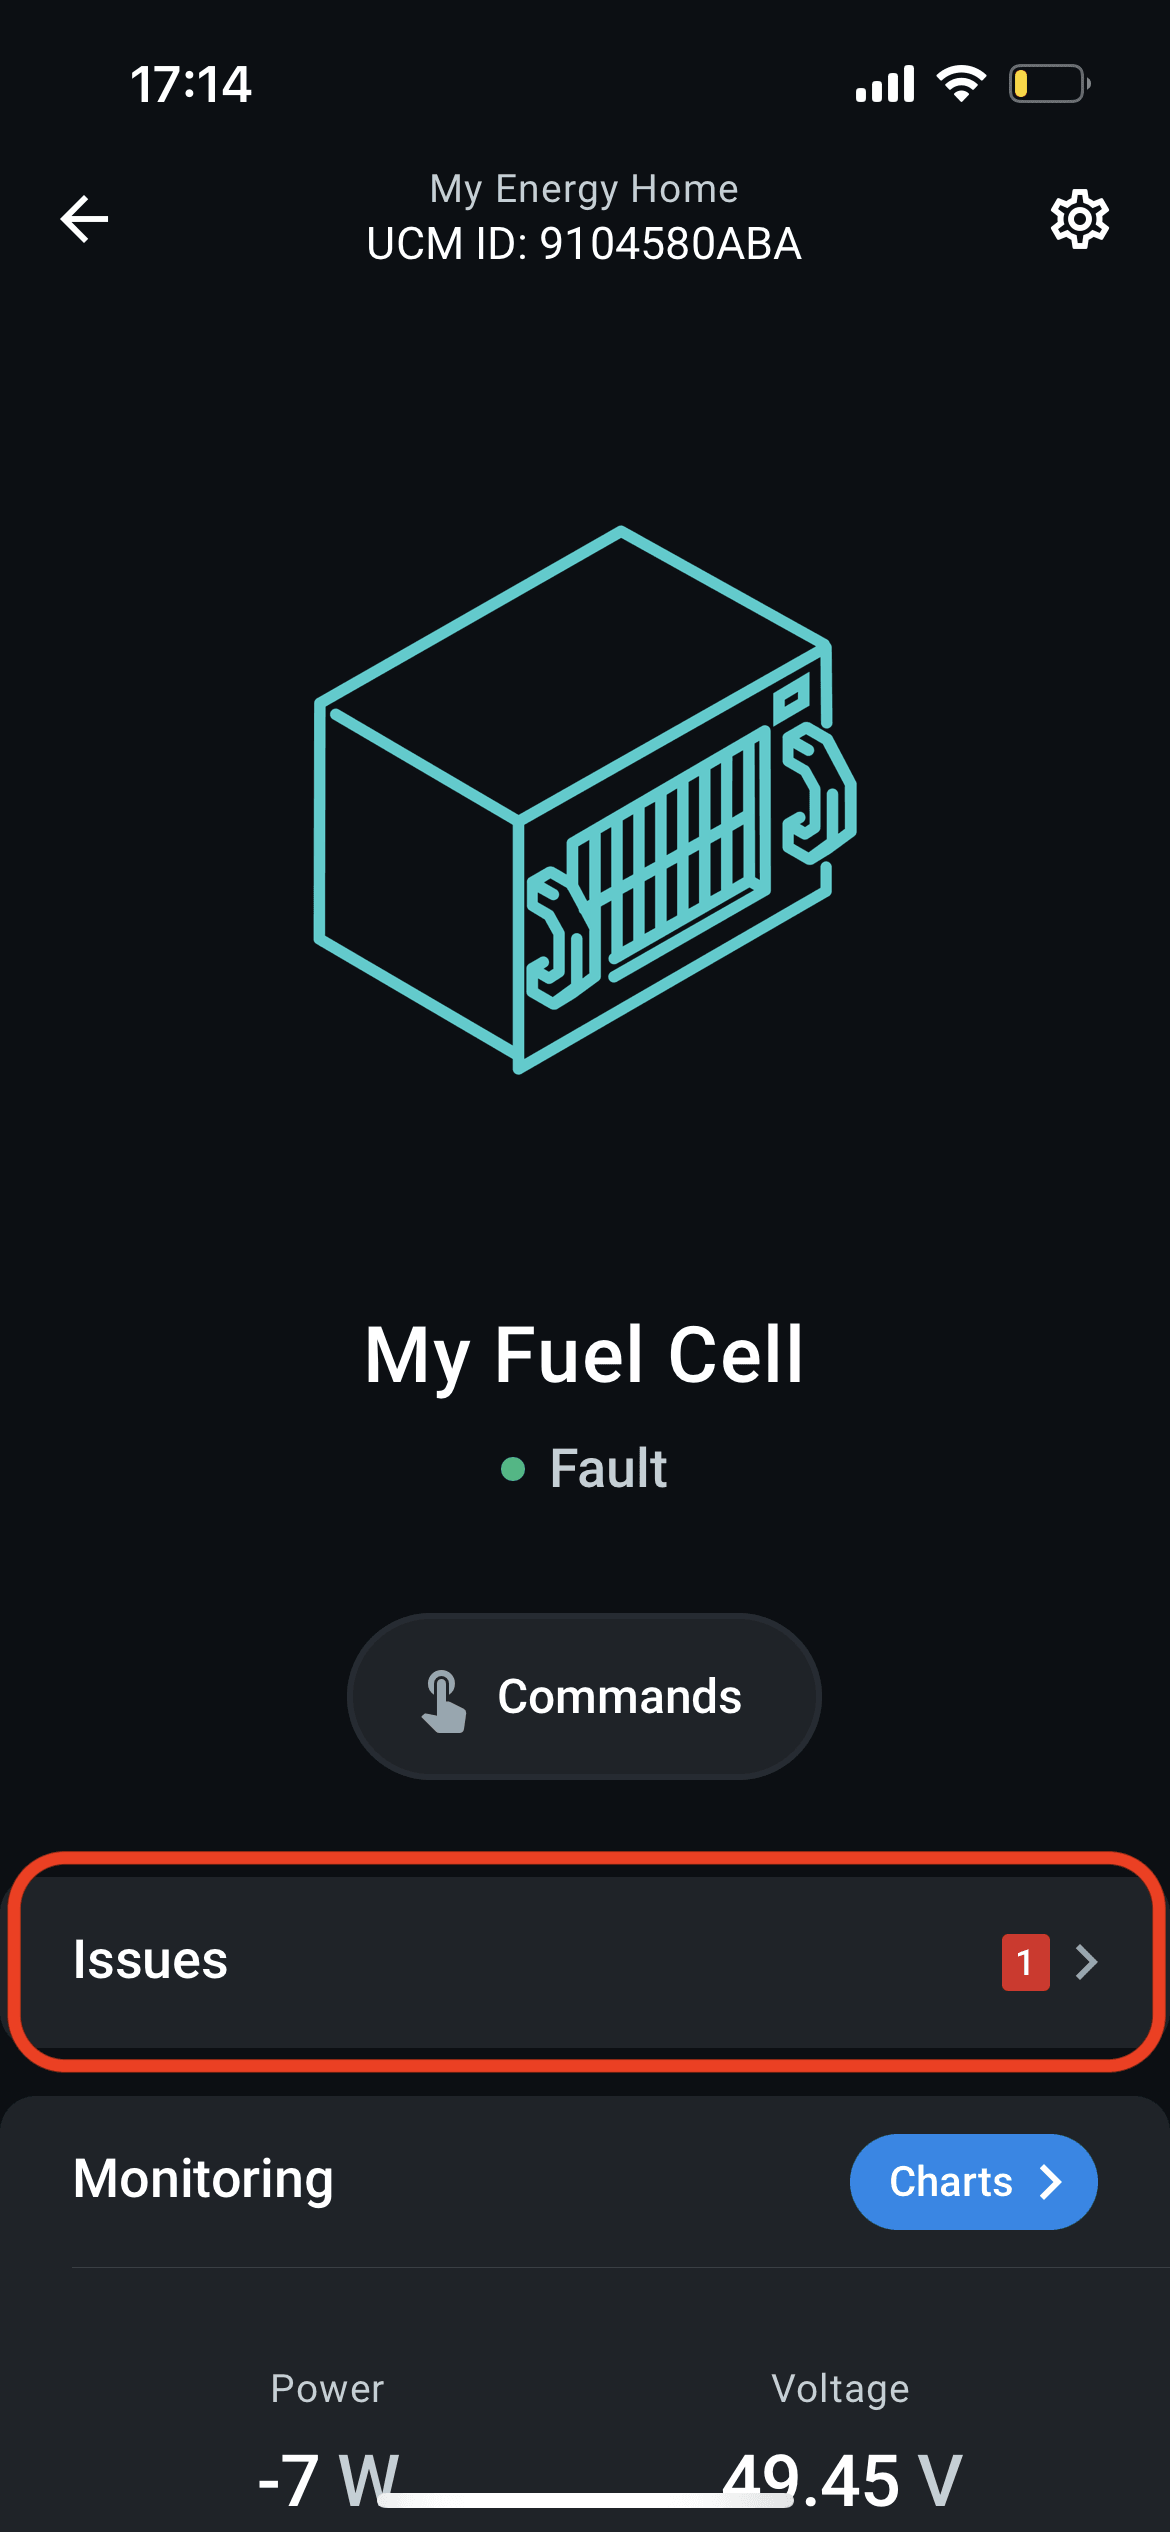
Device screen will show Issues button with indication of issues
number and severity.
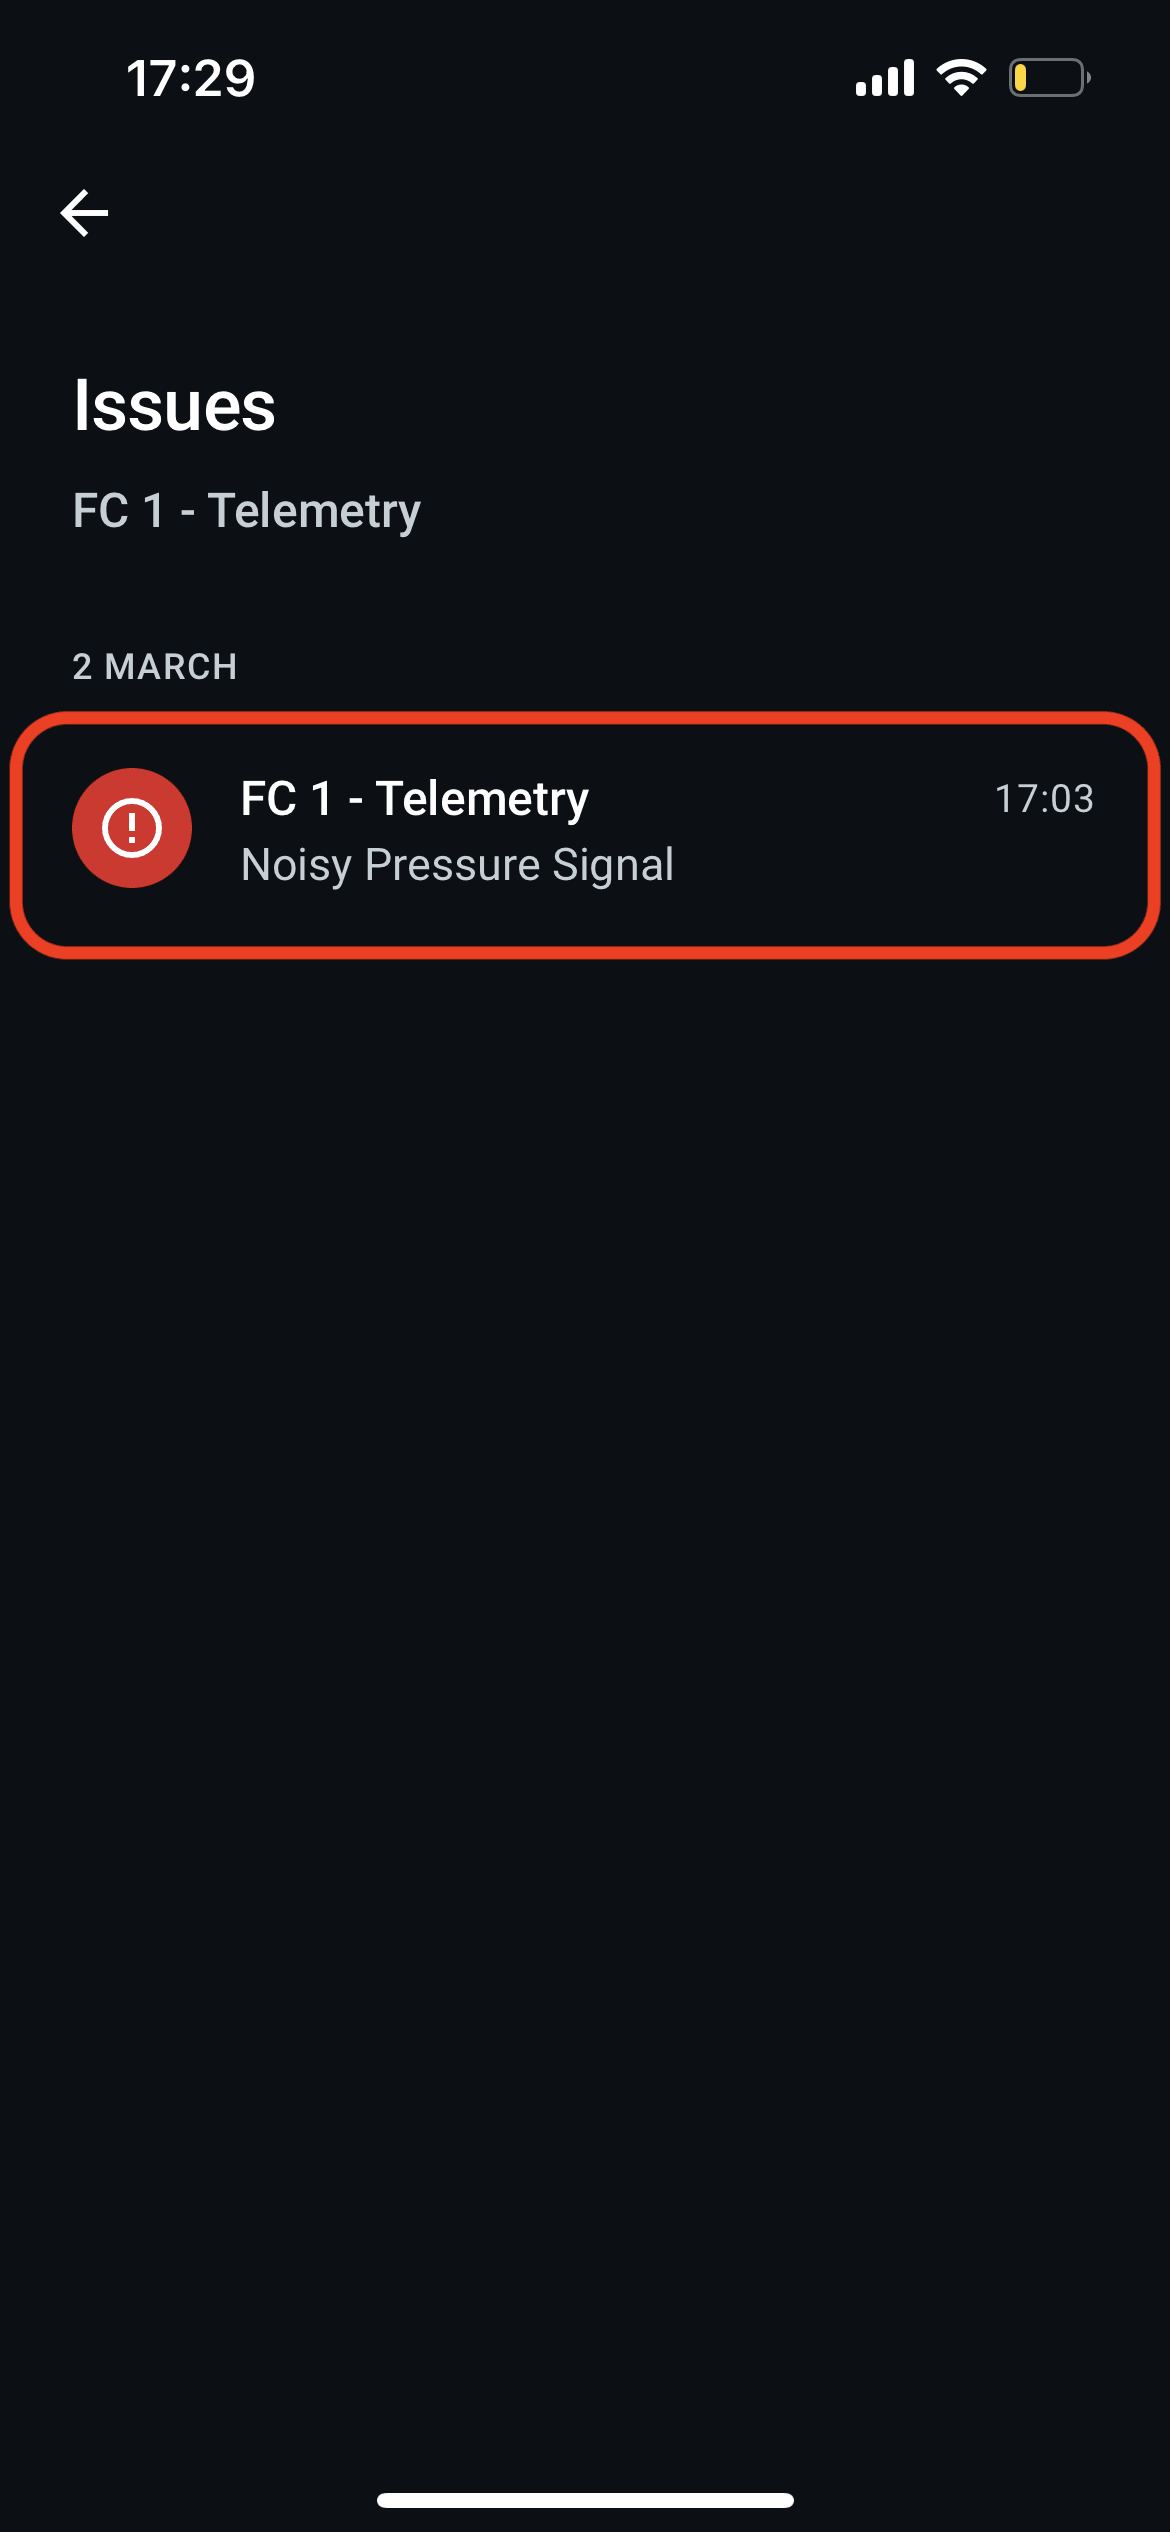
Issues list shows alerts that are active at the moment. Select an issue to learn more about it.
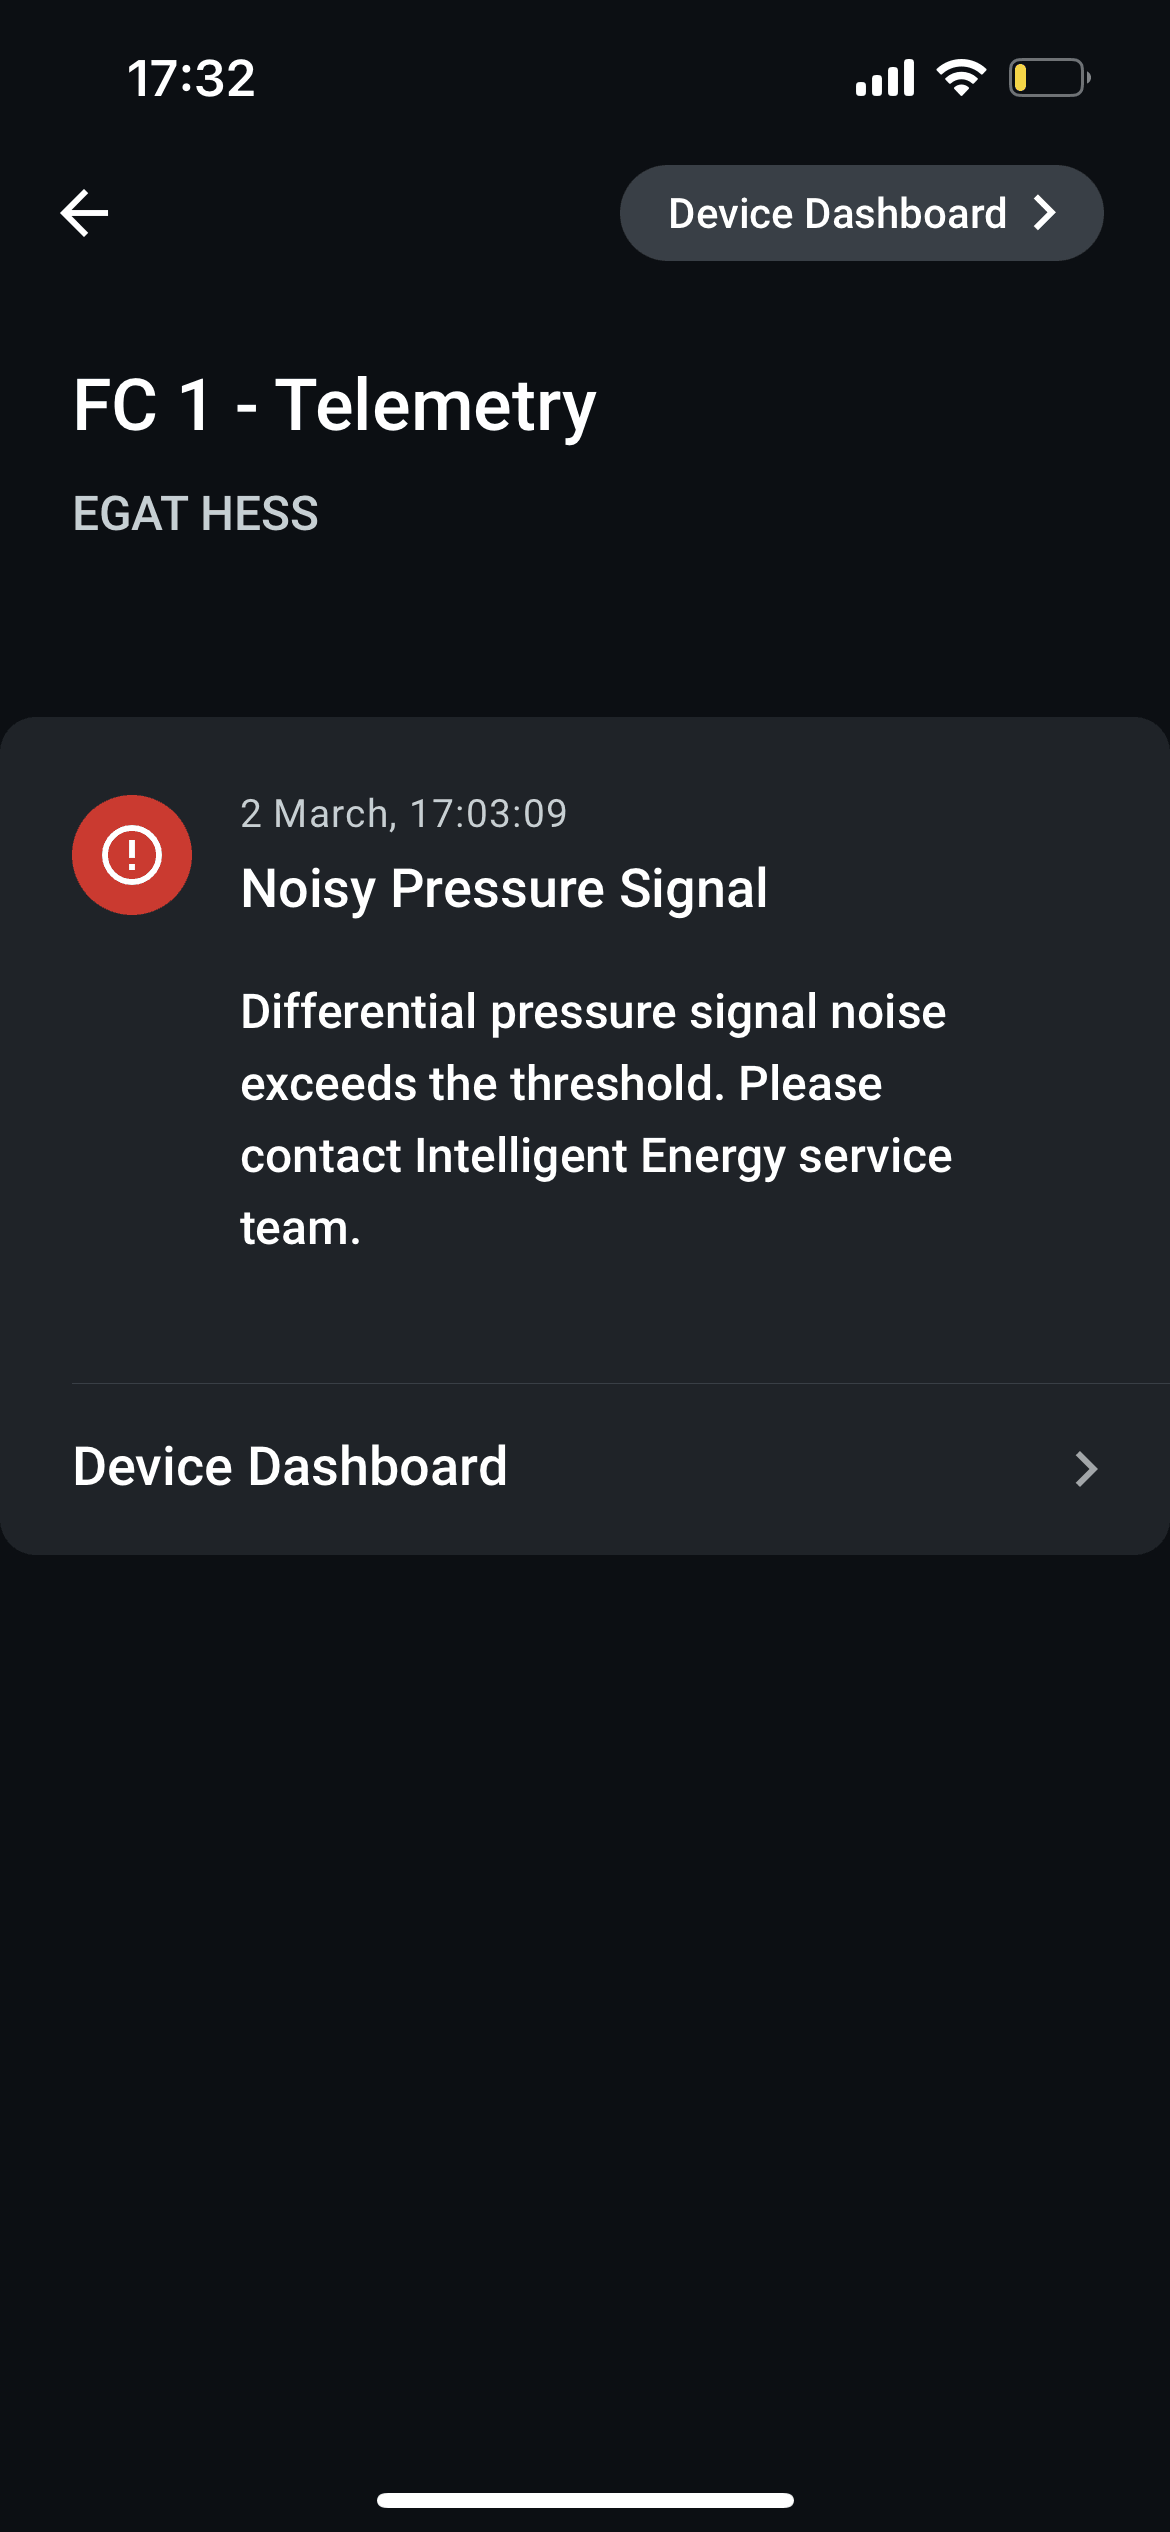
Issue screen shows detailed information about alert and possible resolution steps if any.
Historical Data
All fuel cell data is recorded, stored in Enapter Cloud, and kept available for remote access and further analysis. It can be accessed using the mobile app, Enapter Cloud web interface and HTTP API.
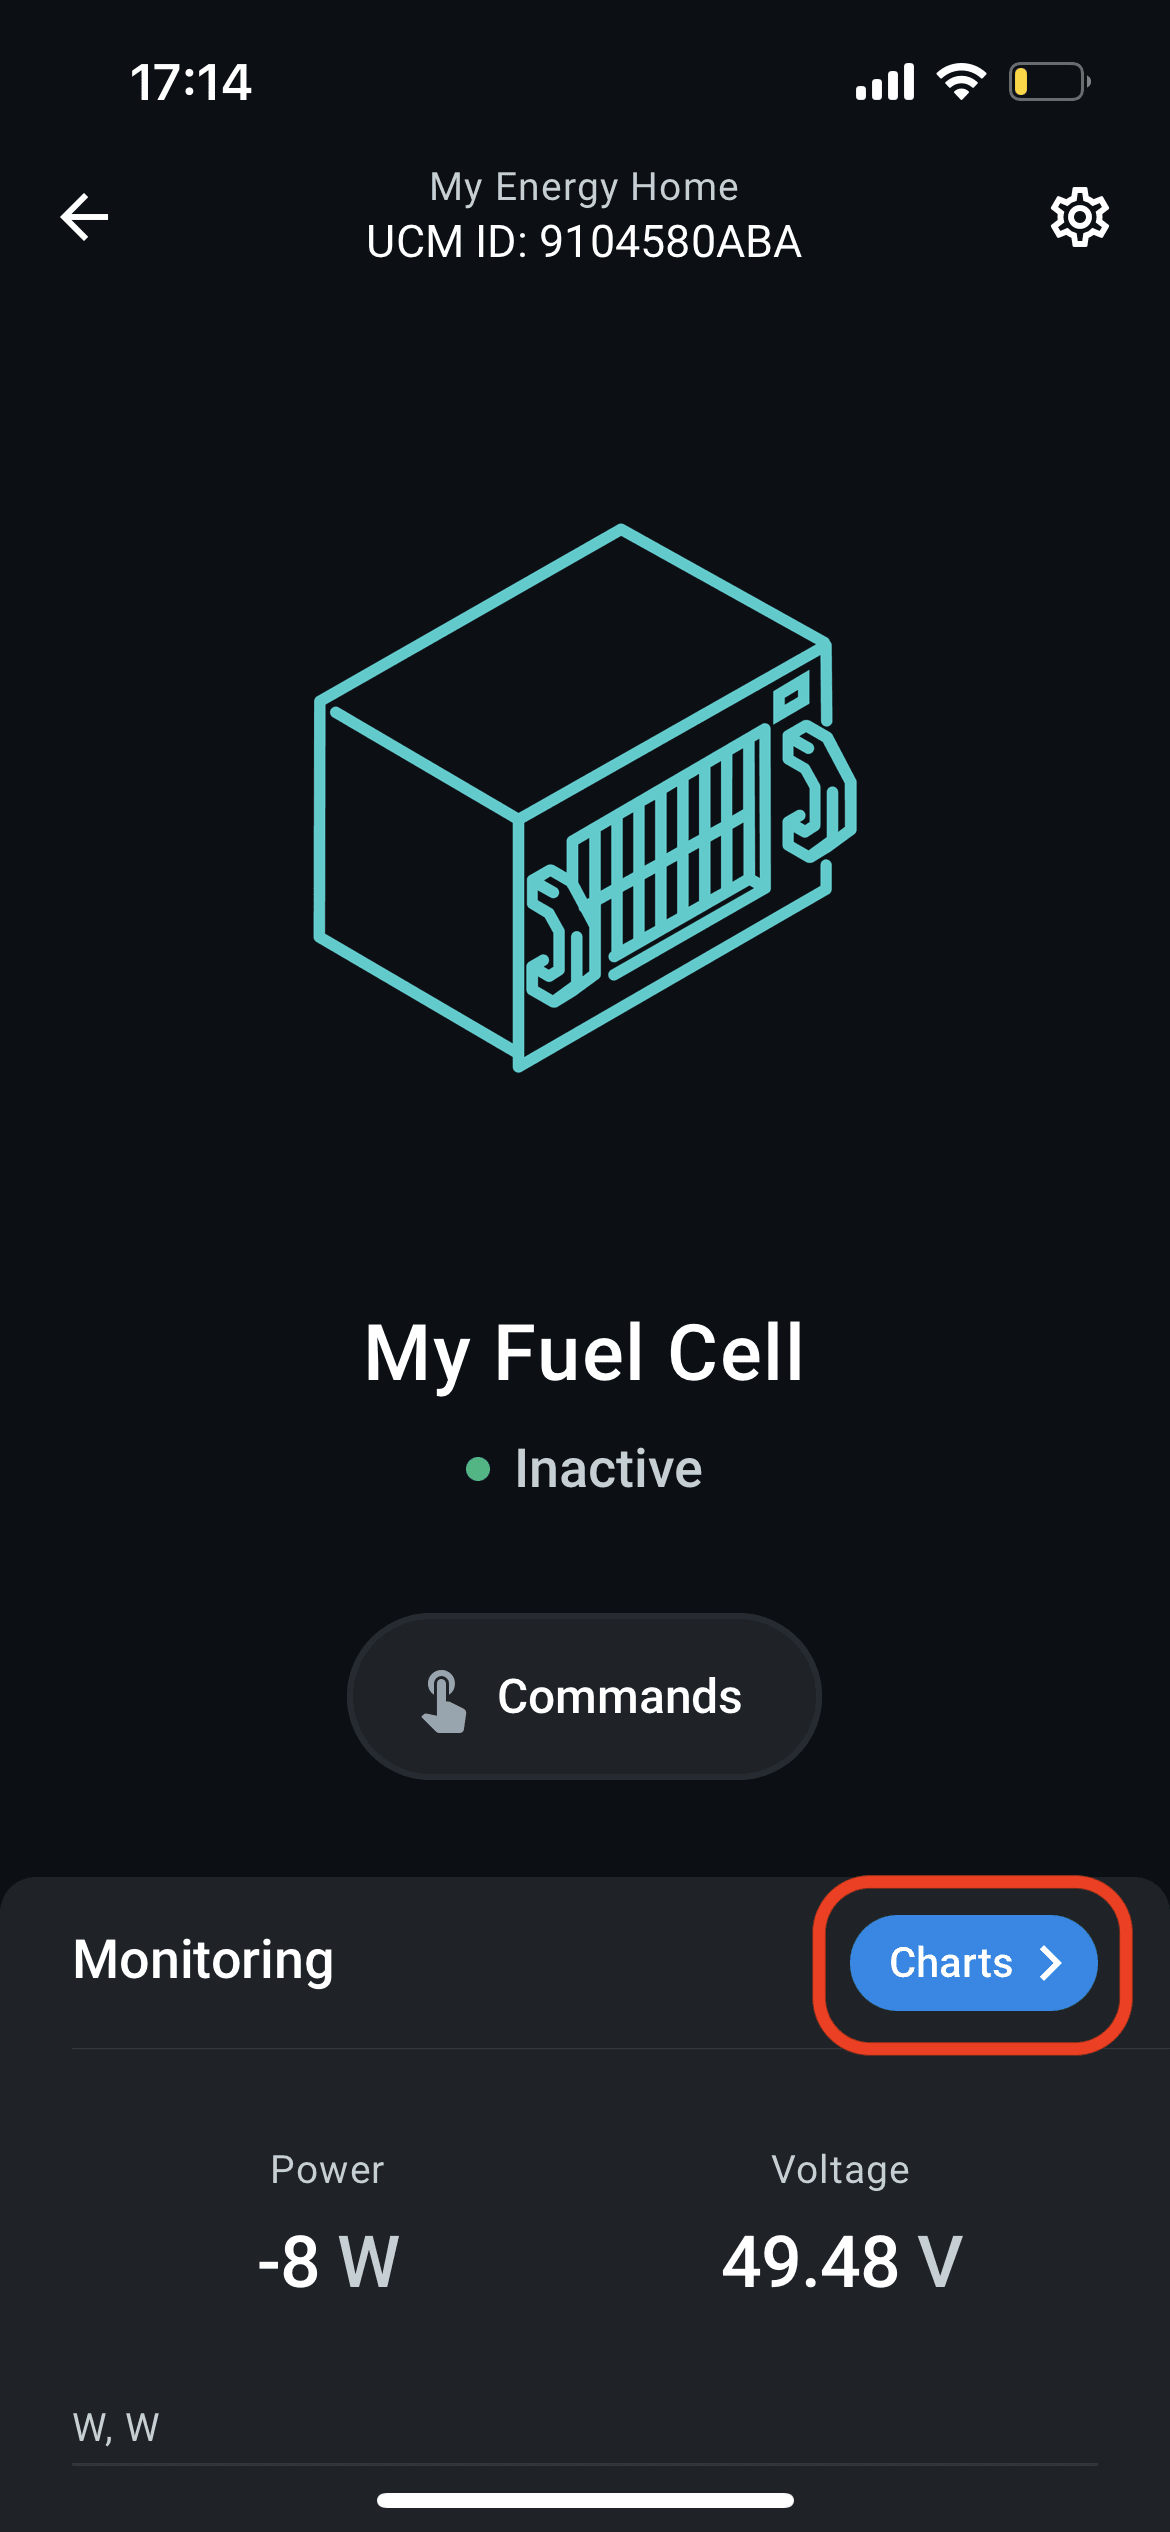
Press Charts button to access historical charts.
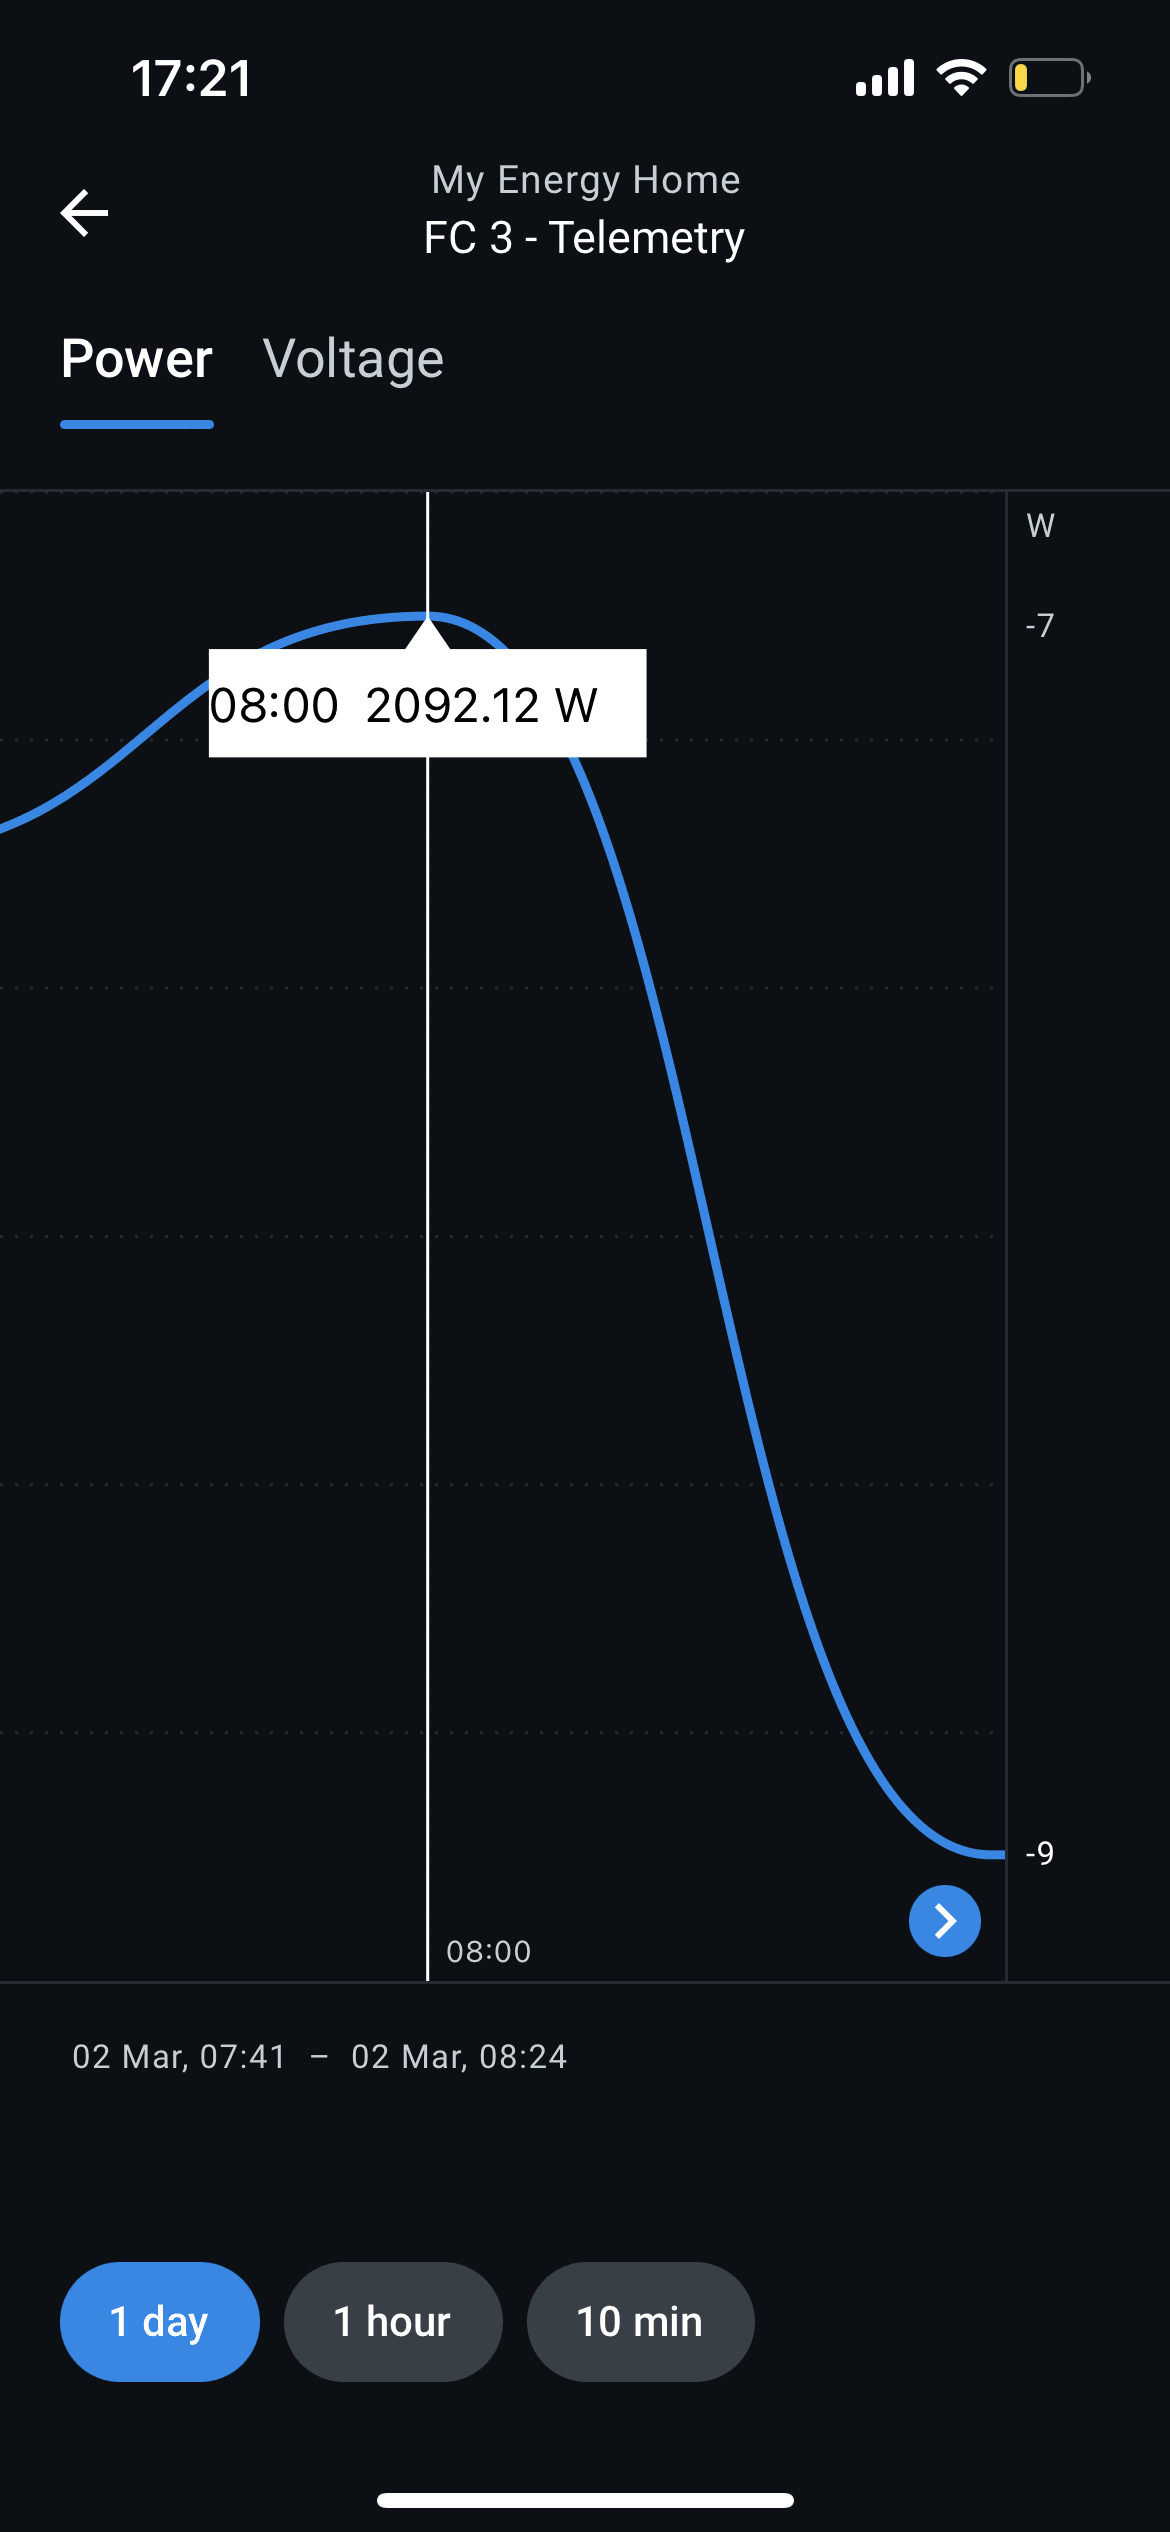
Select the metric and time frame. Pull the chart to the side to move across the timeline.
Data Logging for Service Team
By default, debug CAN messages with IDs 0x400-0x499 are not recorded, though those messages could be requested by the Intelligent Energy service team for deeper problem analysis. If needed, those data should be collected using Troubleshooting Mode.
1. Enable Troubleshooting Mode
Use Configure command to enable Troubleshooting Mode for debug data collection. Then run the fuel cell normally. ENP-CAN will send additional data to Enapter Cloud while the mode is enabled.
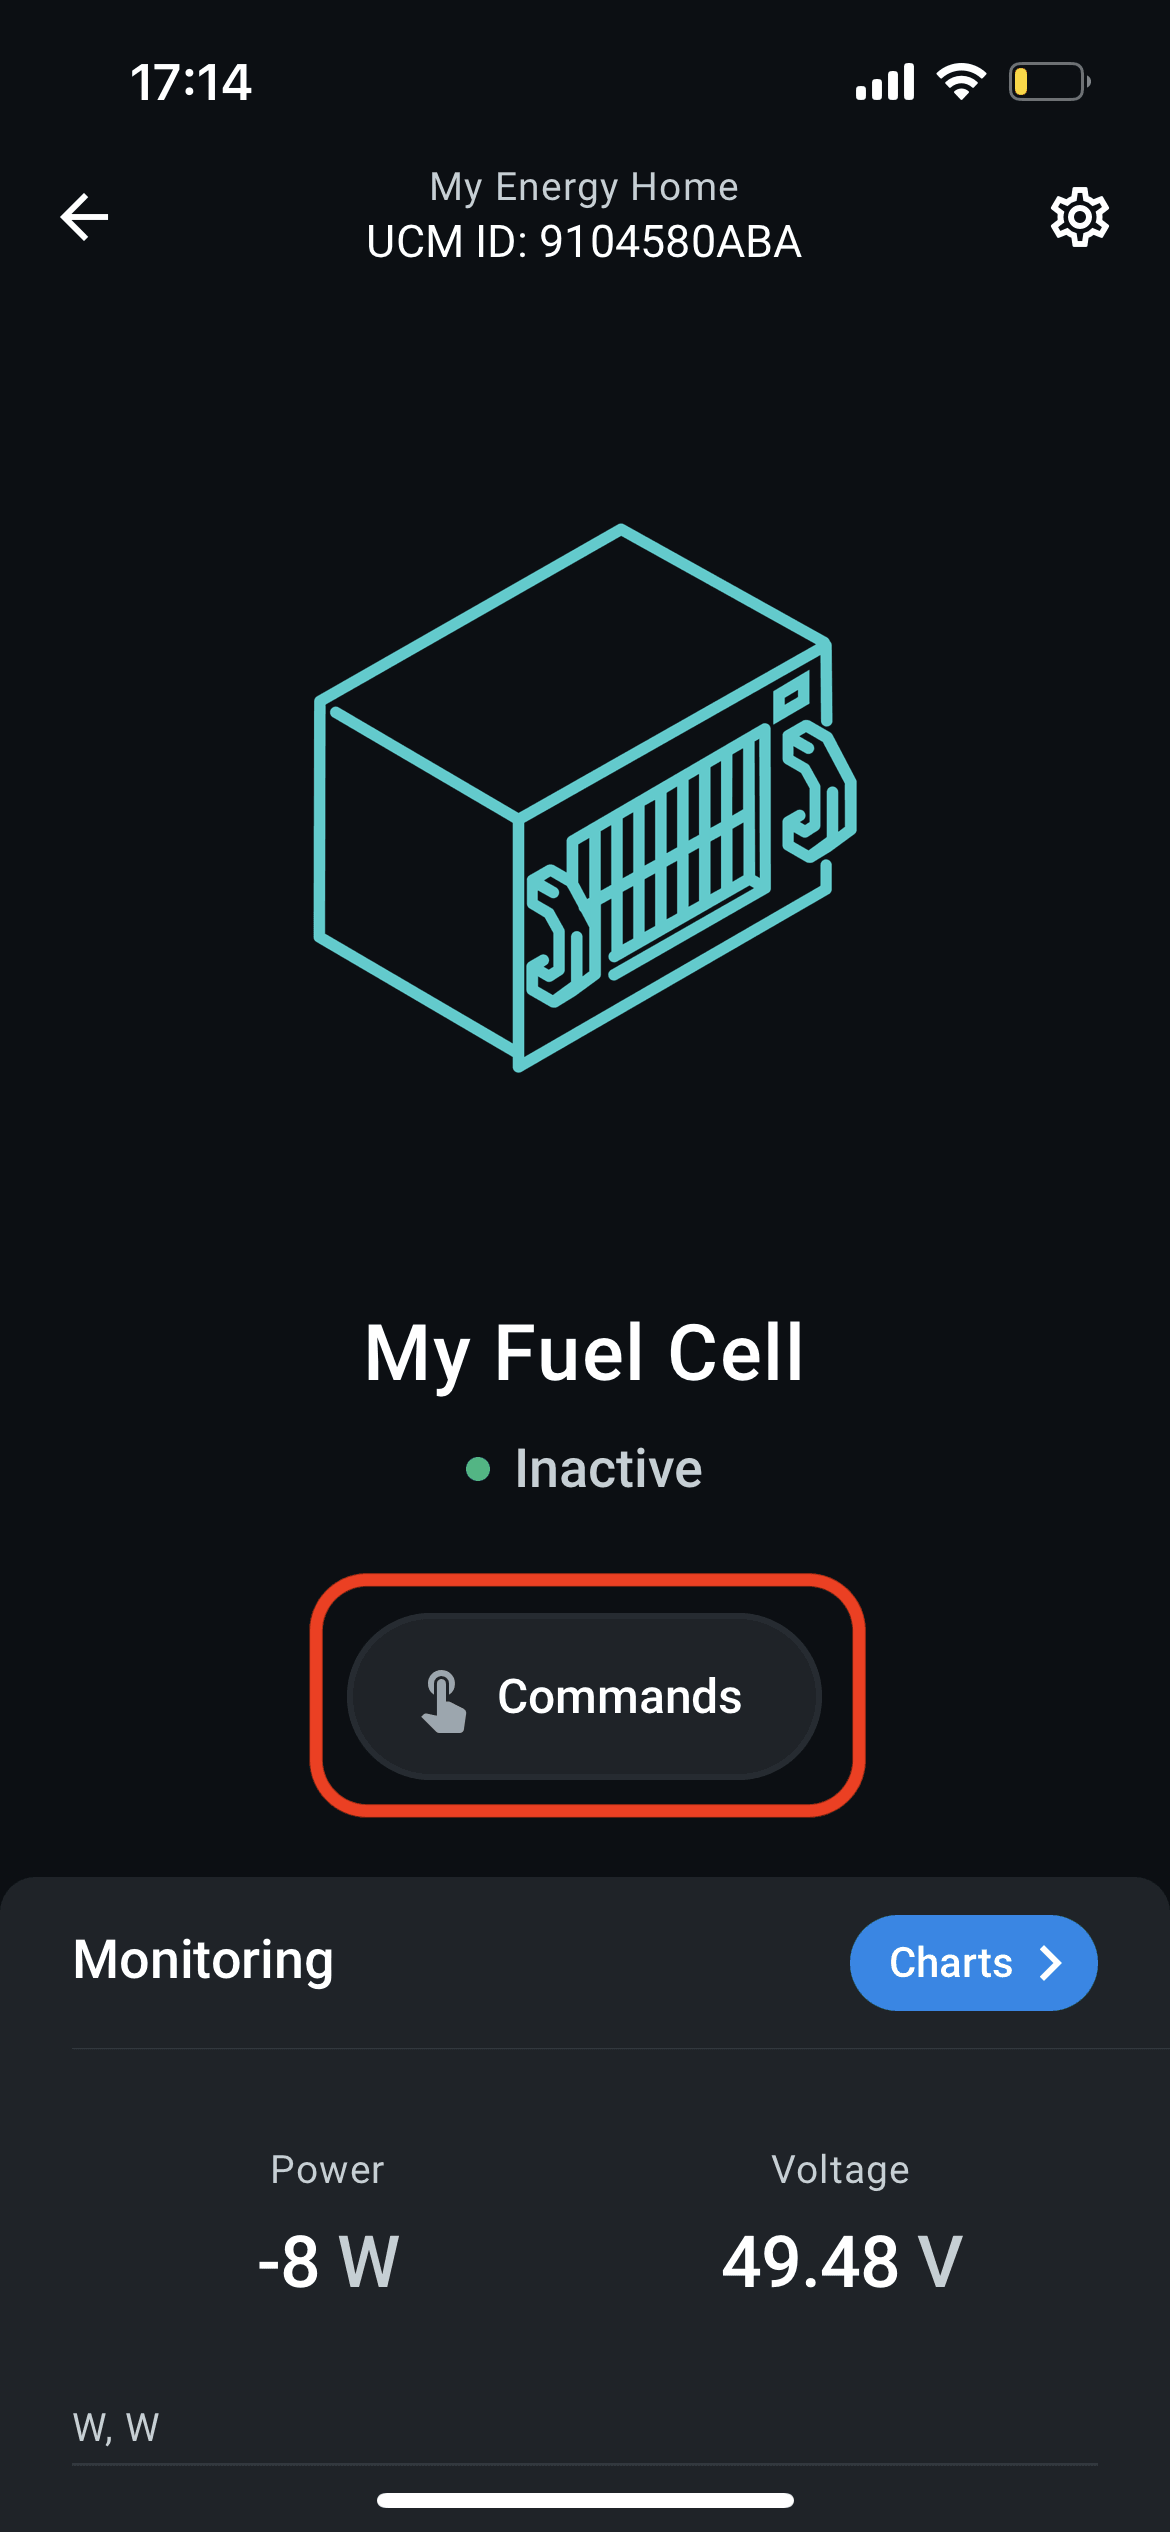
Press Commands button on the device screen.
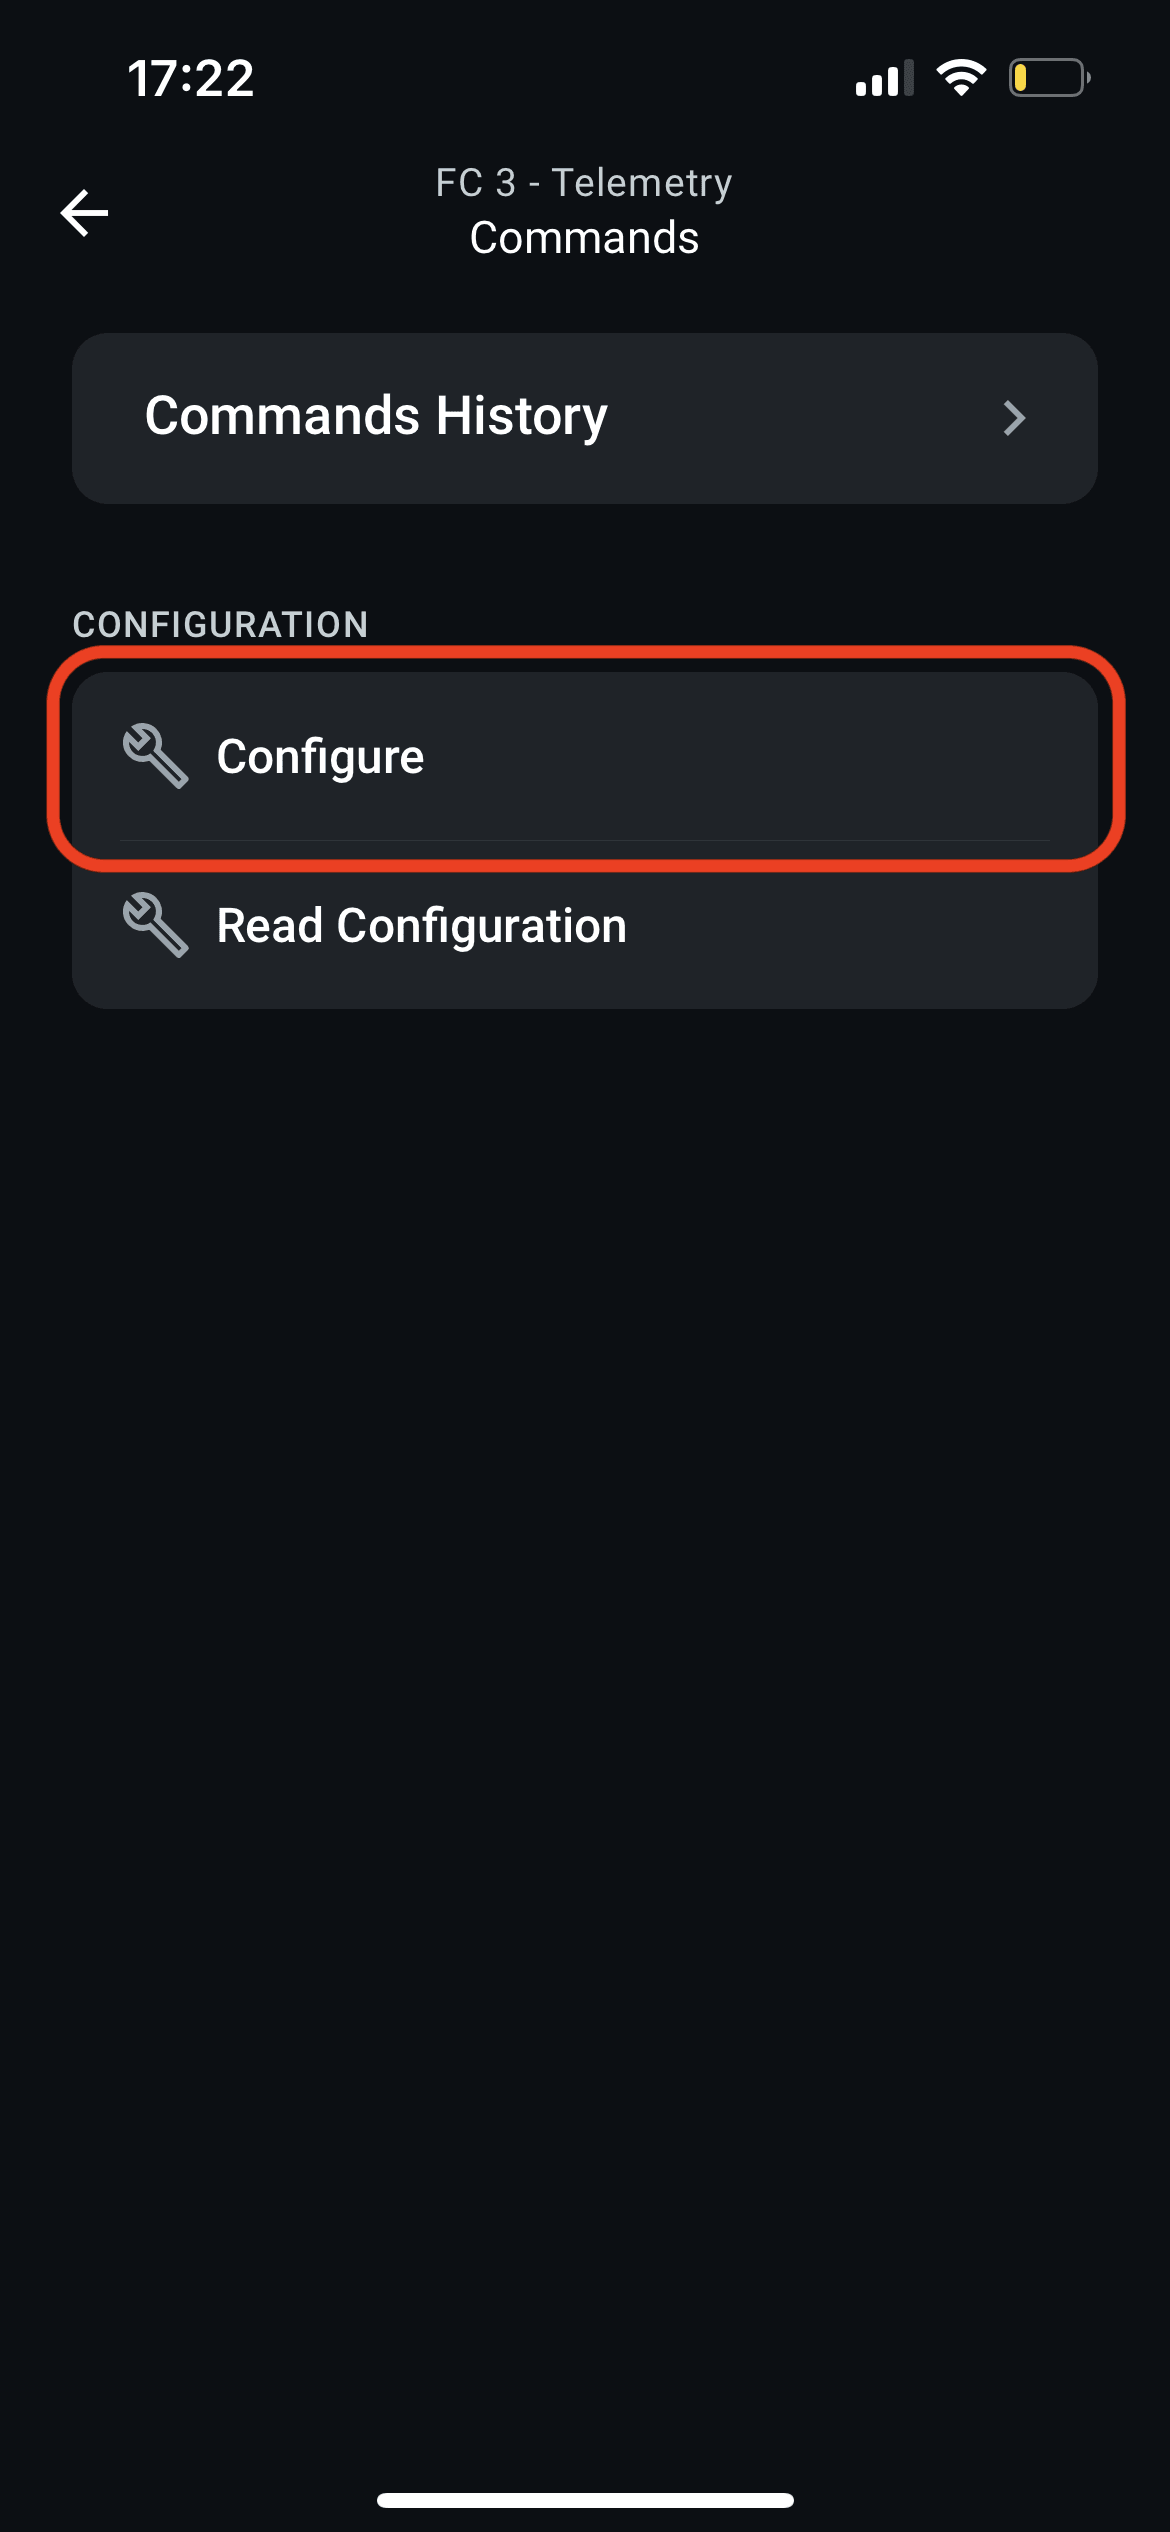
Select Configure command.
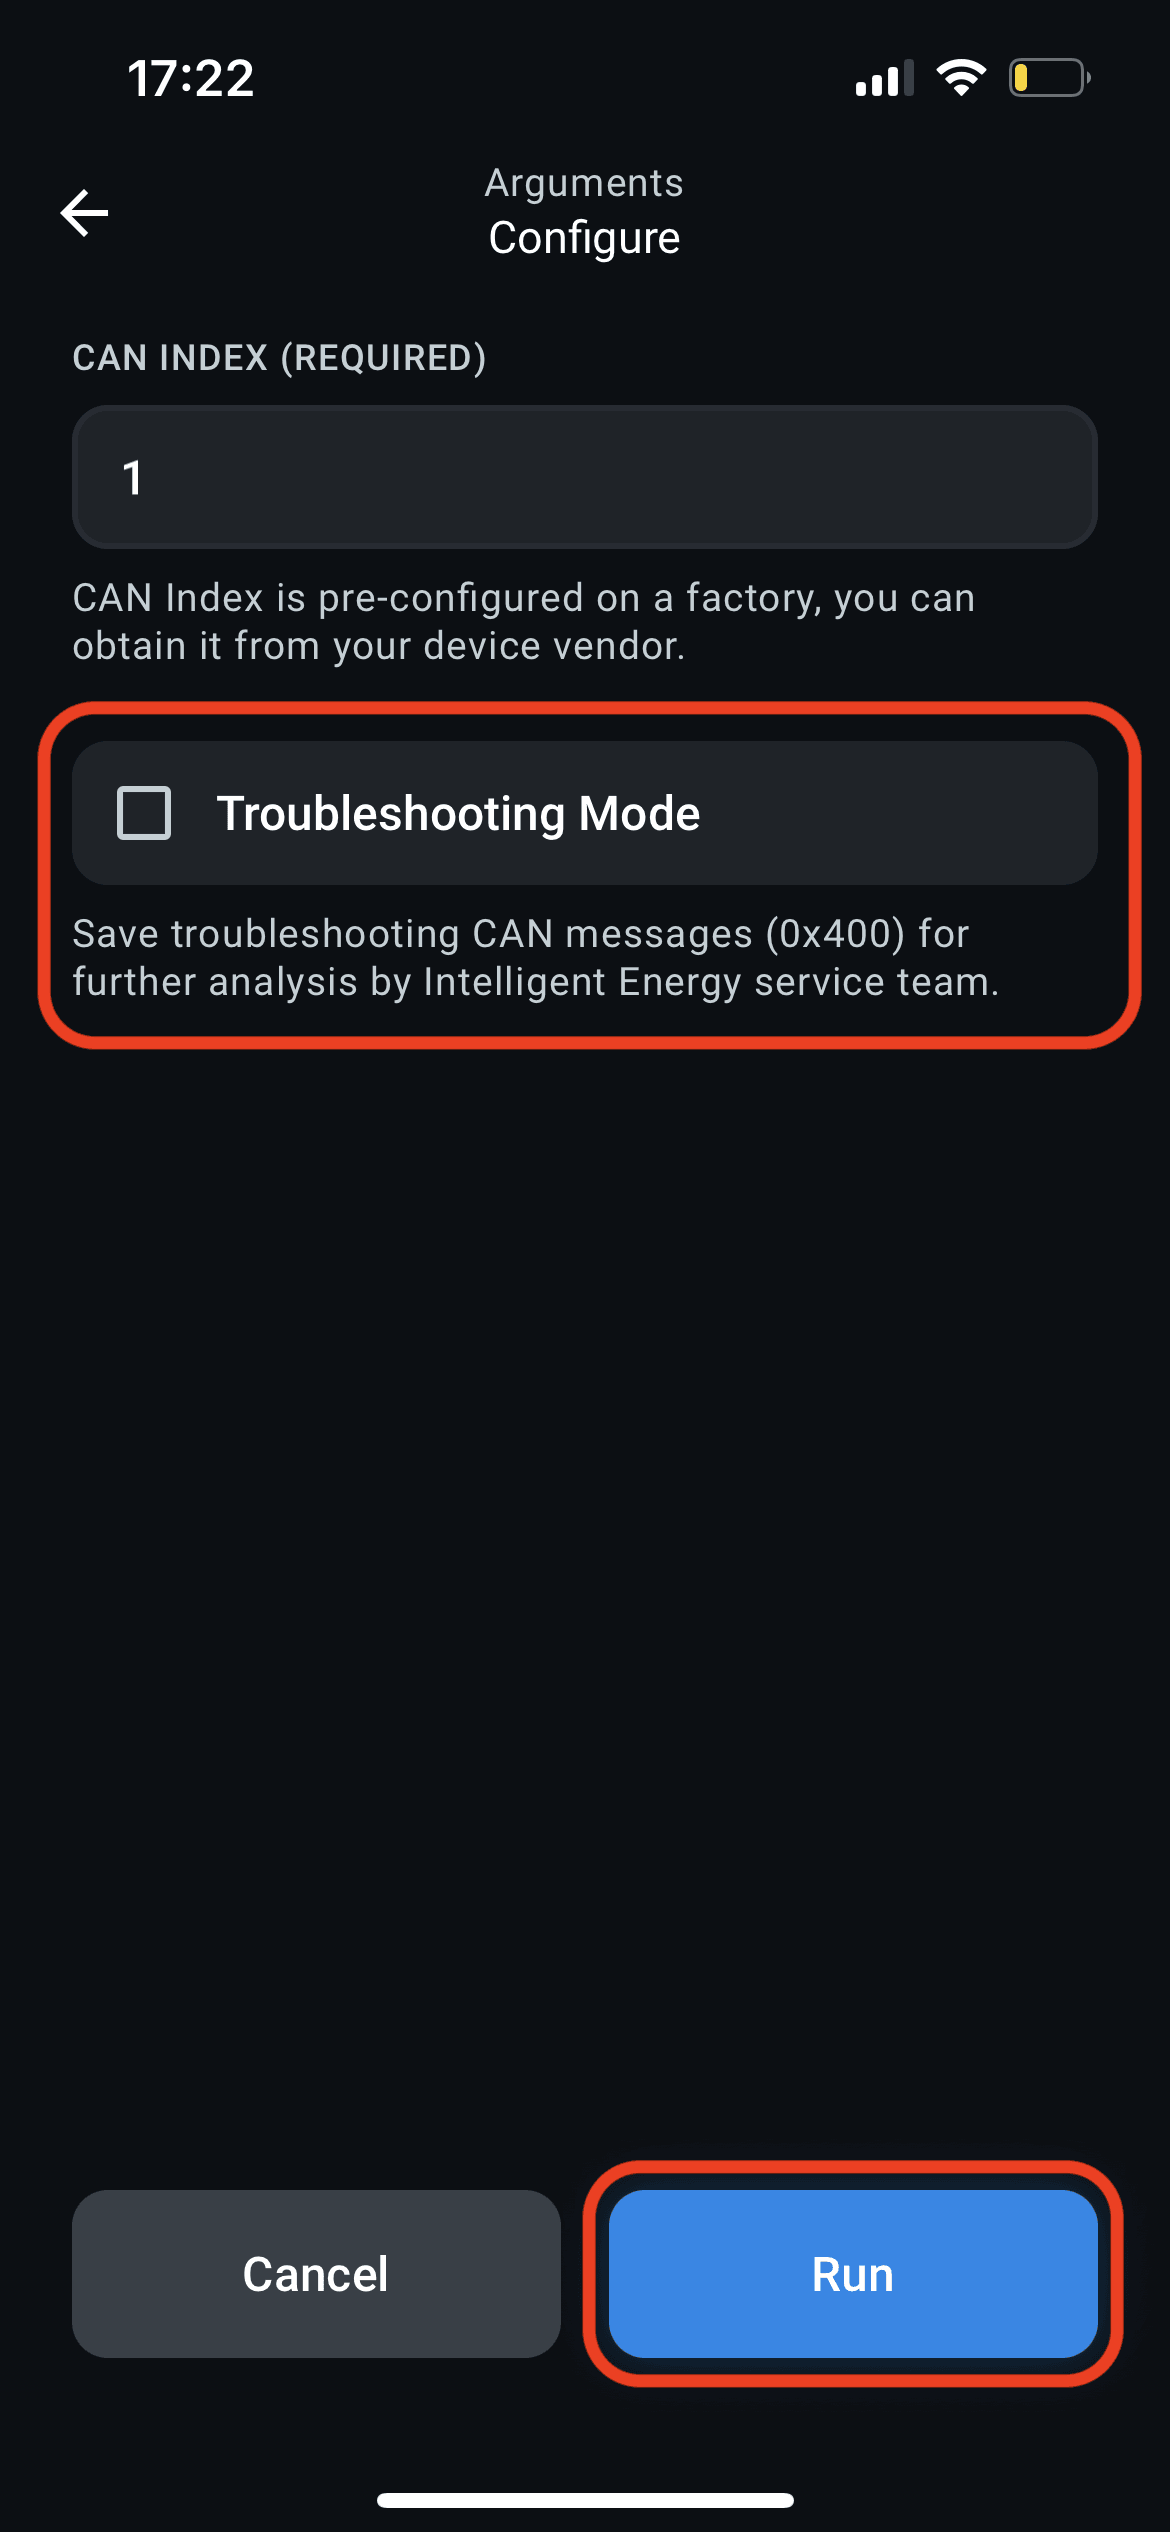
Enable Troubleshooting Mode and press Run.
2. Export Data From Enapter Cloud
Create a new data export in Enapter Cloud providing an export time frame, normally the date when the problem happened. Use 1s data granularity to export all available data.
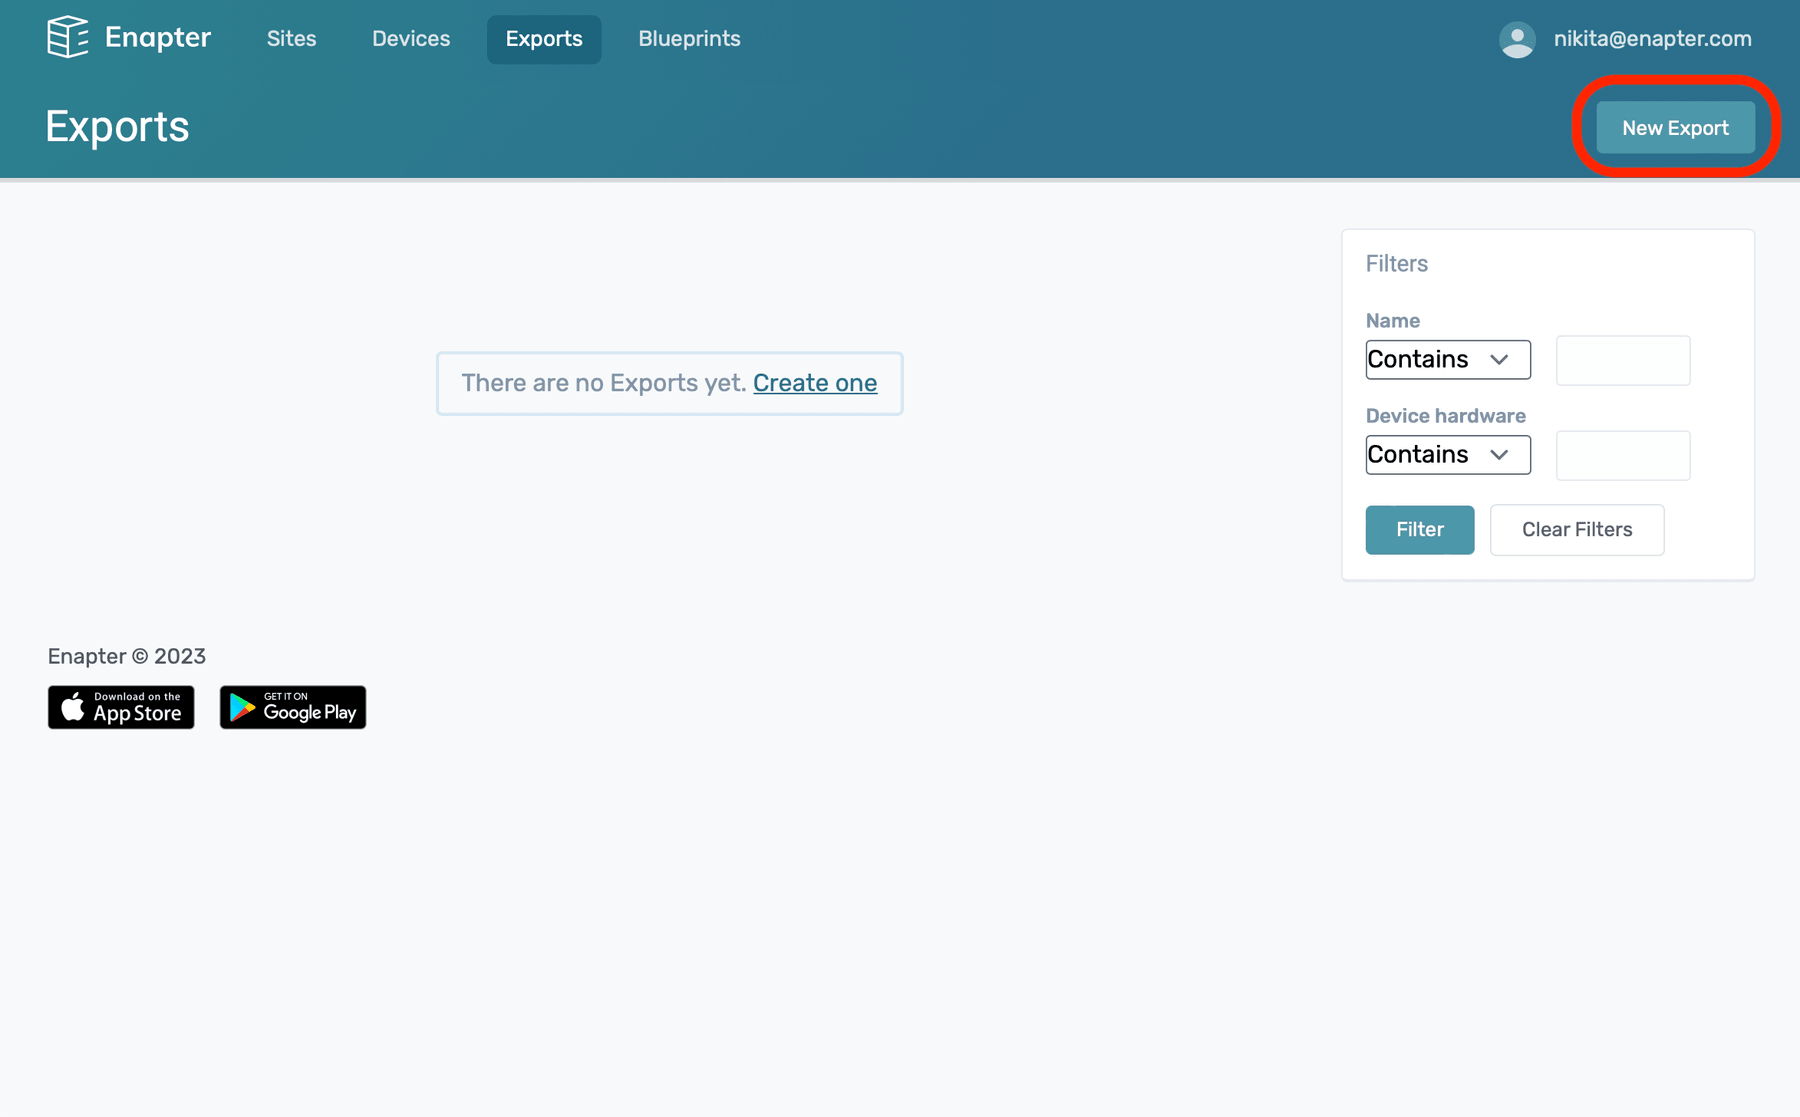
Press New Export button on Exports page in Enapter Cloud.
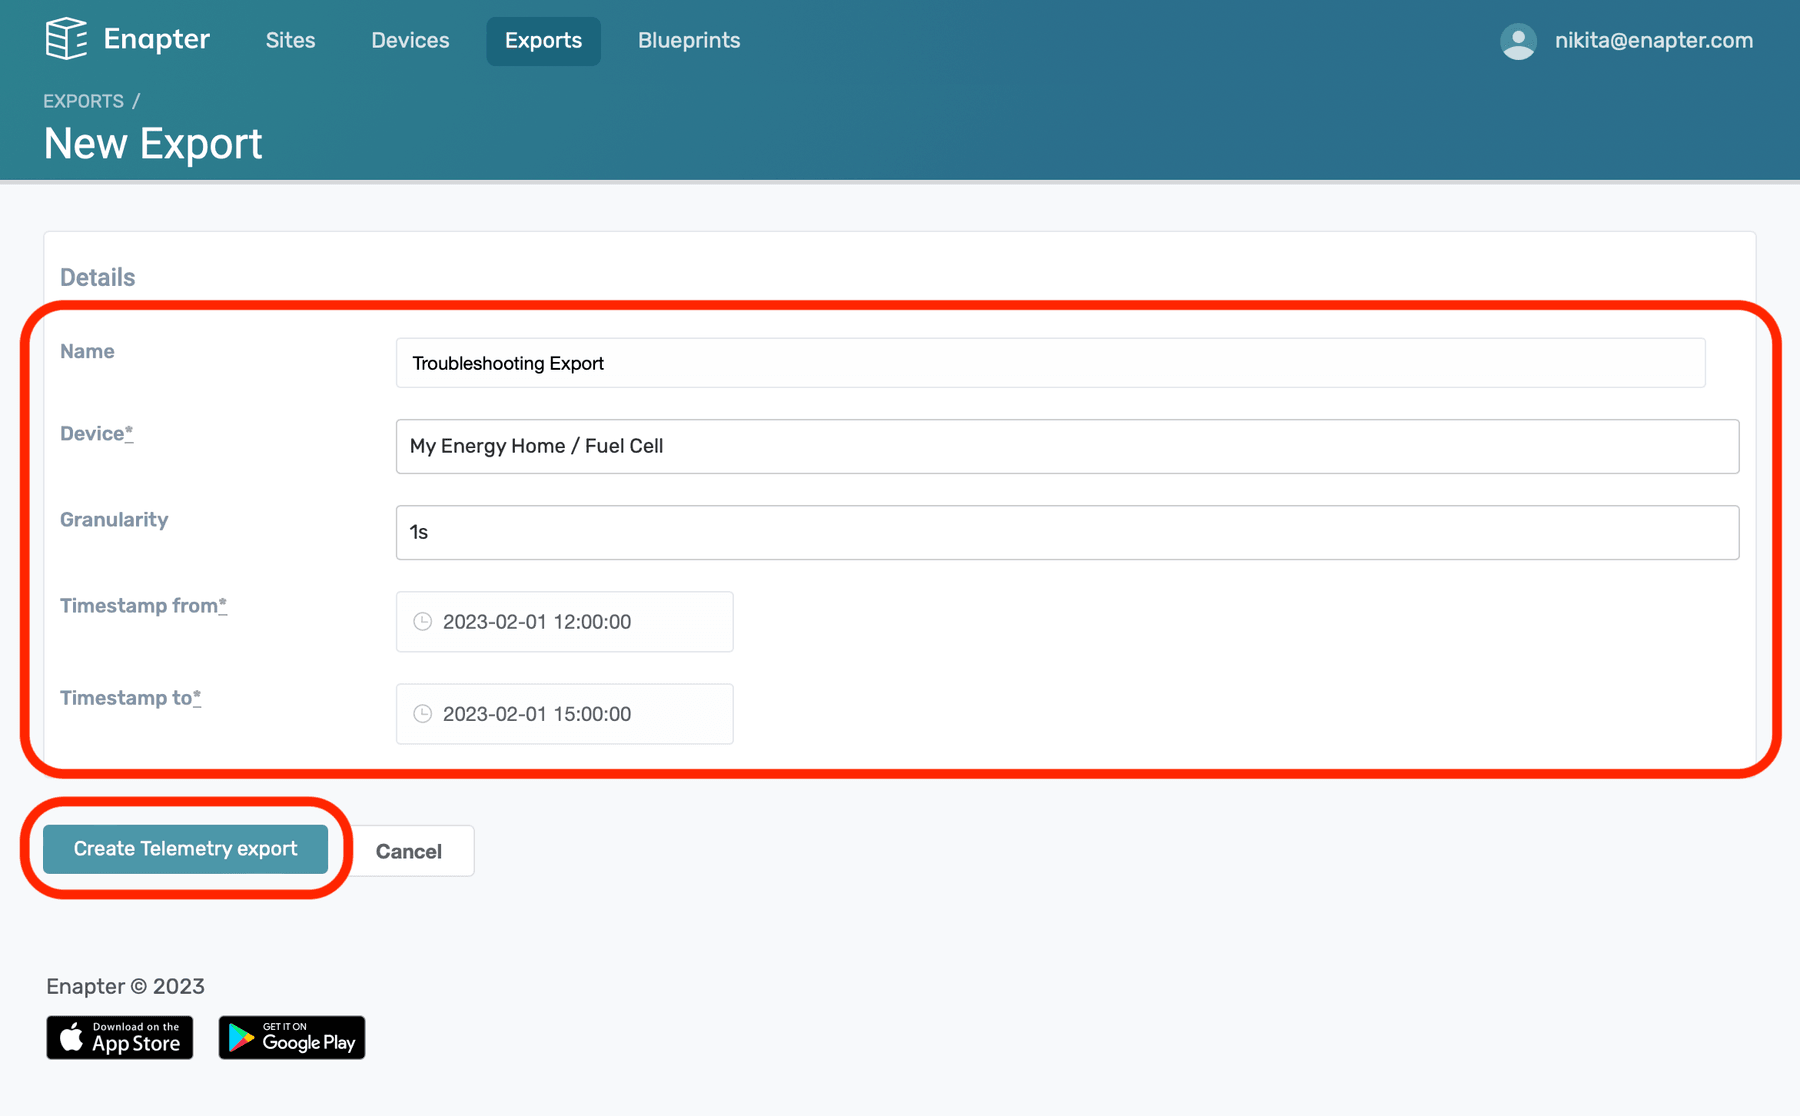
Enter export parameters and press Create Telemery Export.
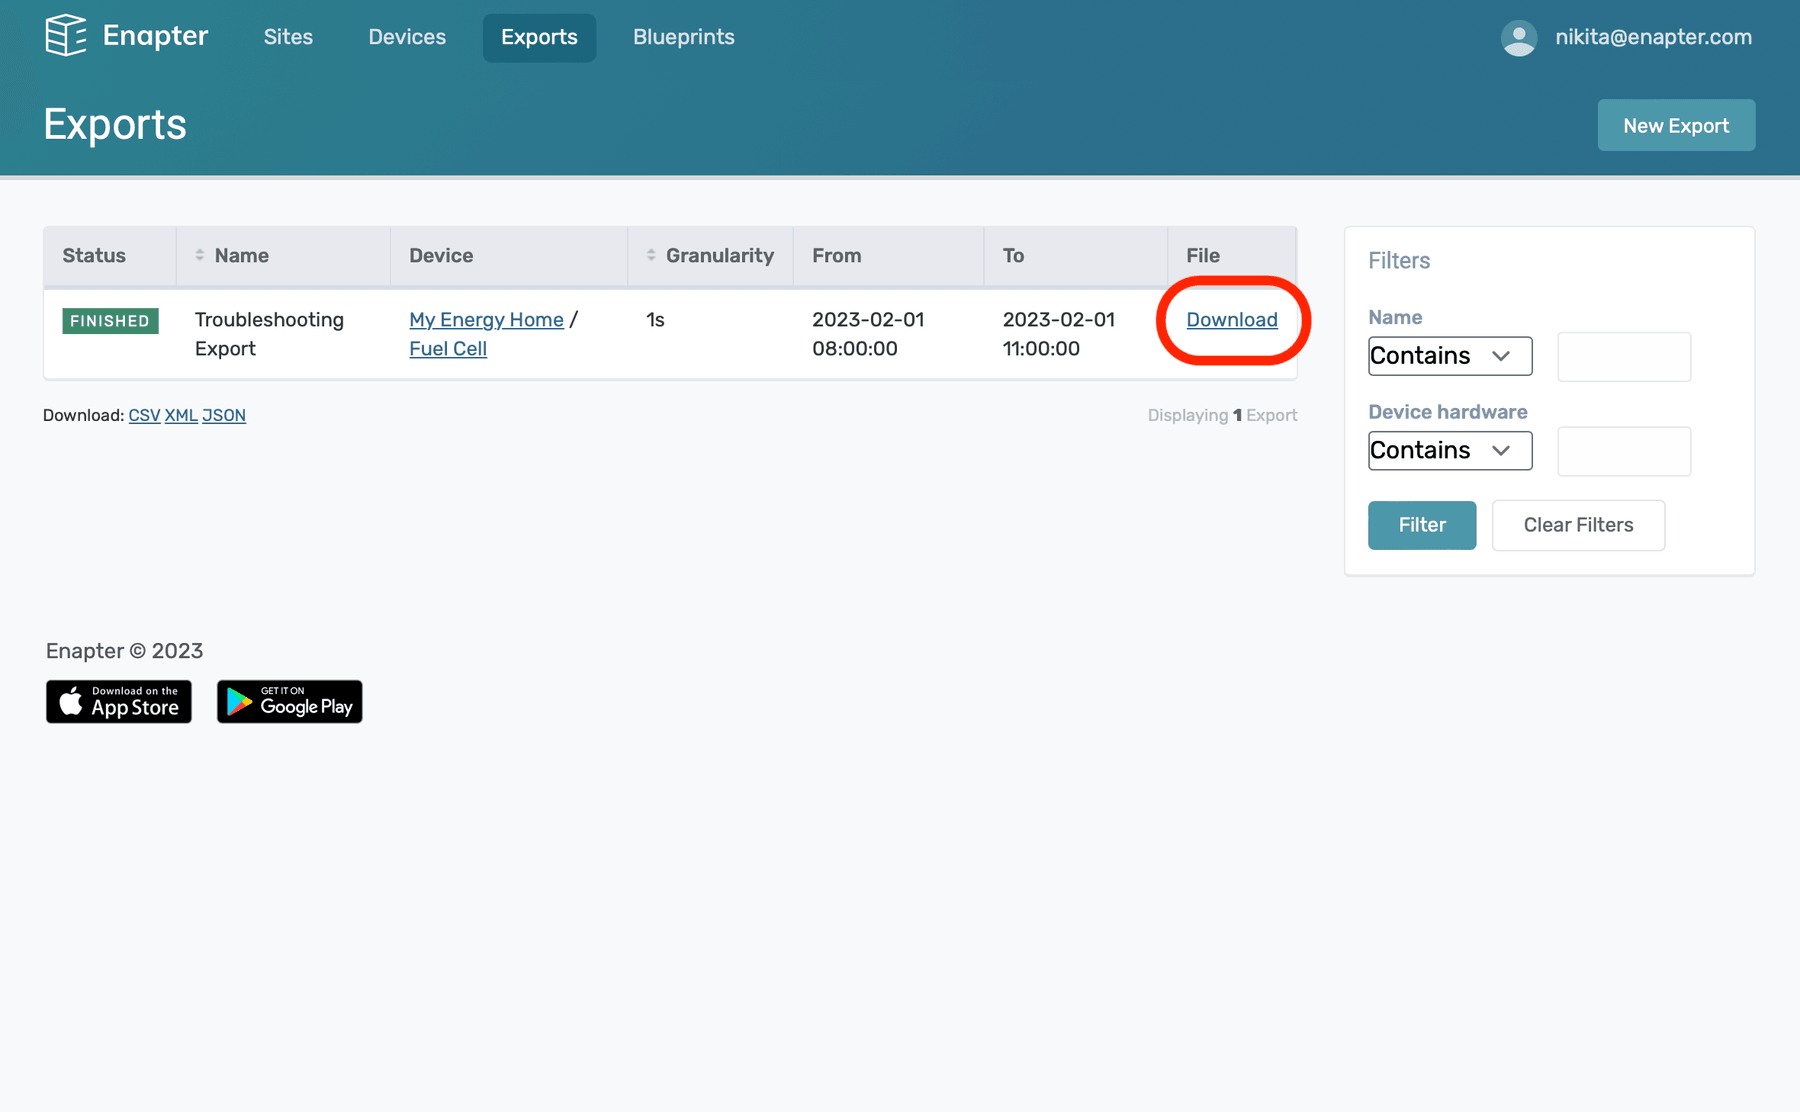
Export job will take some time. Download link will appear once
the job is finished.
💬 Need Help?
Have a question or hit a roadblock? Join the Enapter Discord community to get quick support, exchange ideas, and collaborate with other developers and energy experts.
